Wednesday 2009-09-02 I started building the CupCake, together with a few friends.
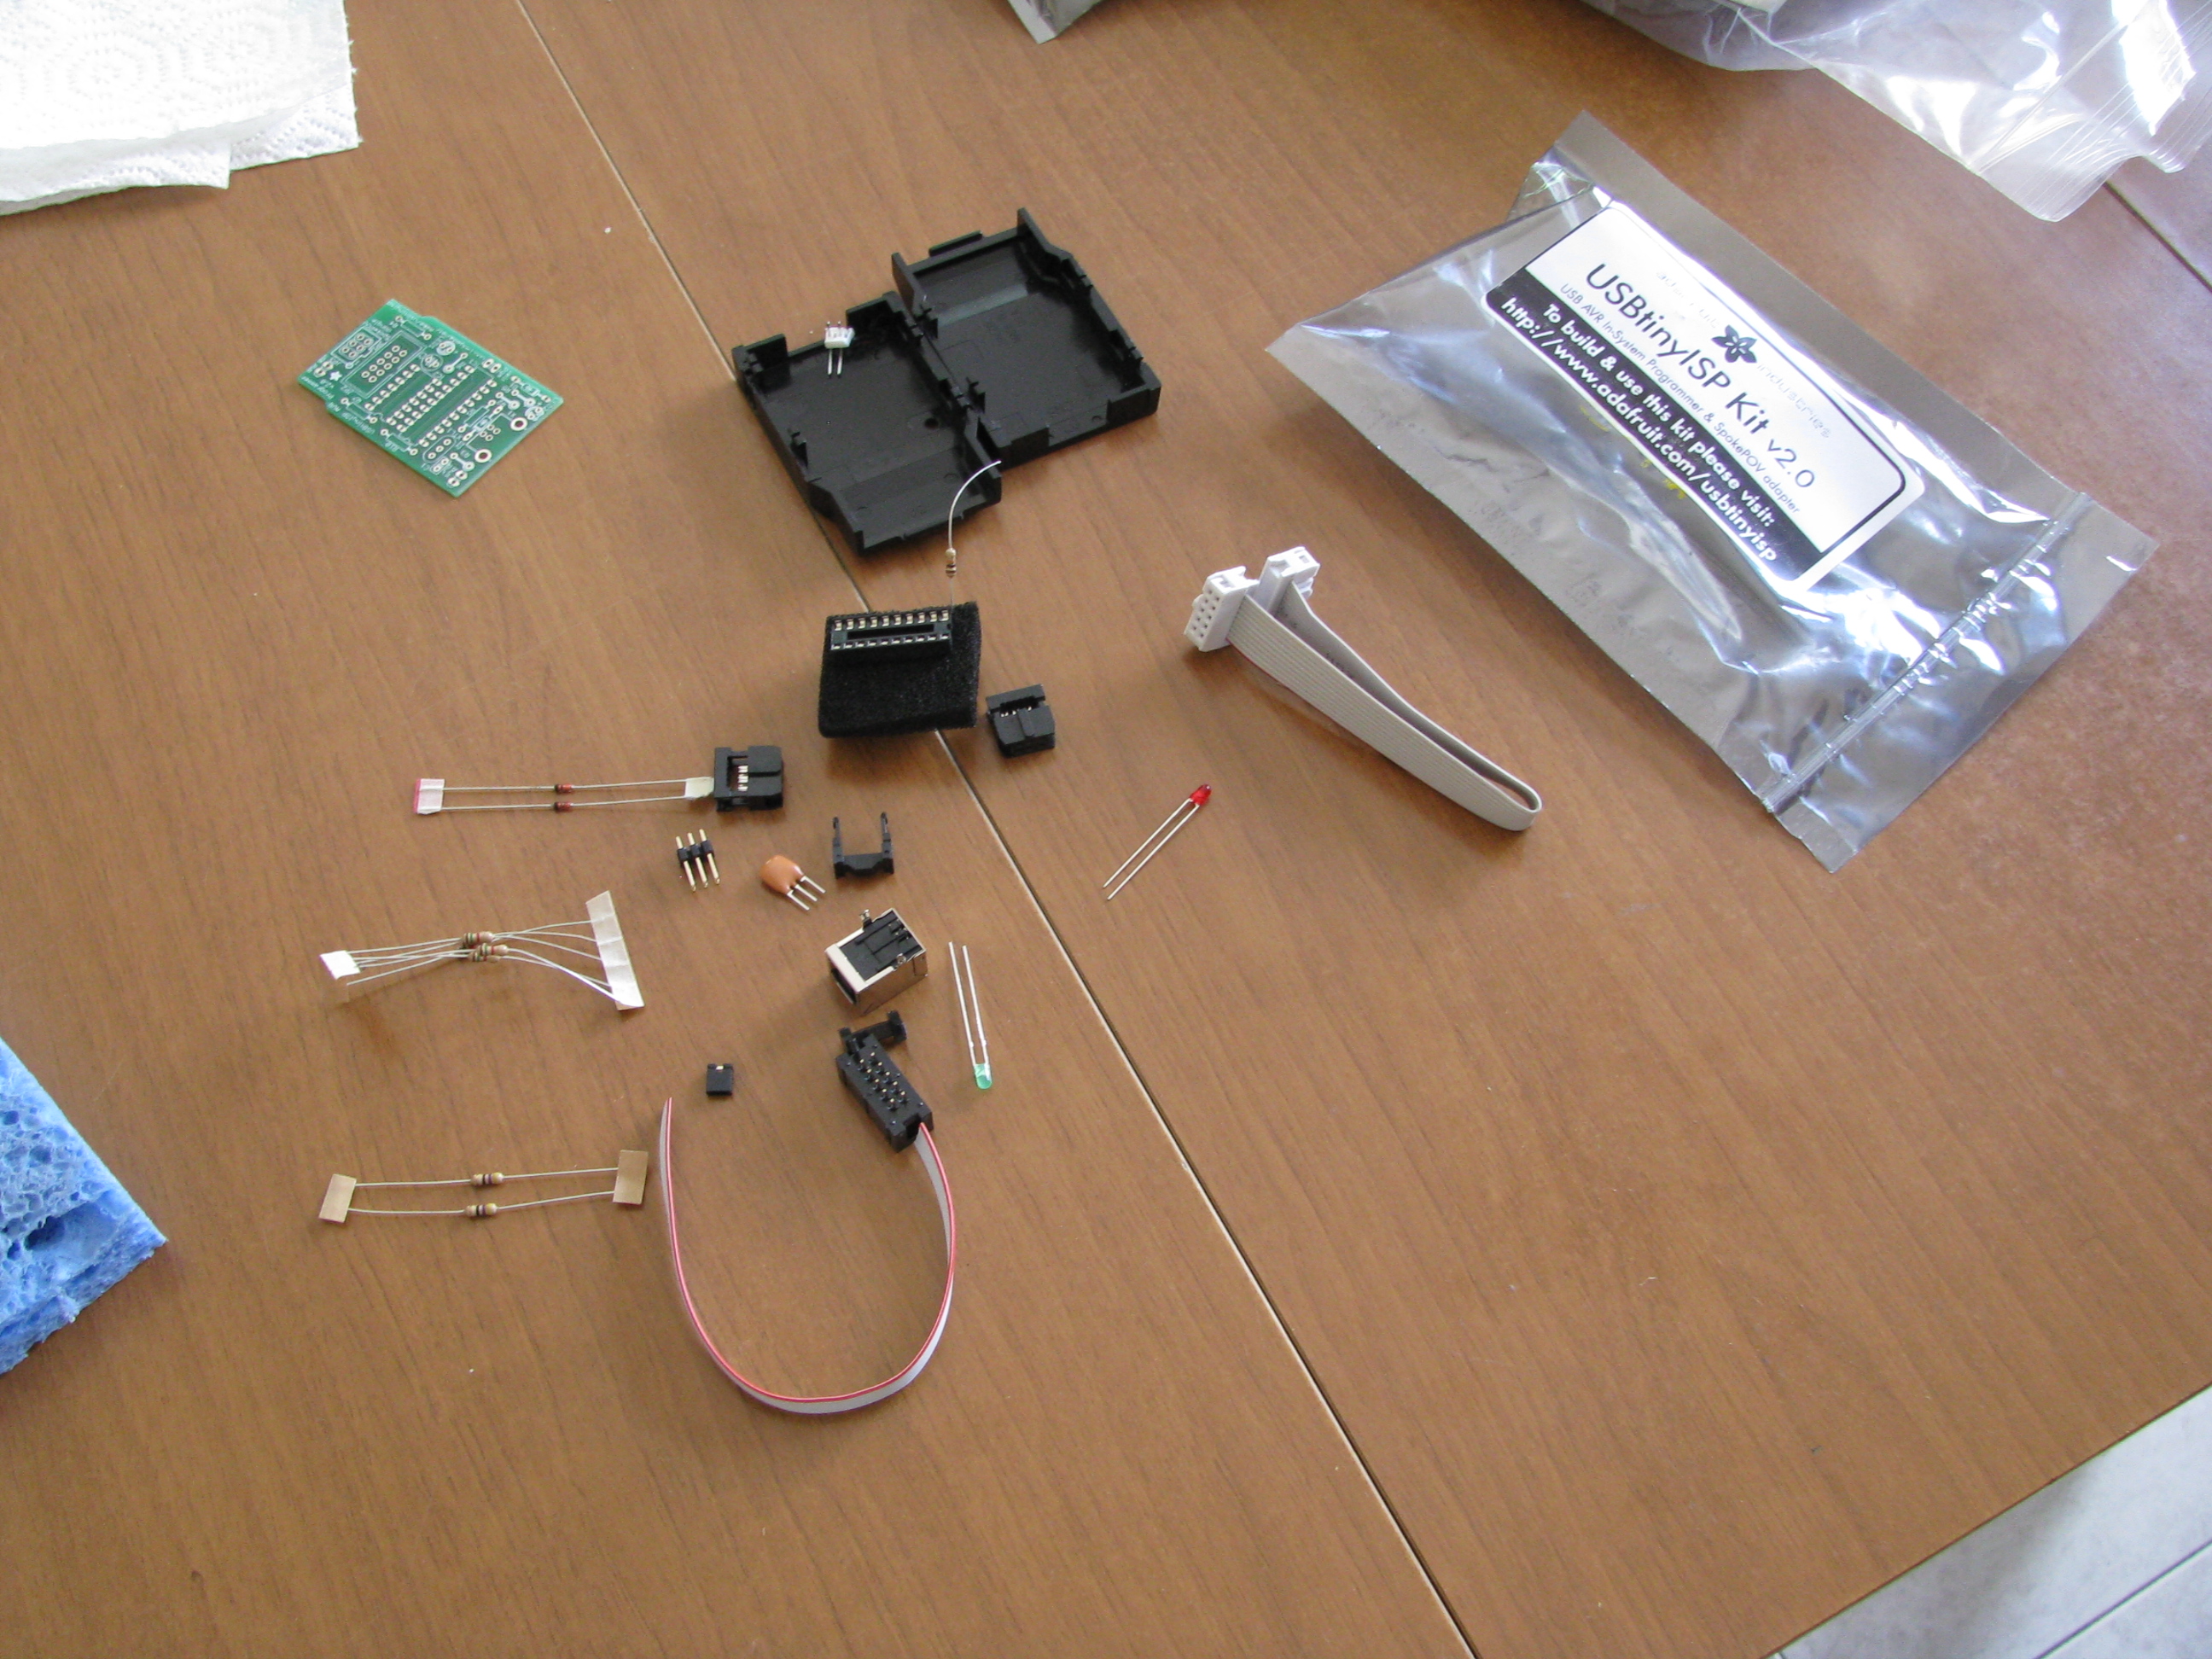
Actually, the package had arrived on 2009-08-20, but I've been away from home for about ten days, and I couldn't build it as soon as it arrived. I had photographed the package's contents, though:

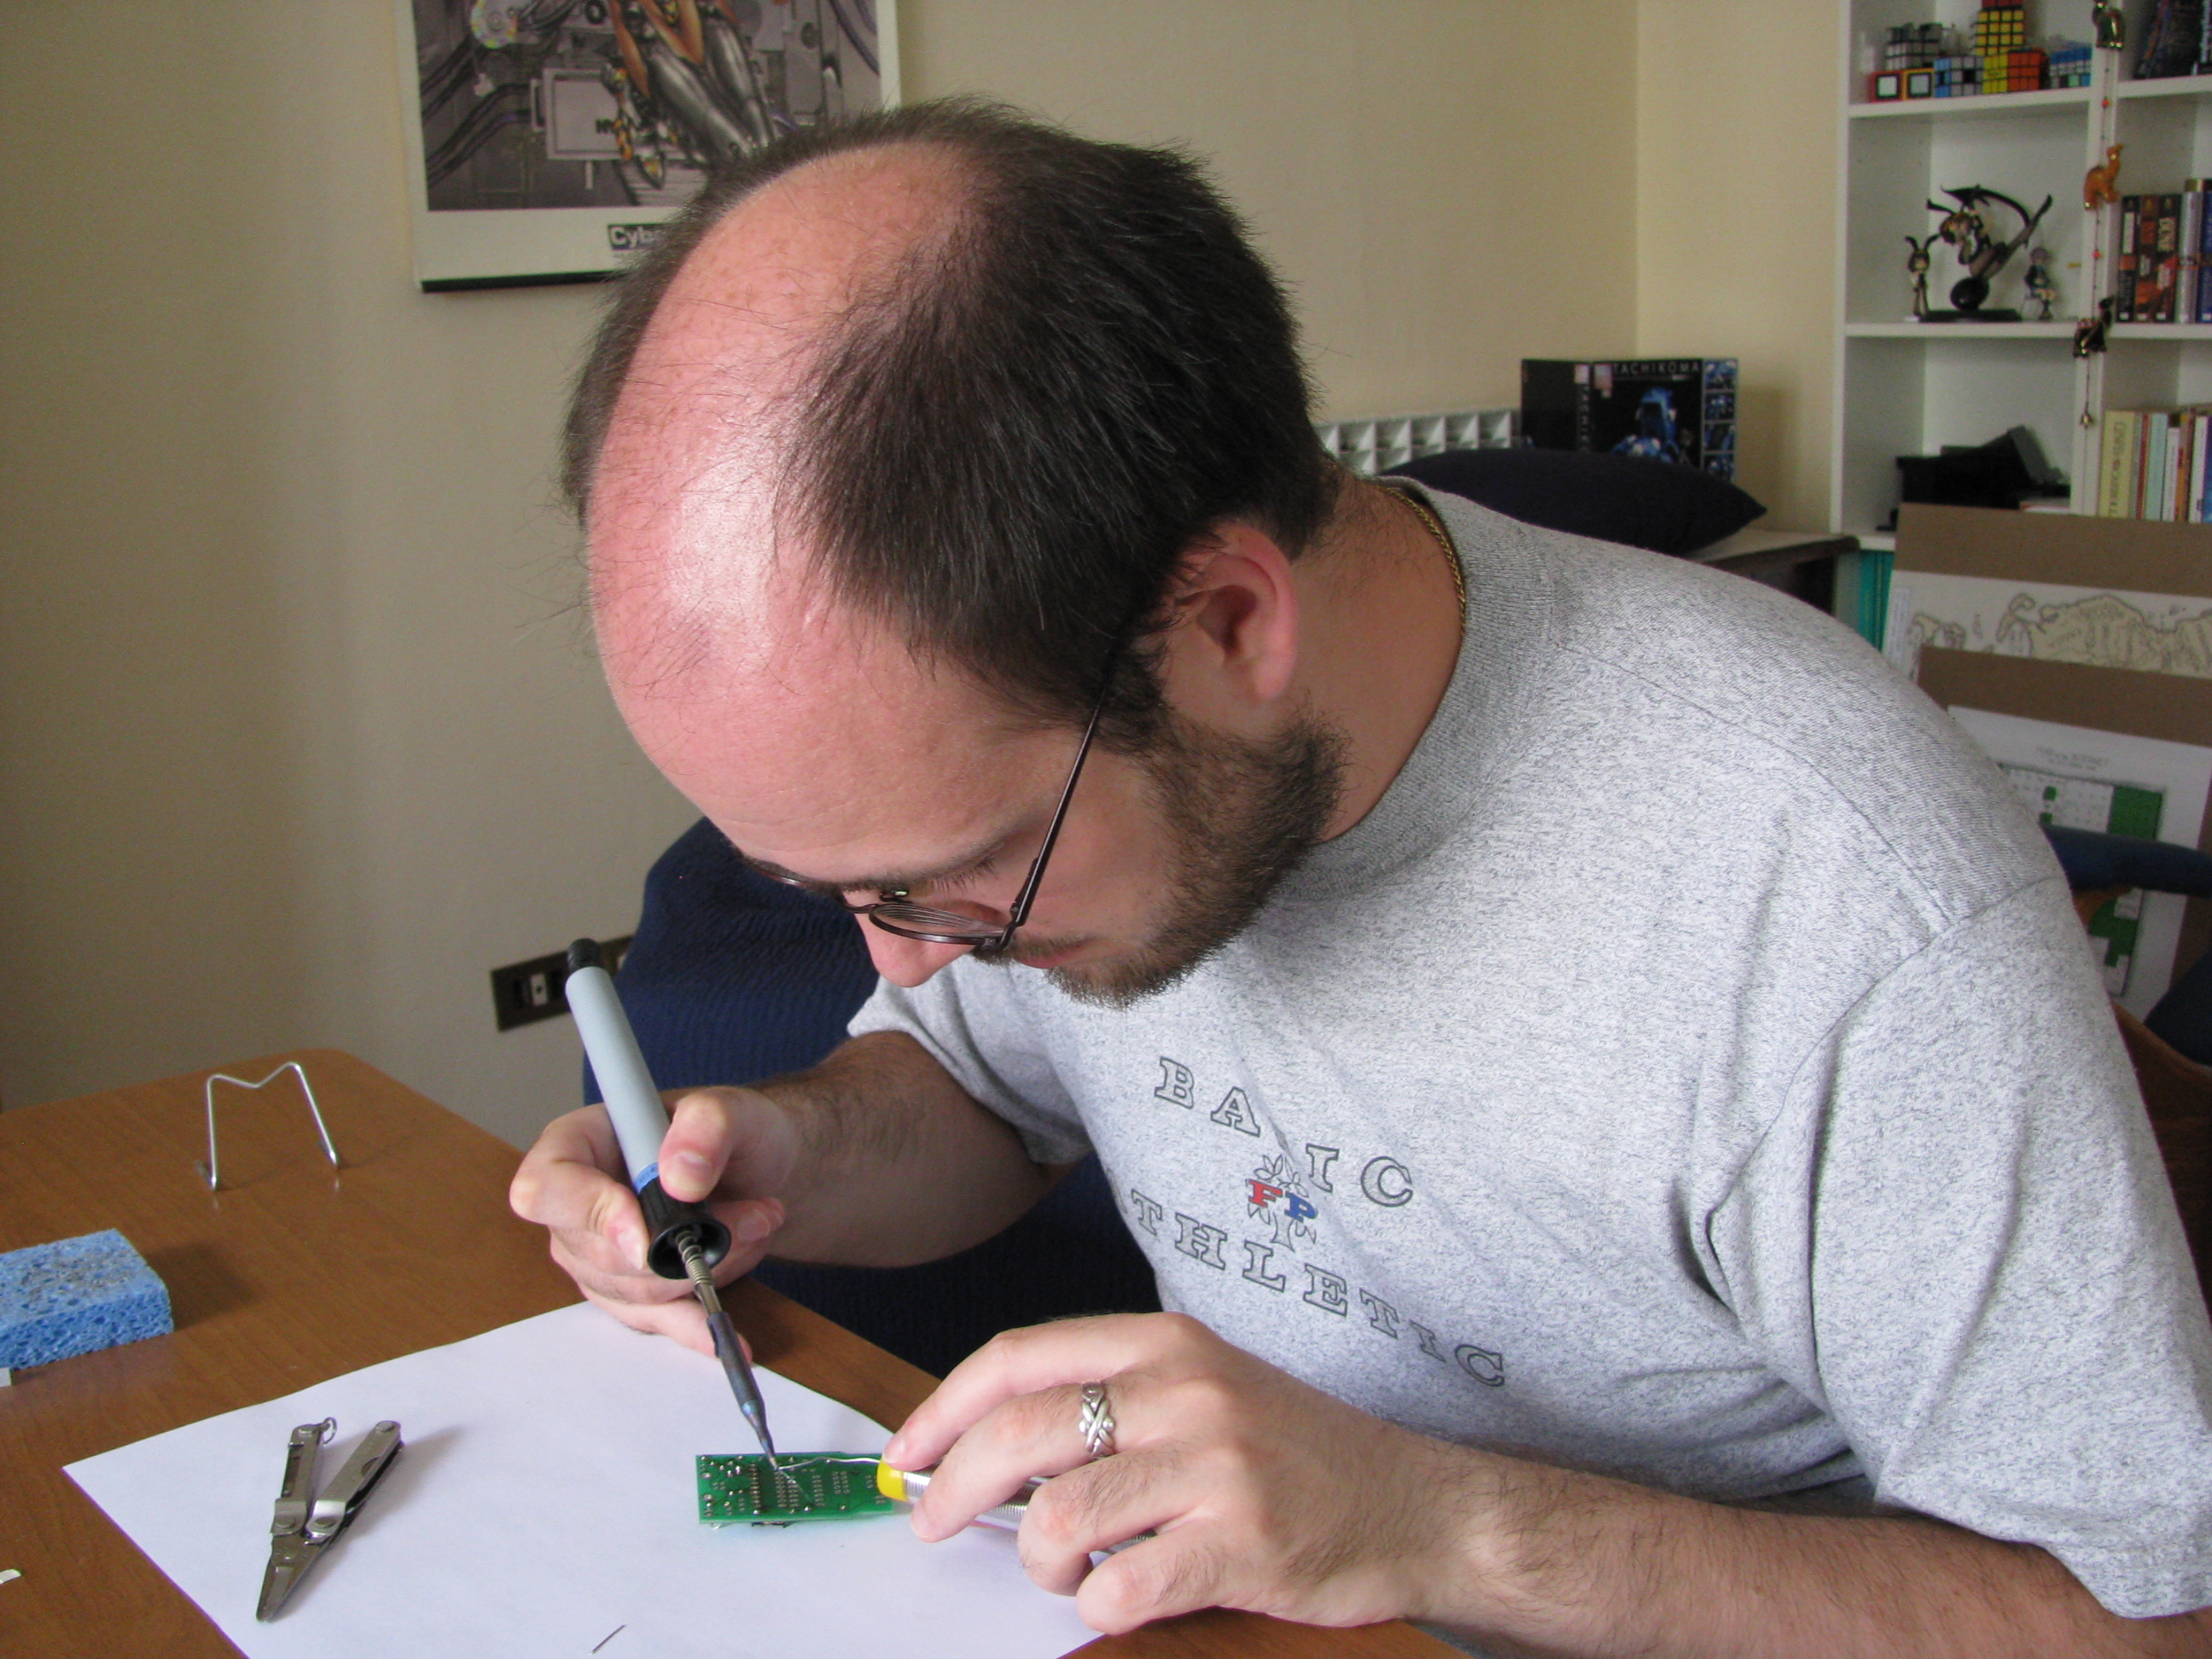
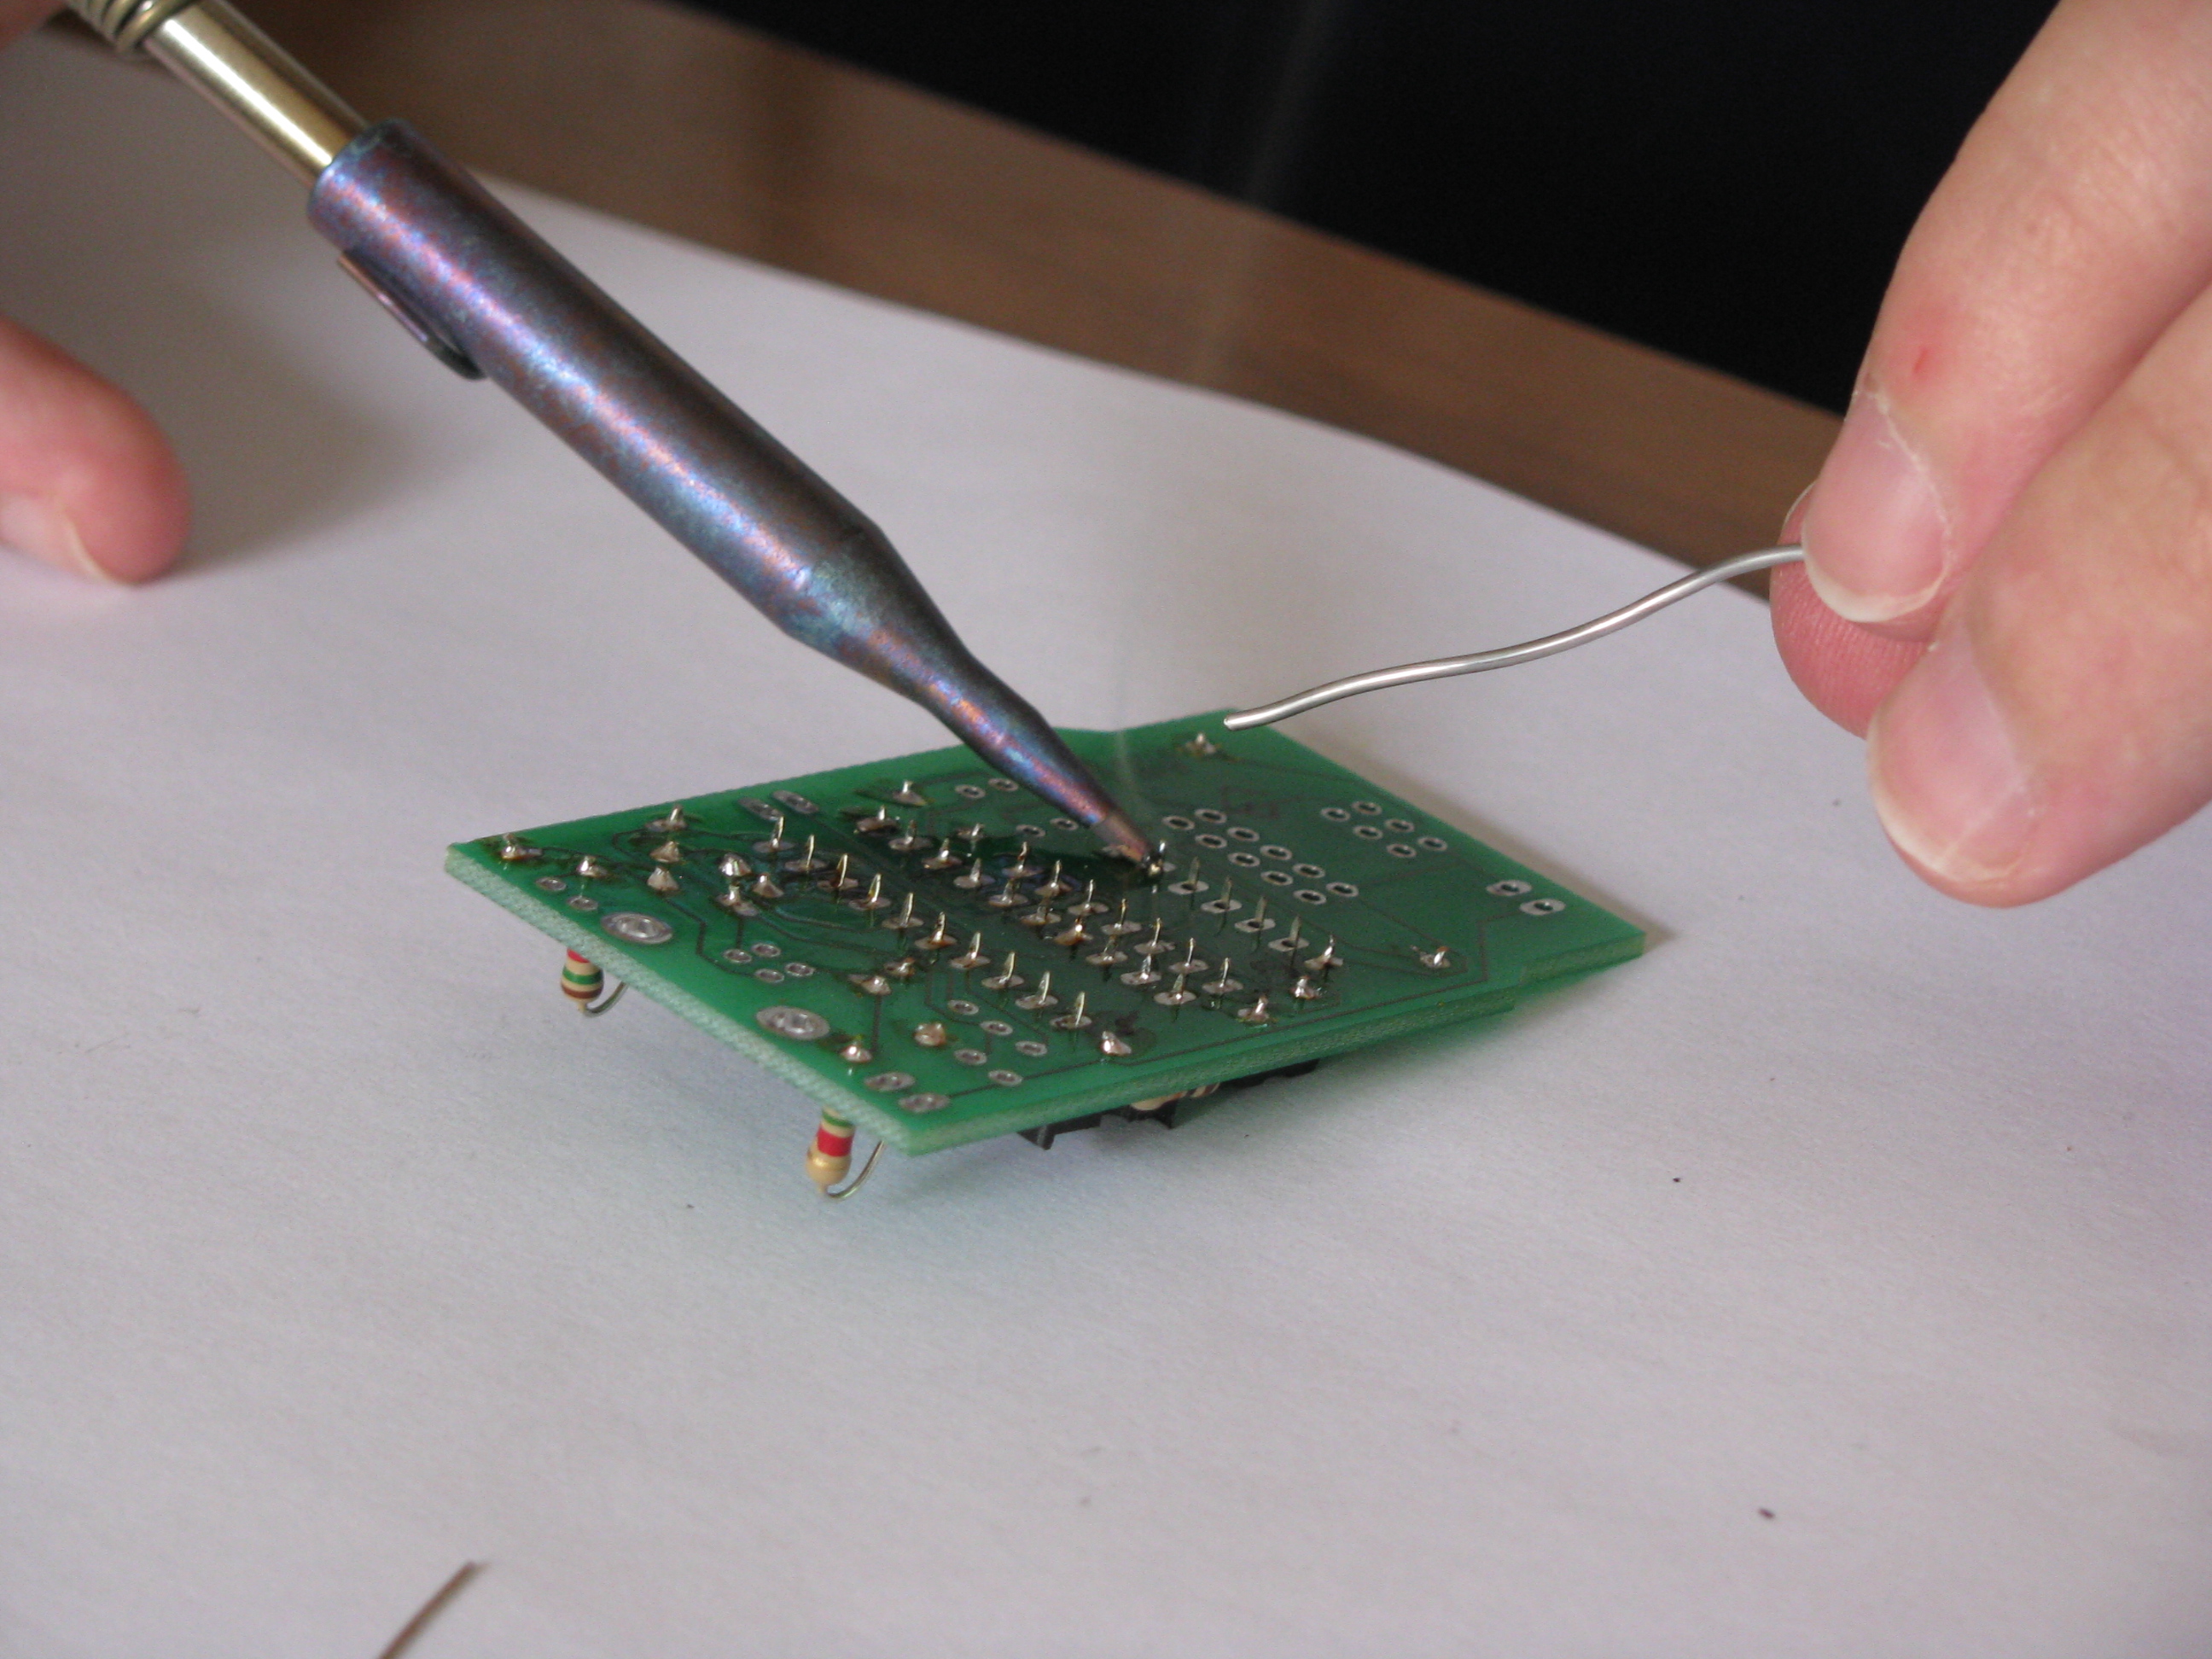
Having all the pieces, and the instructions, we start building.
The USBtinyISP programmer
It would not have been strictly necessary, since the batch #5 CupCakes come with pre-programmed microcontrollers, but it was in the package, and maybe one day I'll need it, so I built it.
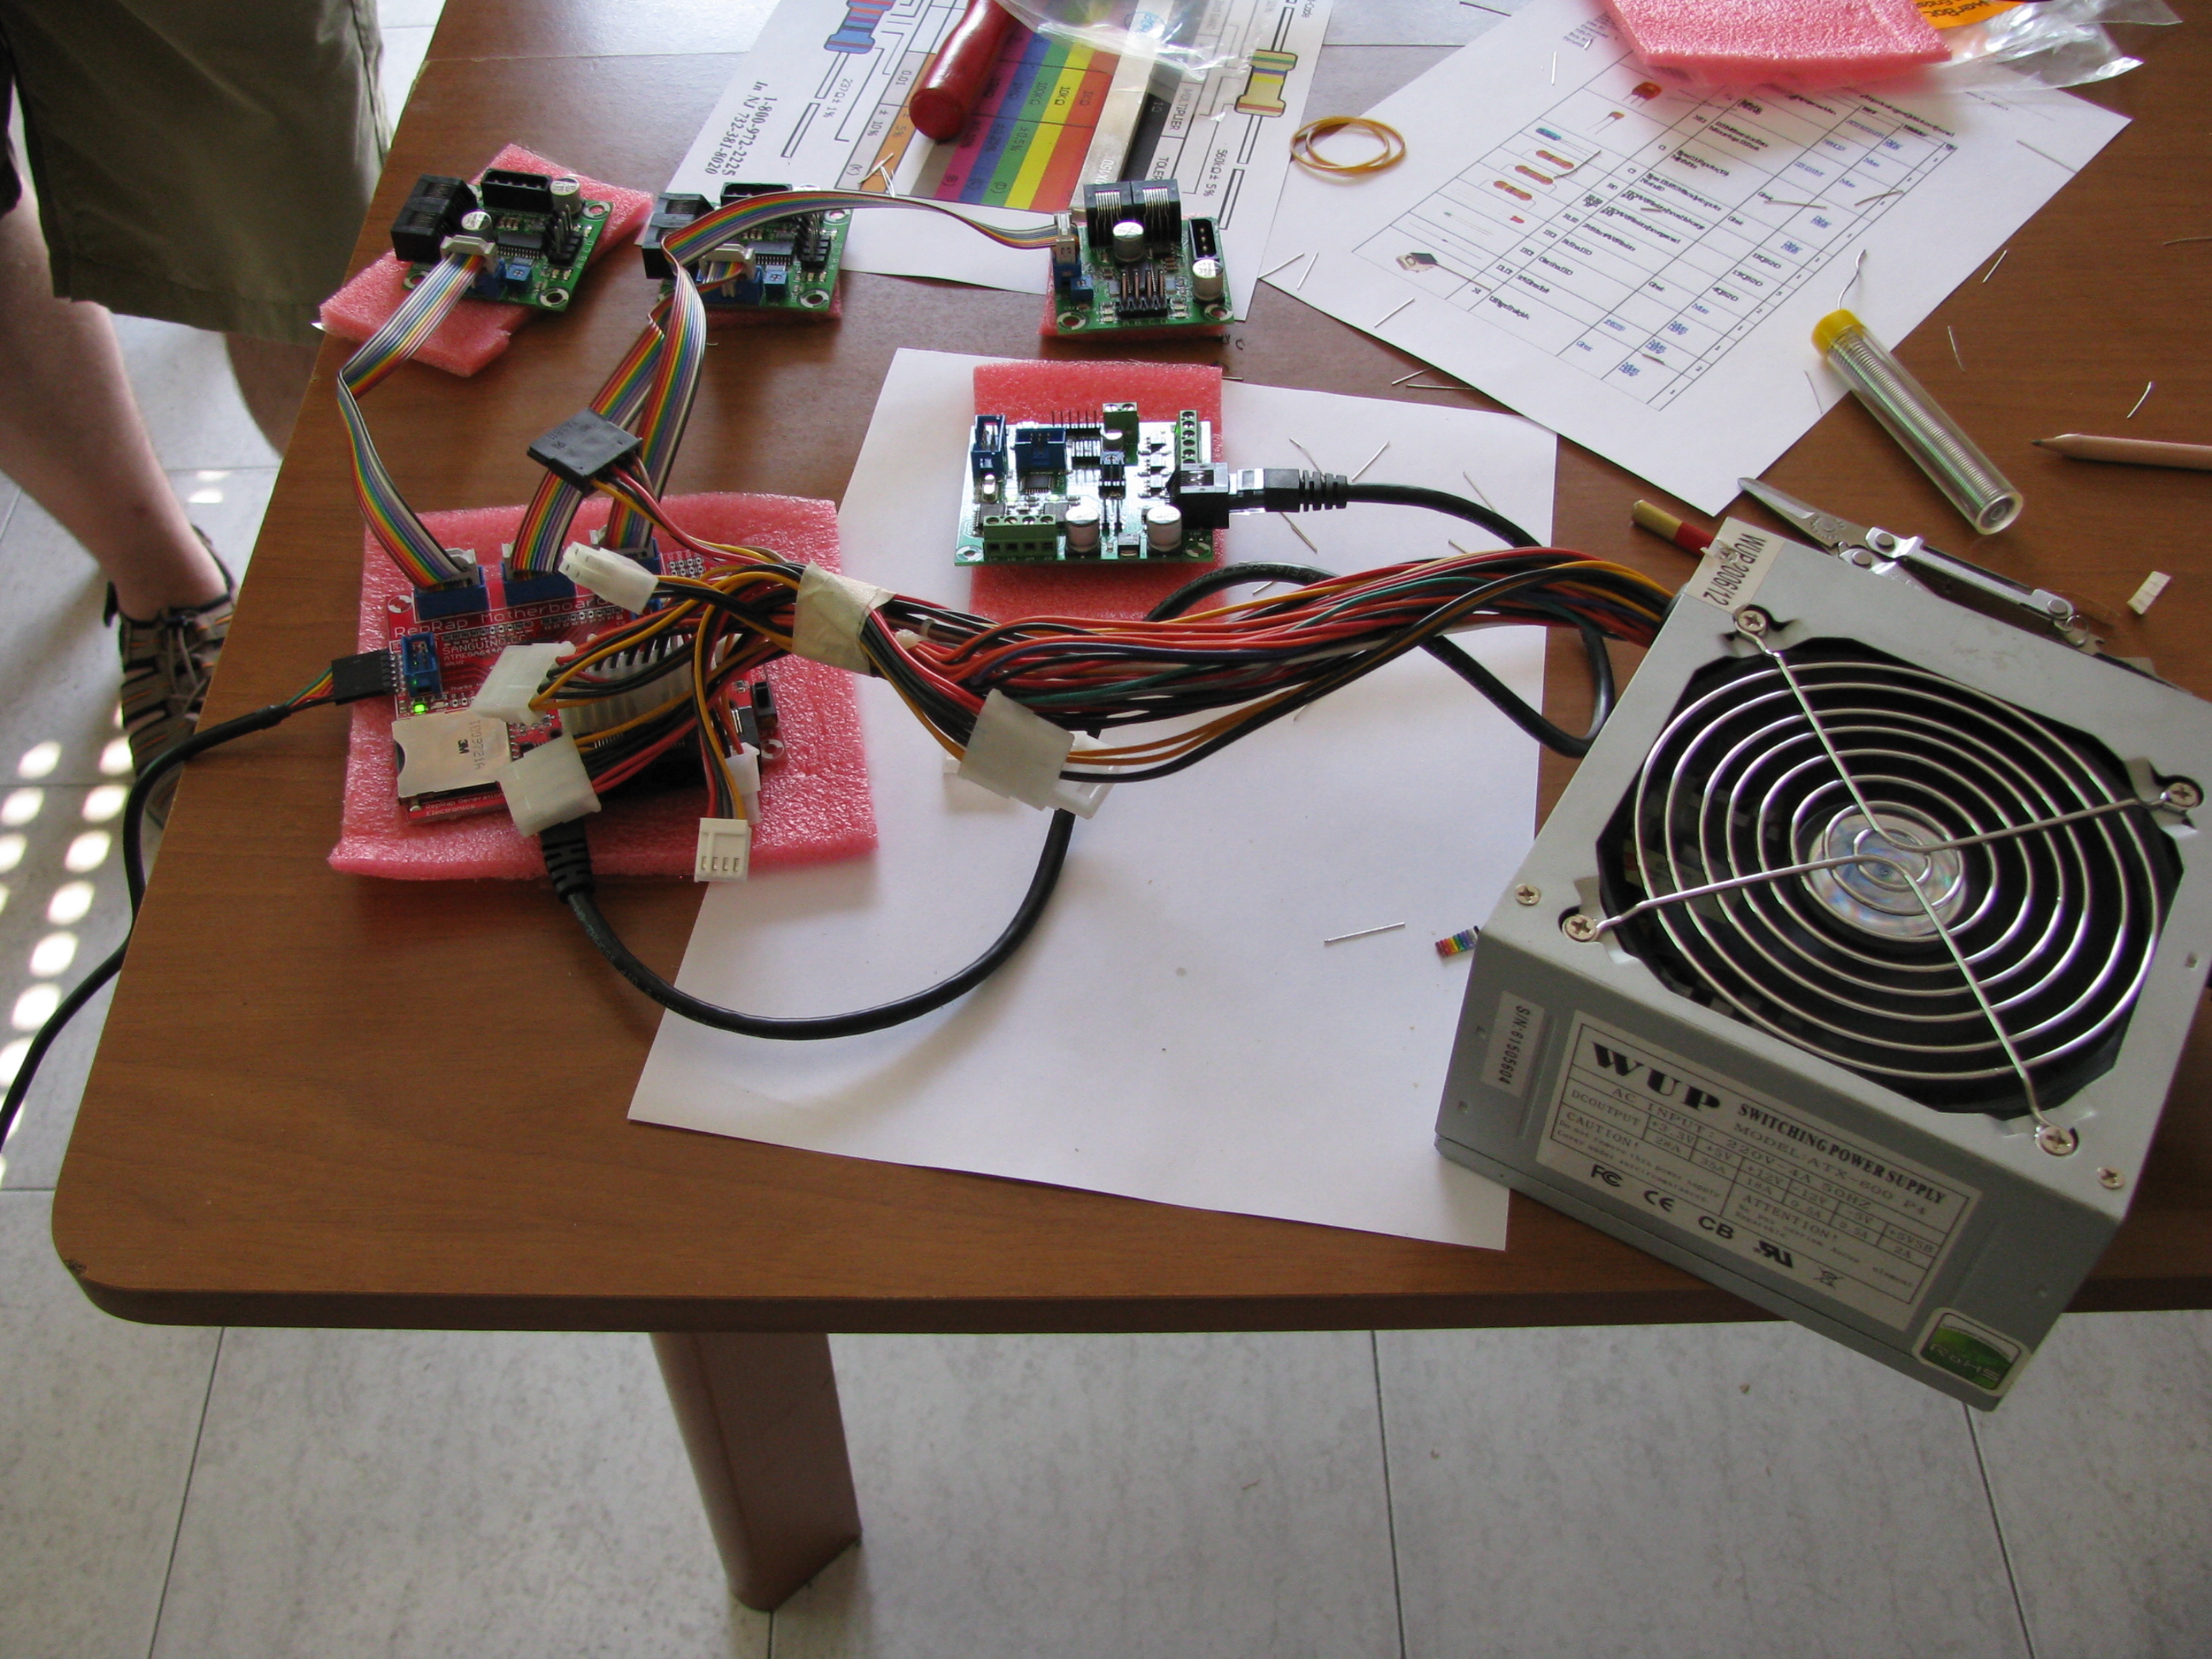
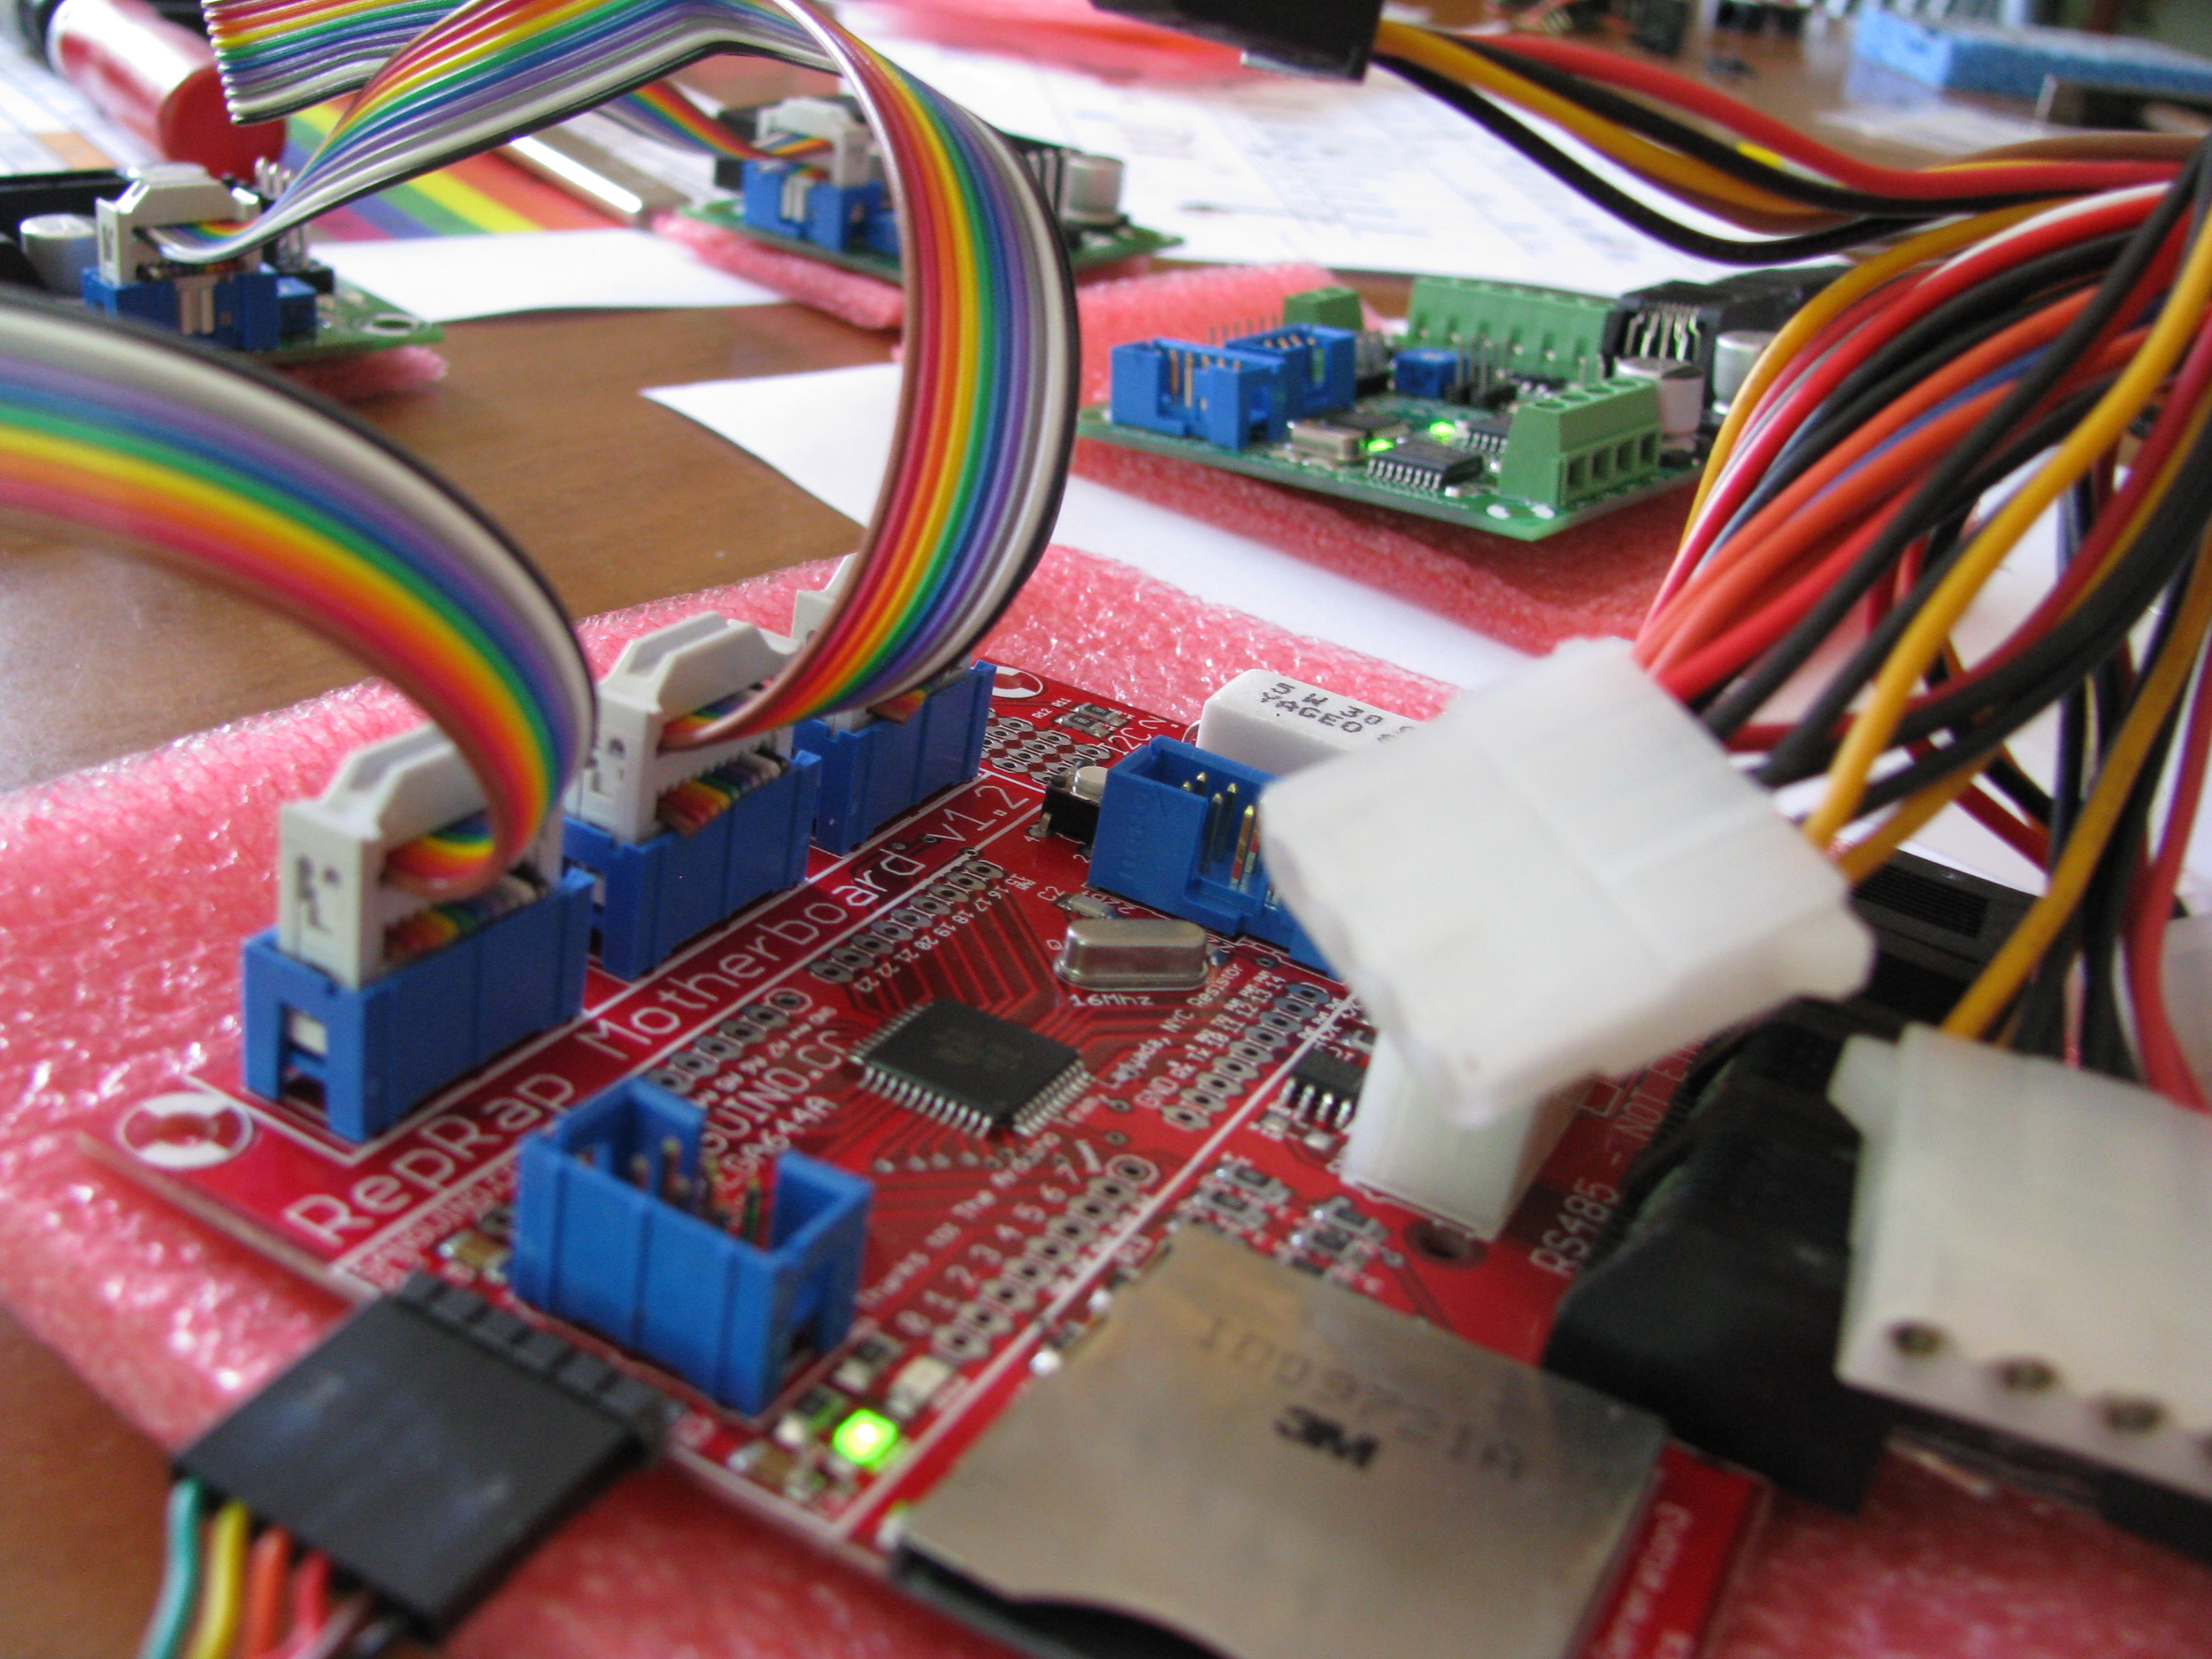
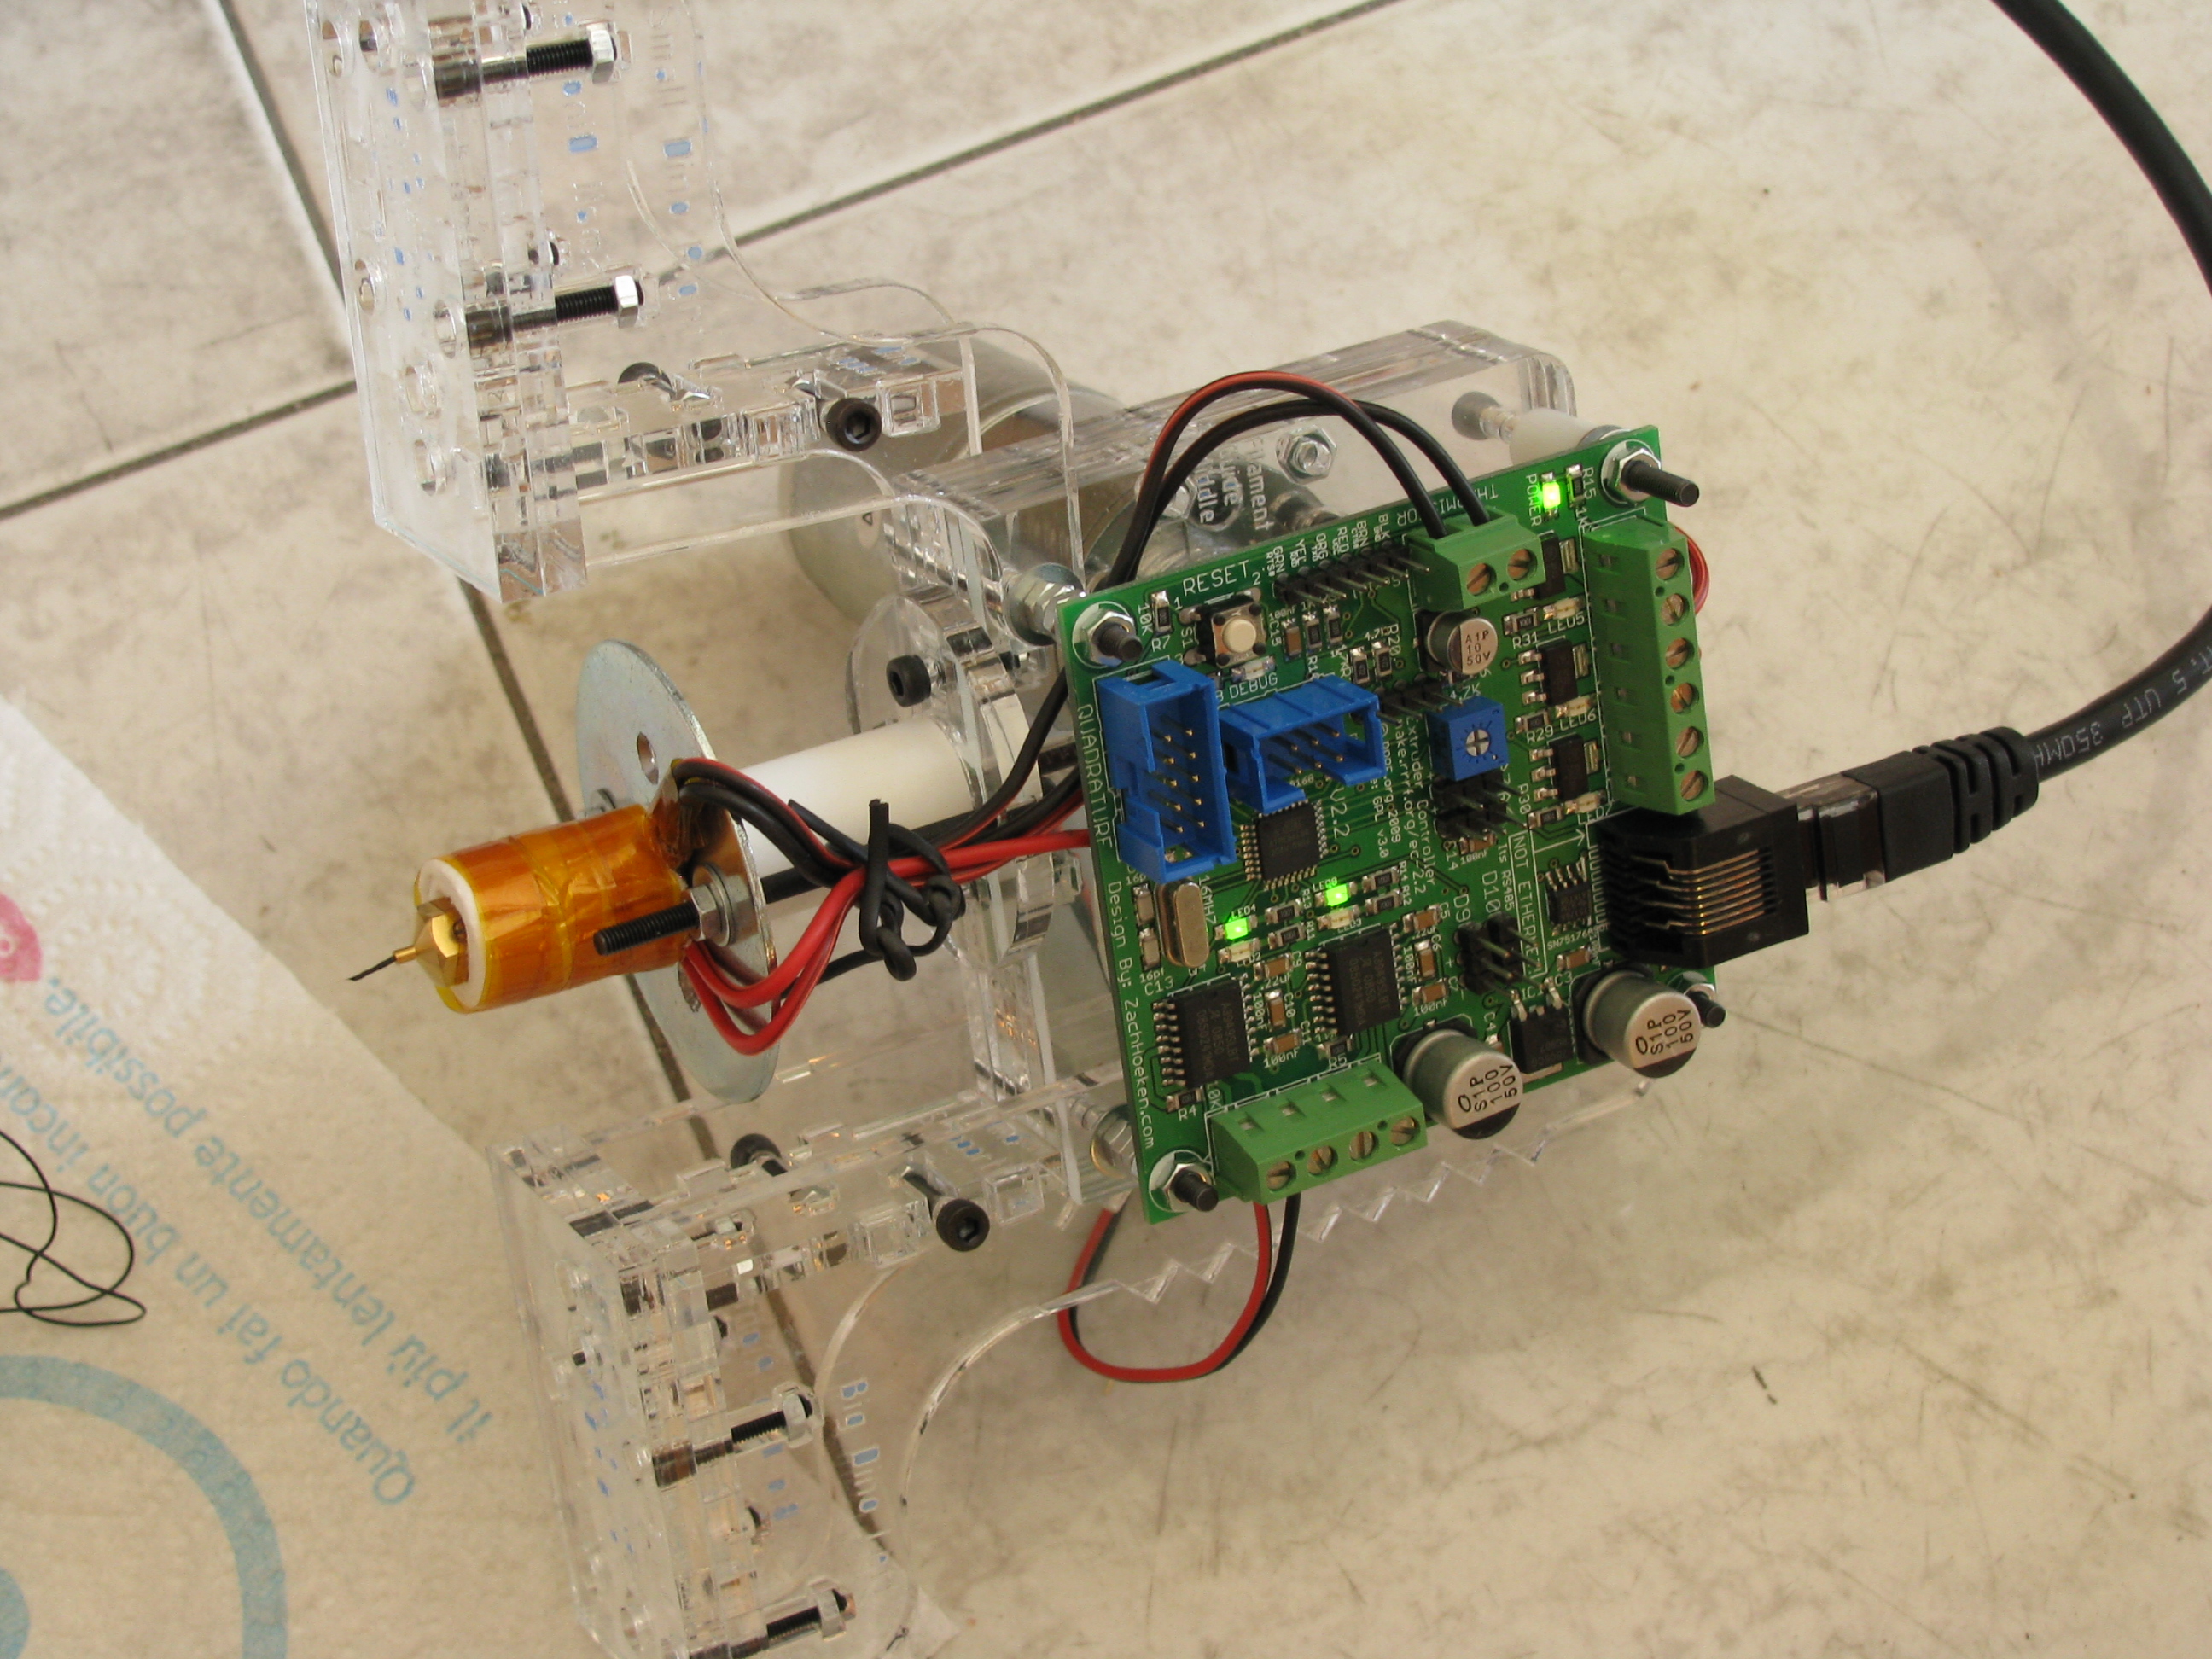
Motherboard and controllers
Now we start building and testing the rest of the electronics. After having connected the motherboard to the steppers' and extruder's controllers, we turn it on: the technical name of this operation is "smoke test".
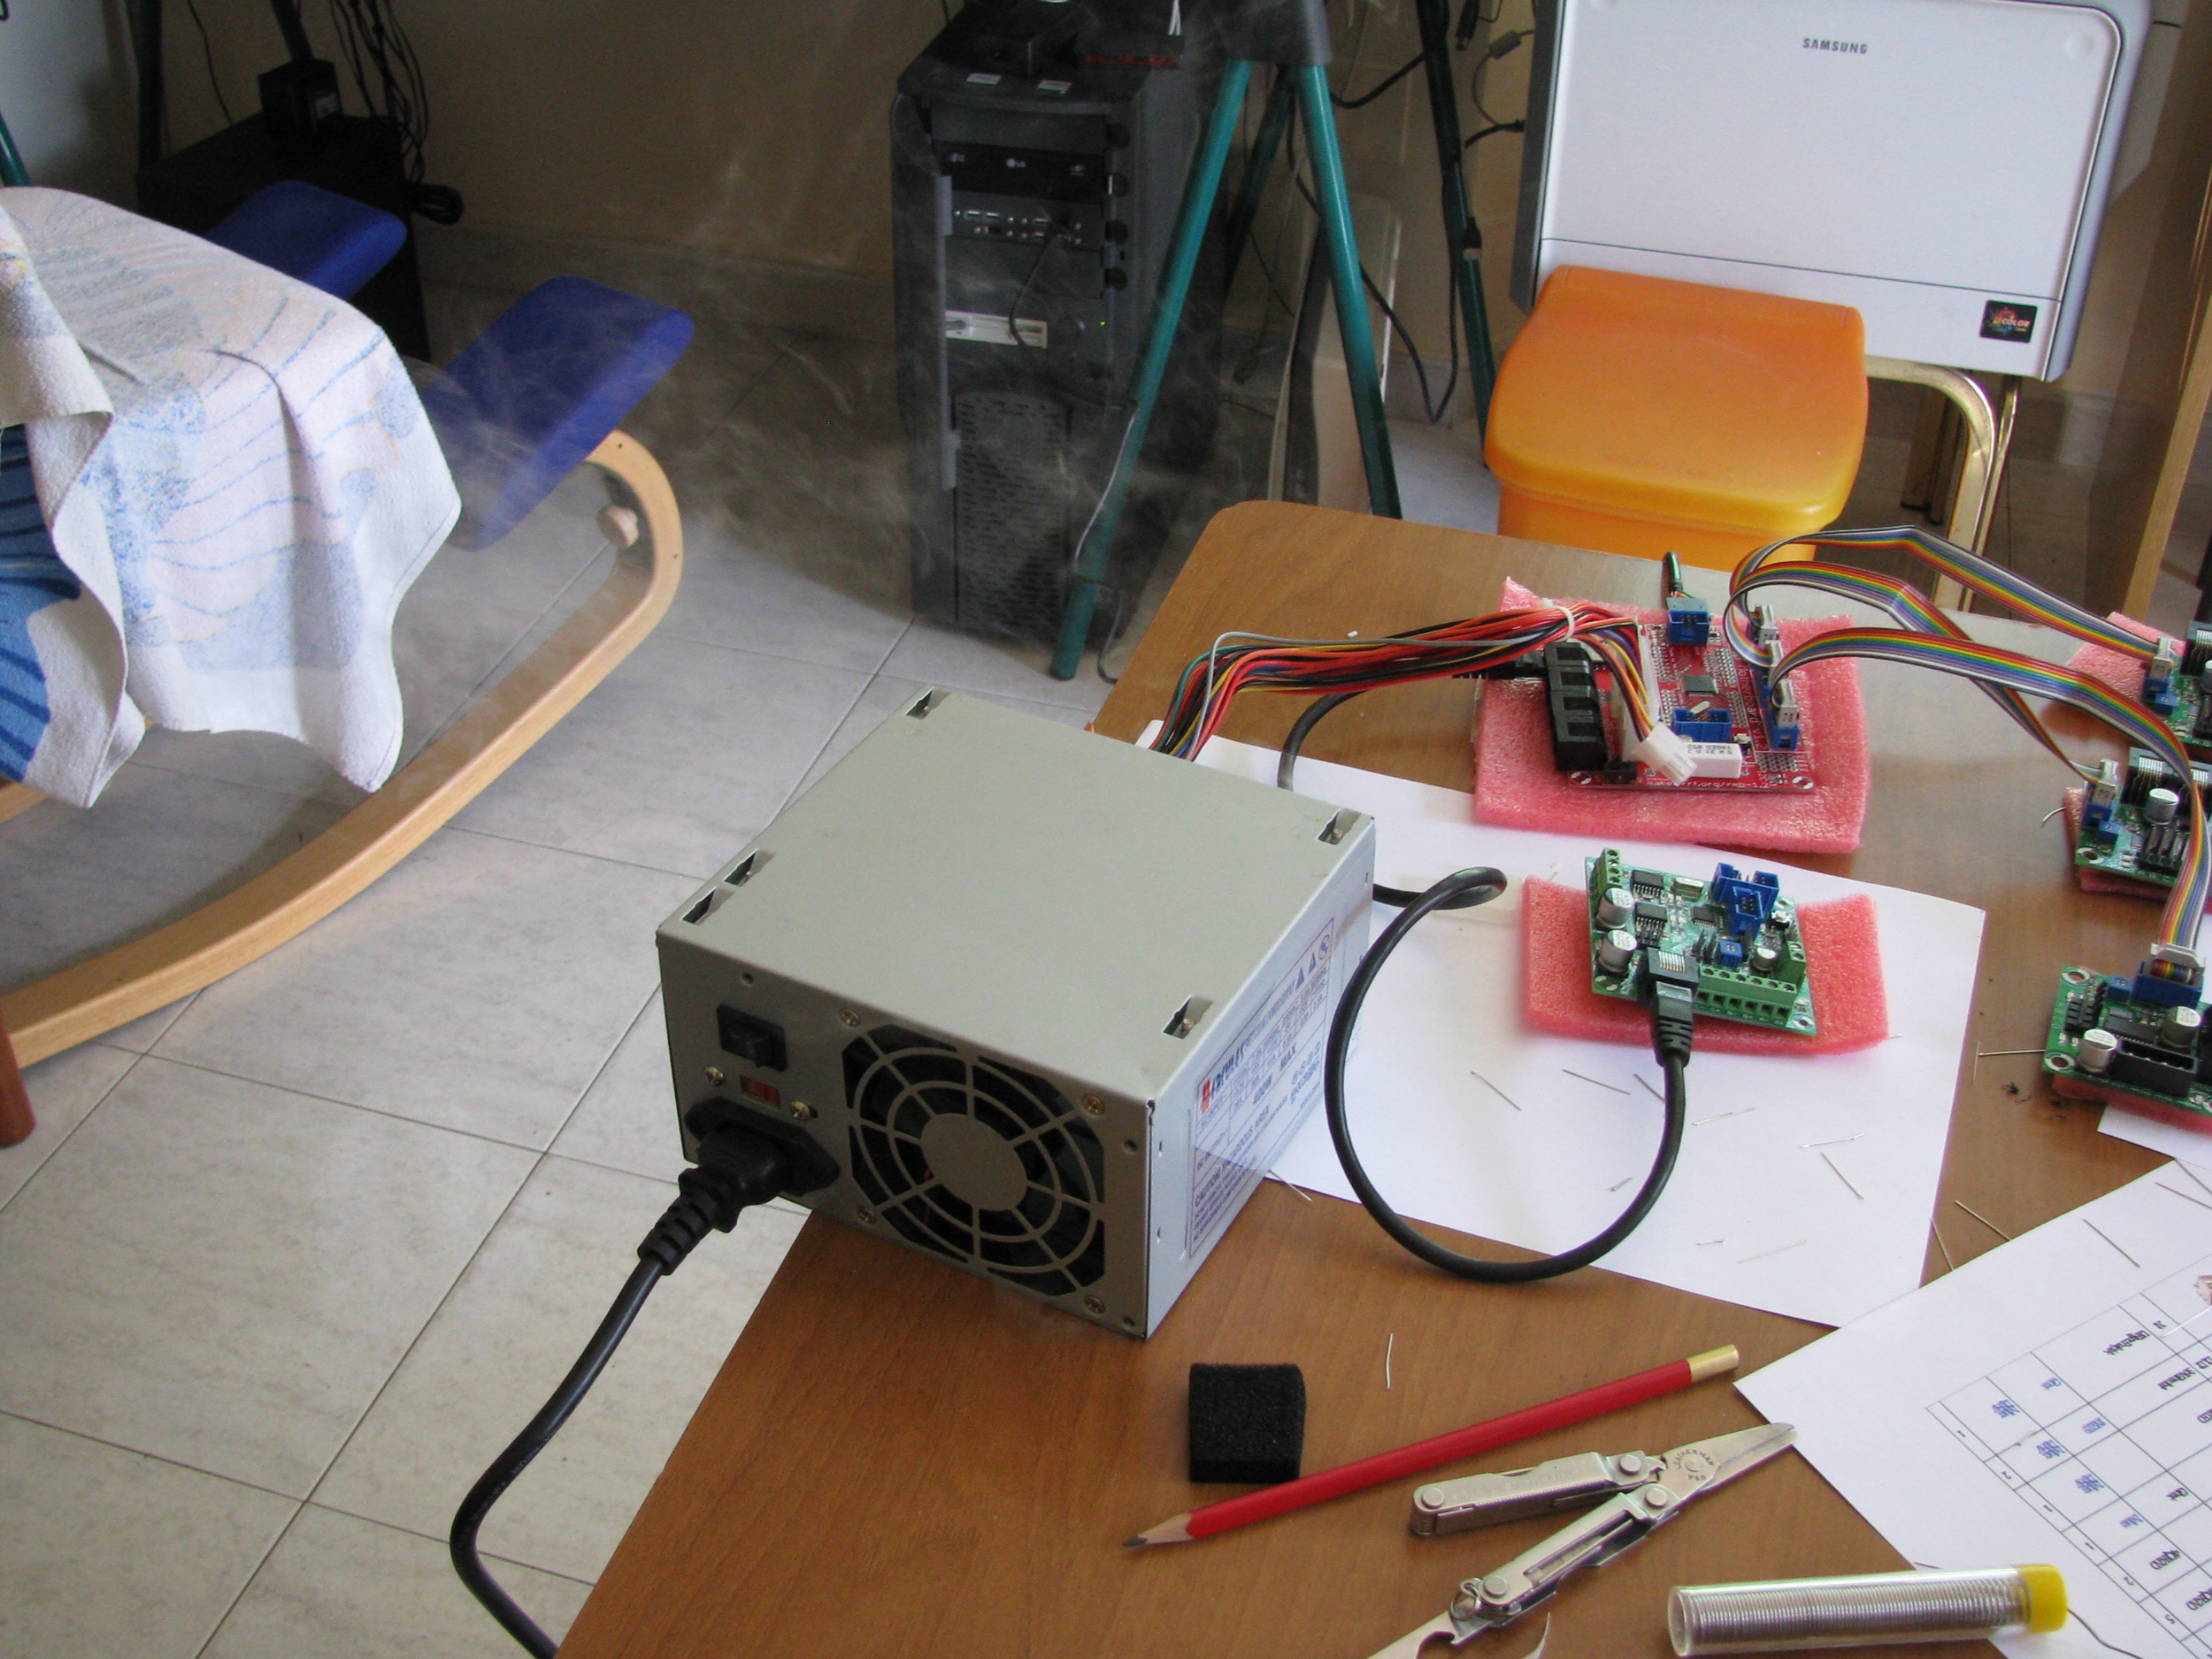
Although I had read the warning about the power supply, I managed to blow up the nice power supply included in the kit. Luckily I have a few of my own!
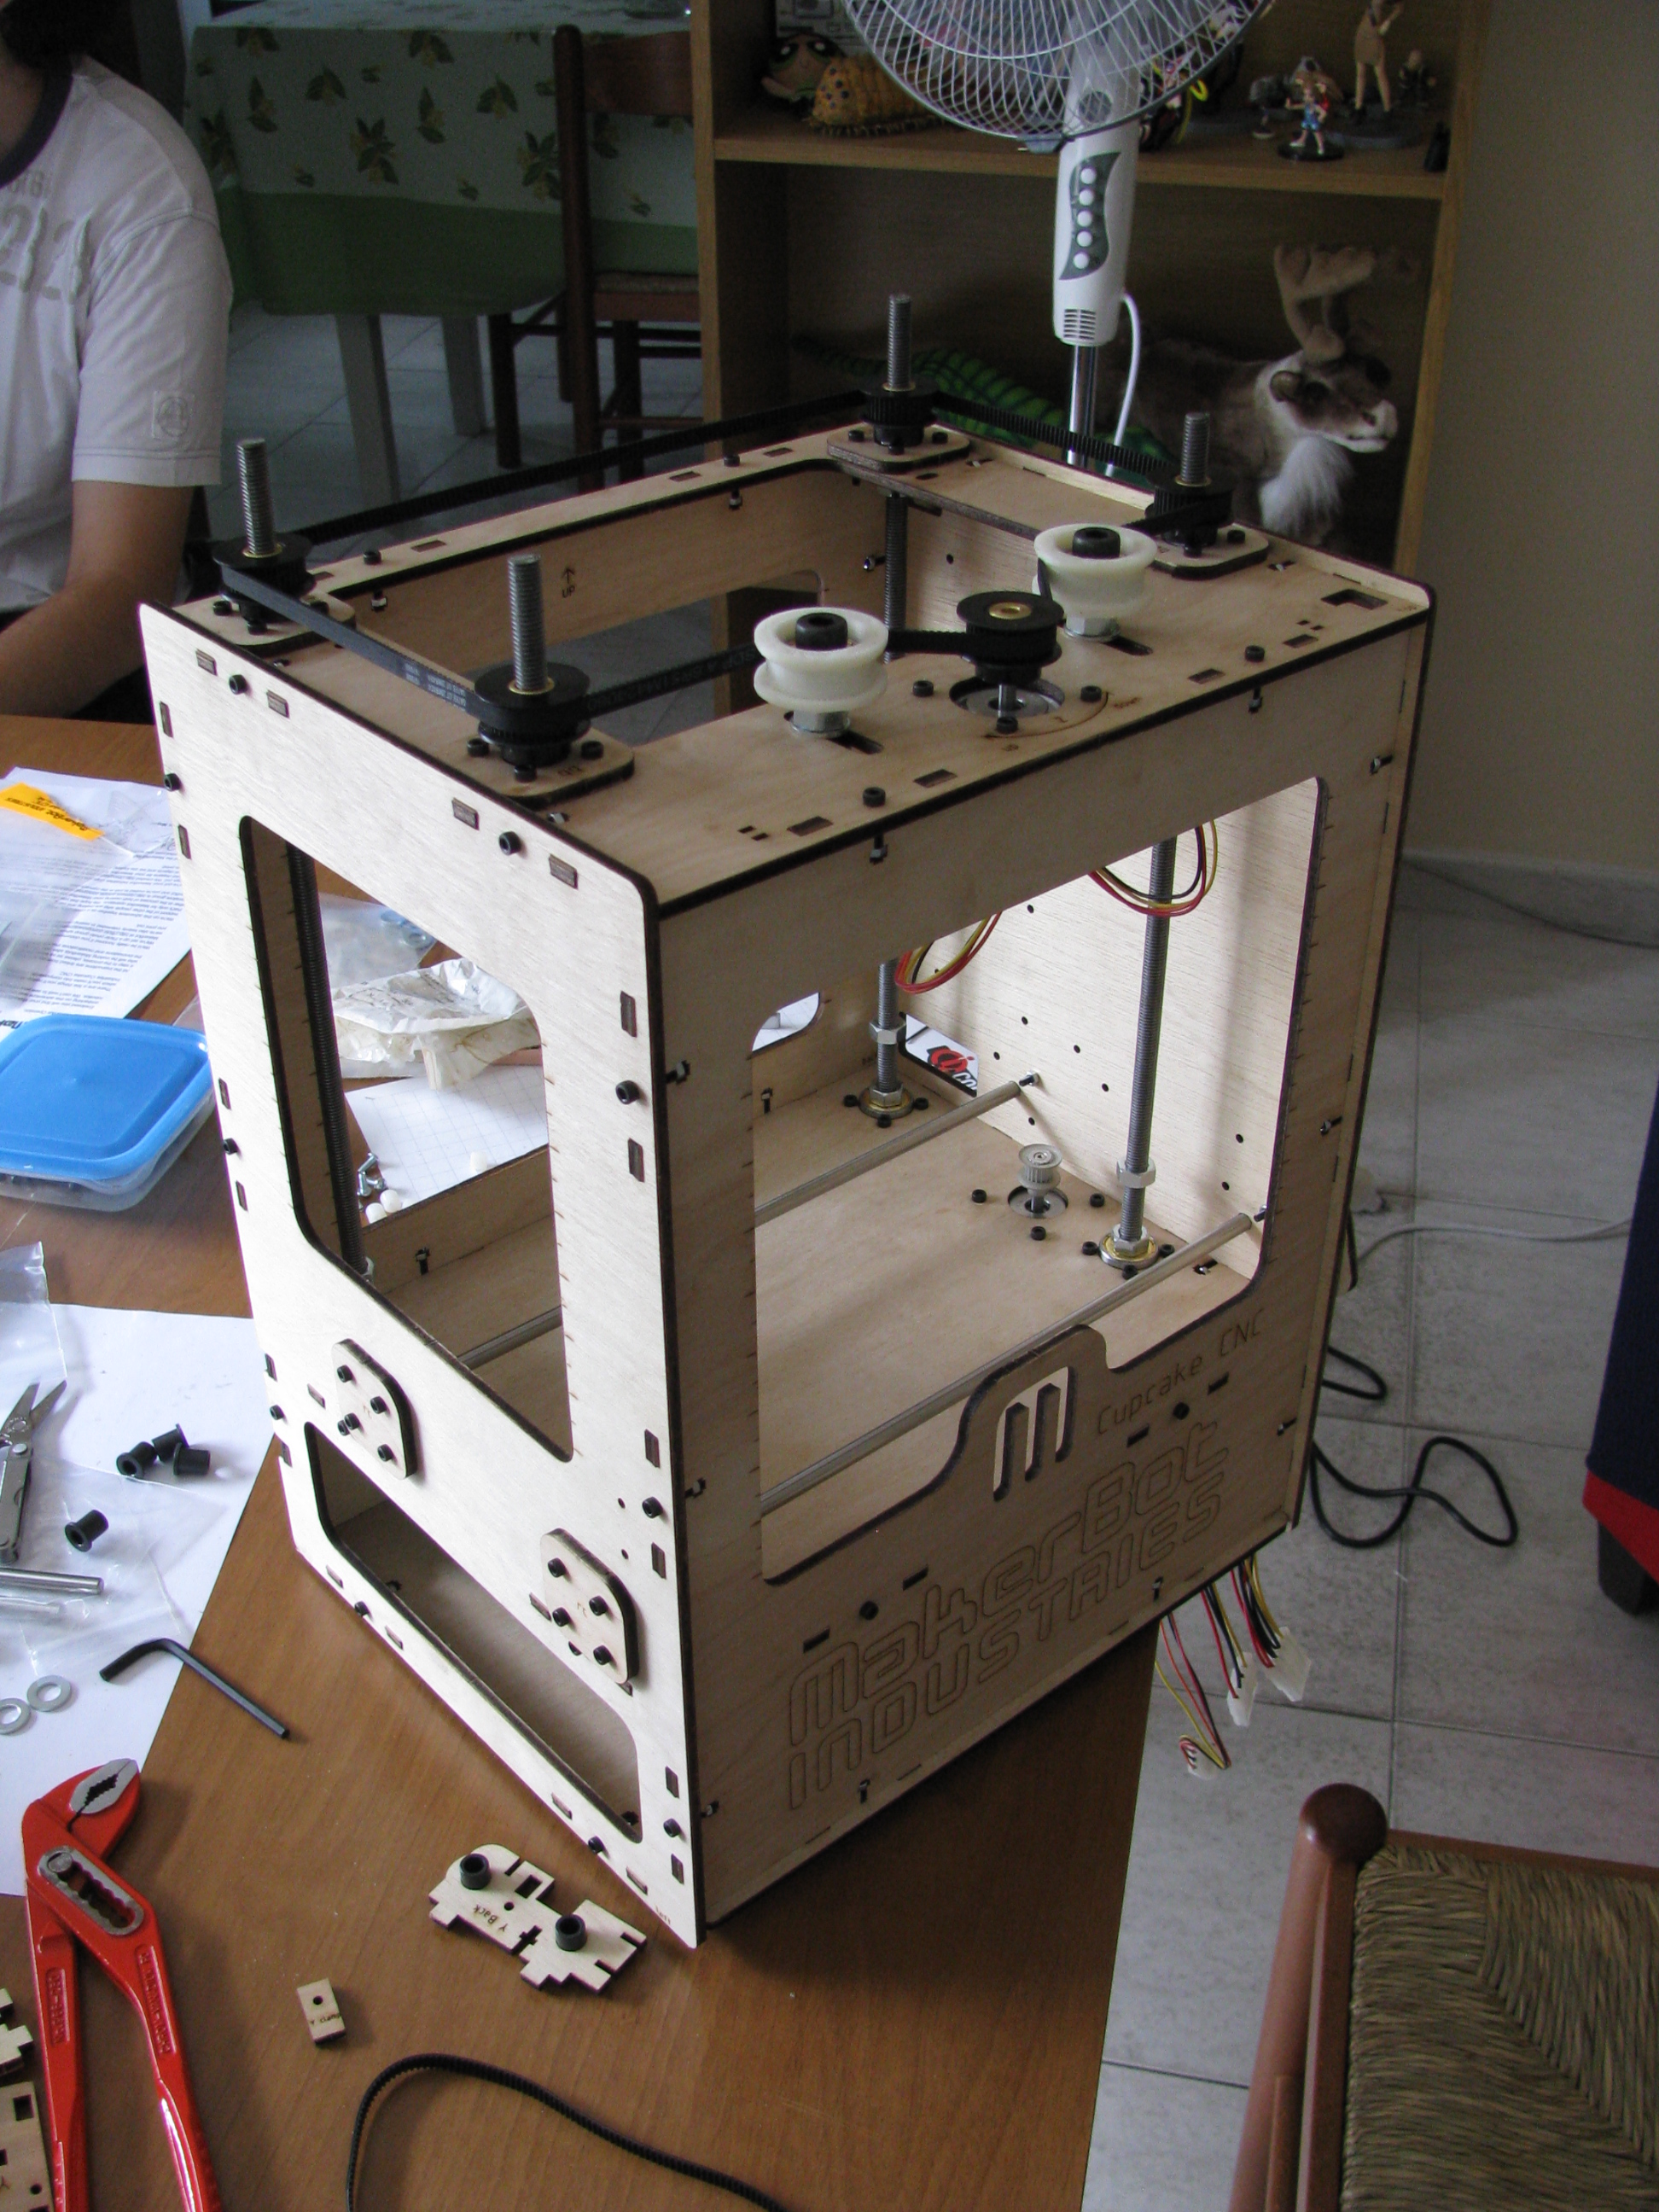
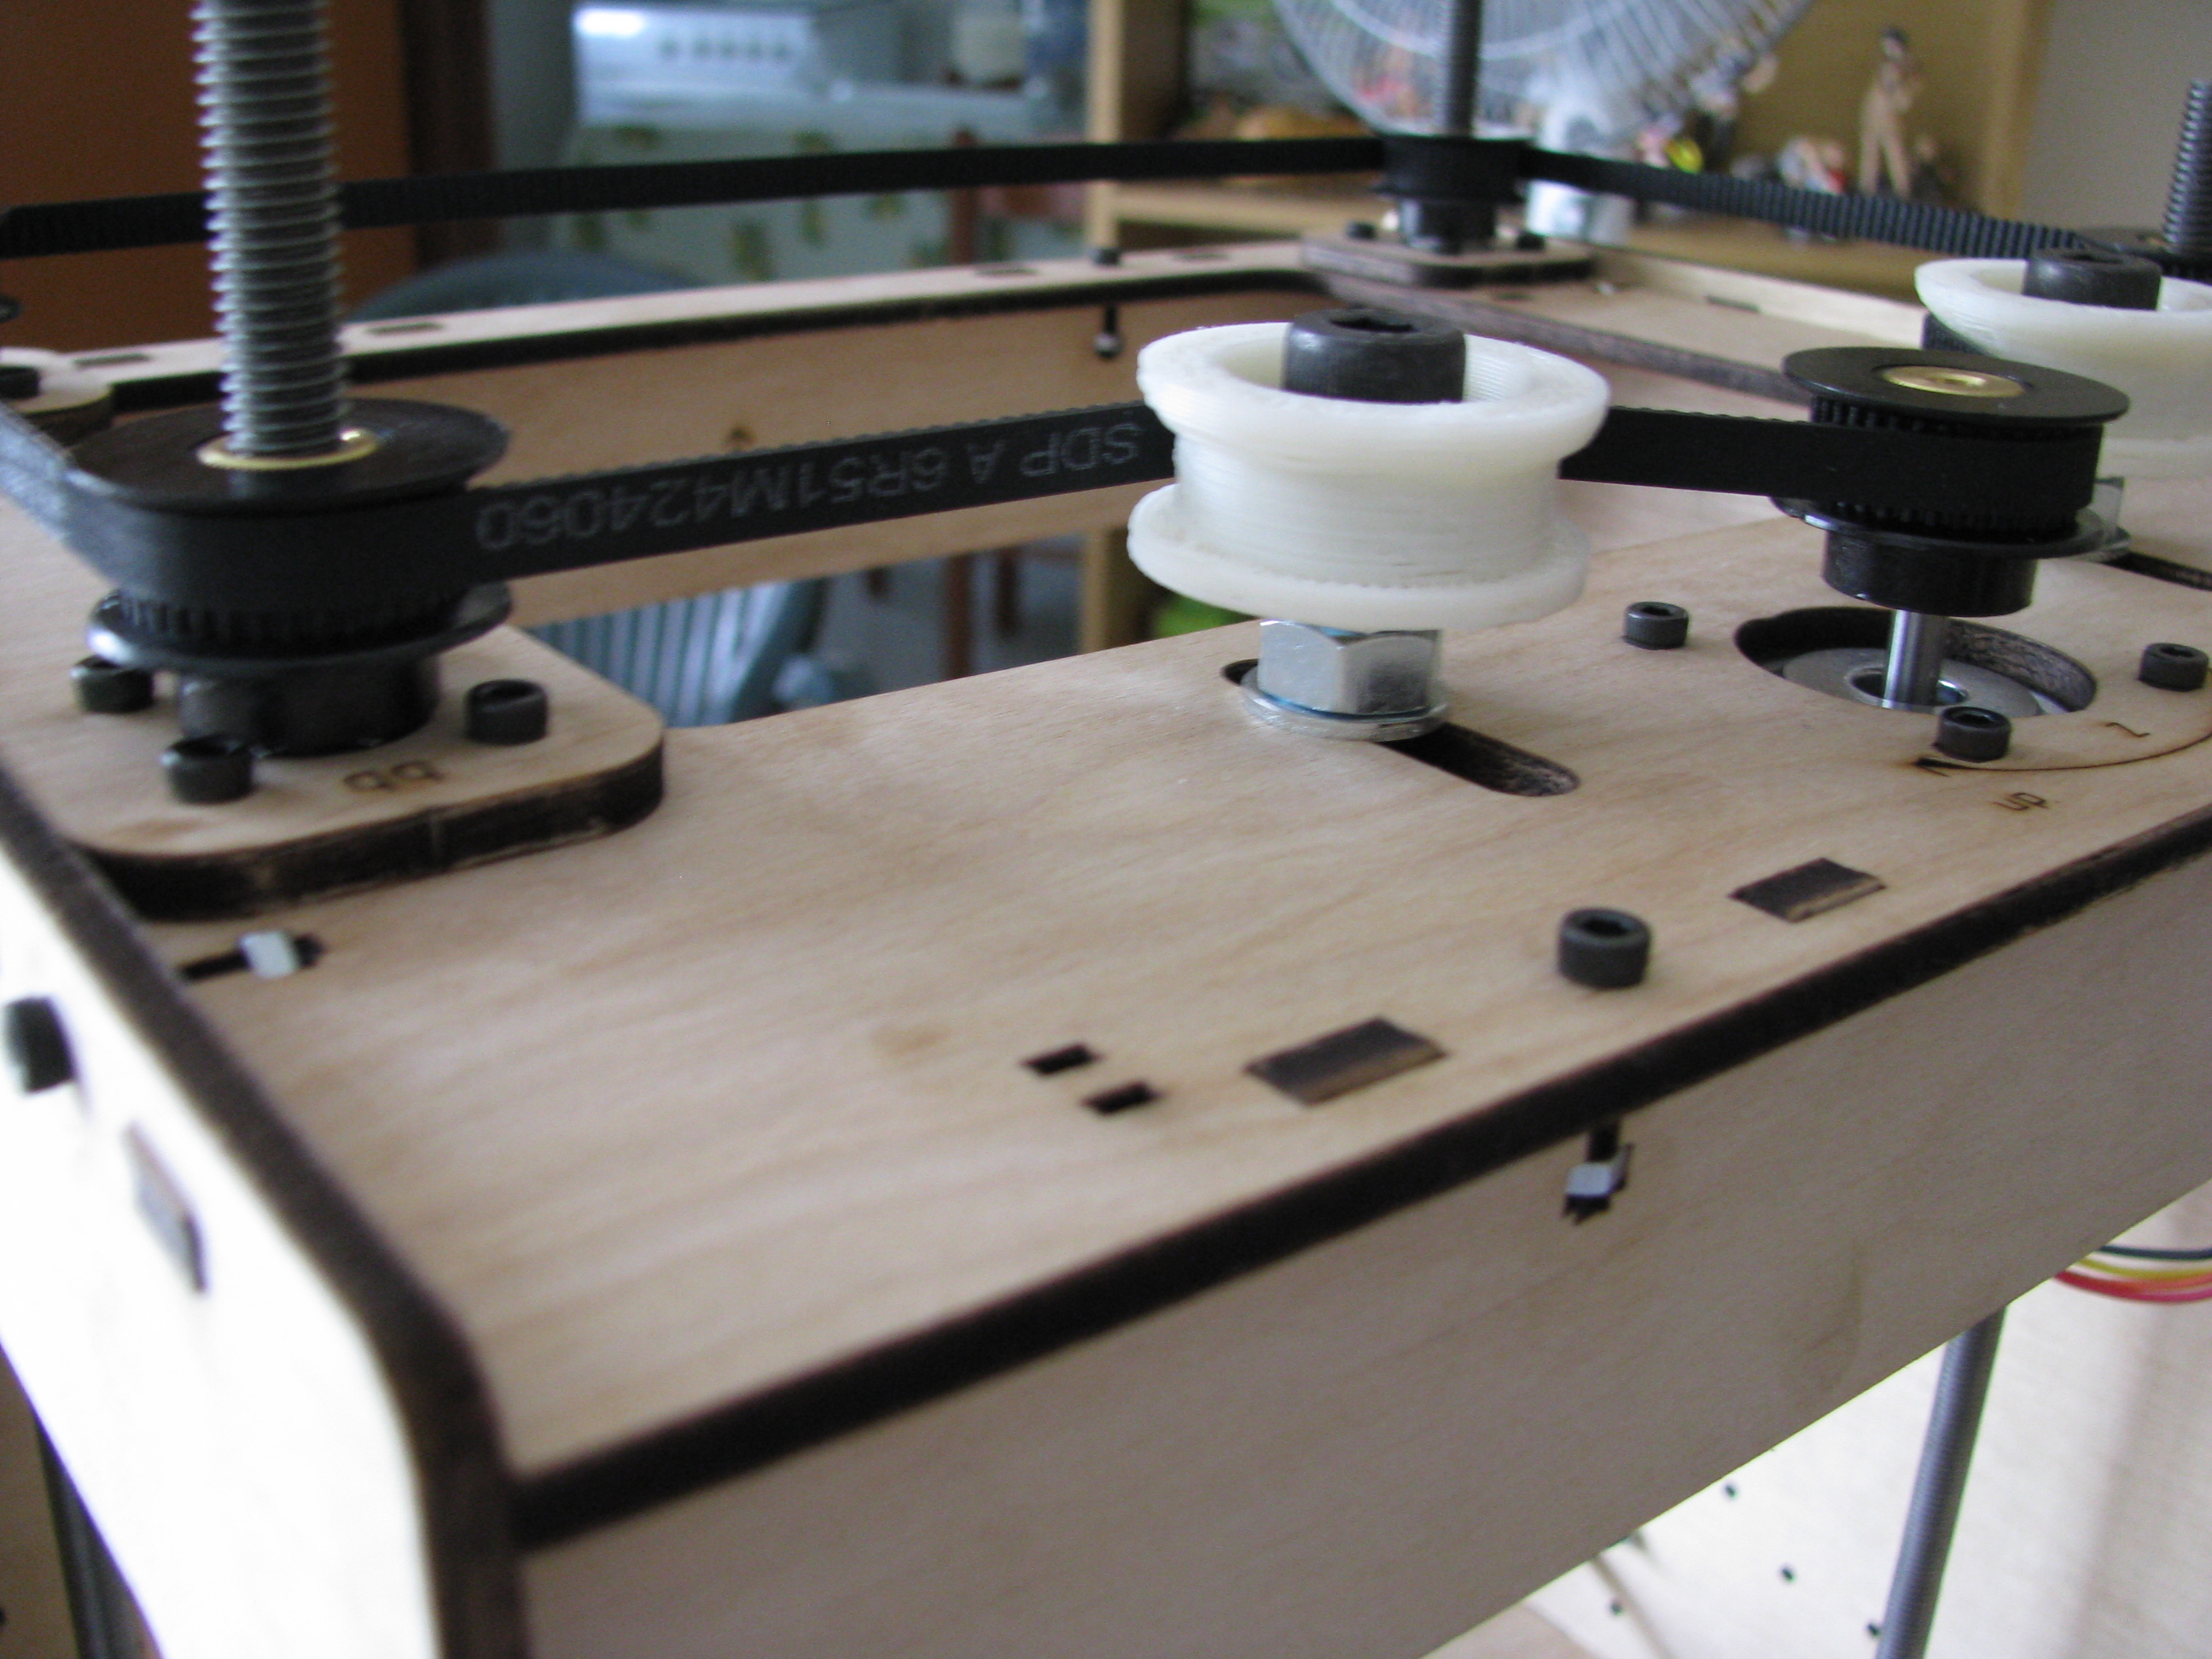
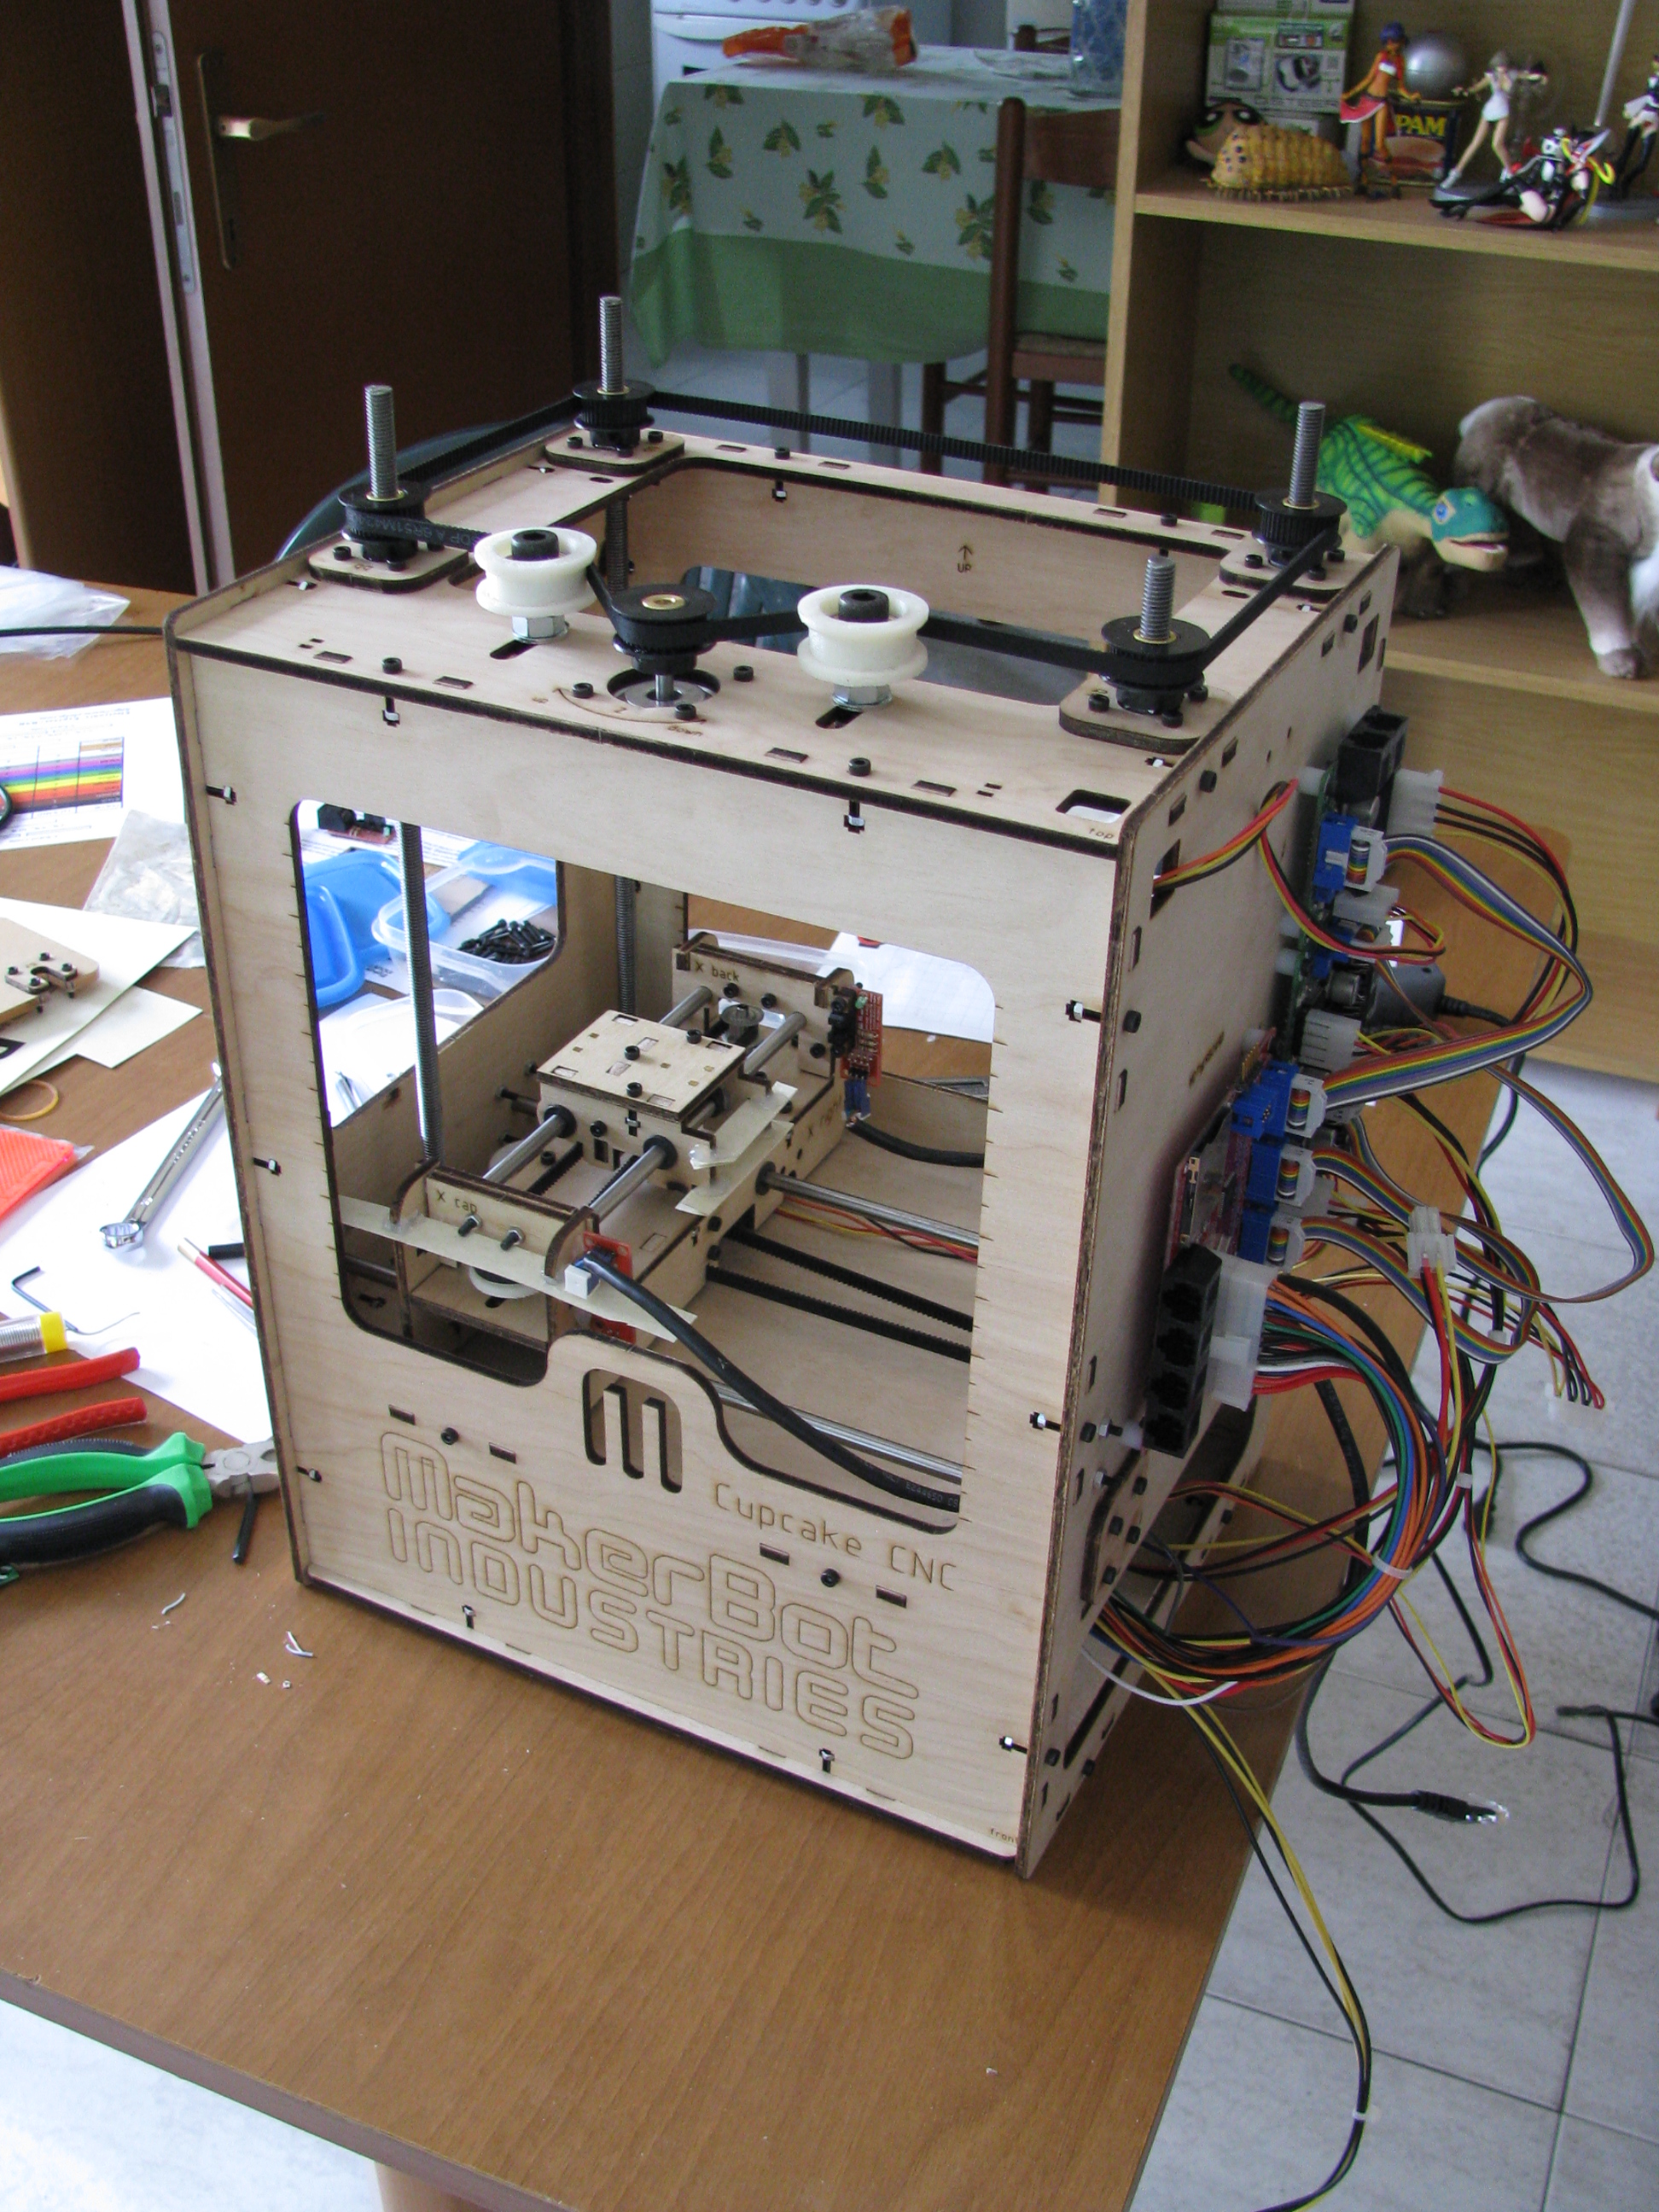
Assembling the body
Nothing hard: the assemblage with tabs and captive nuts is a stroke of genius.
(Yes, I've skipped a few steps, I haven't shot everything)

I stopped here for the first day, also because it was already dinner time. I started again the following morning.
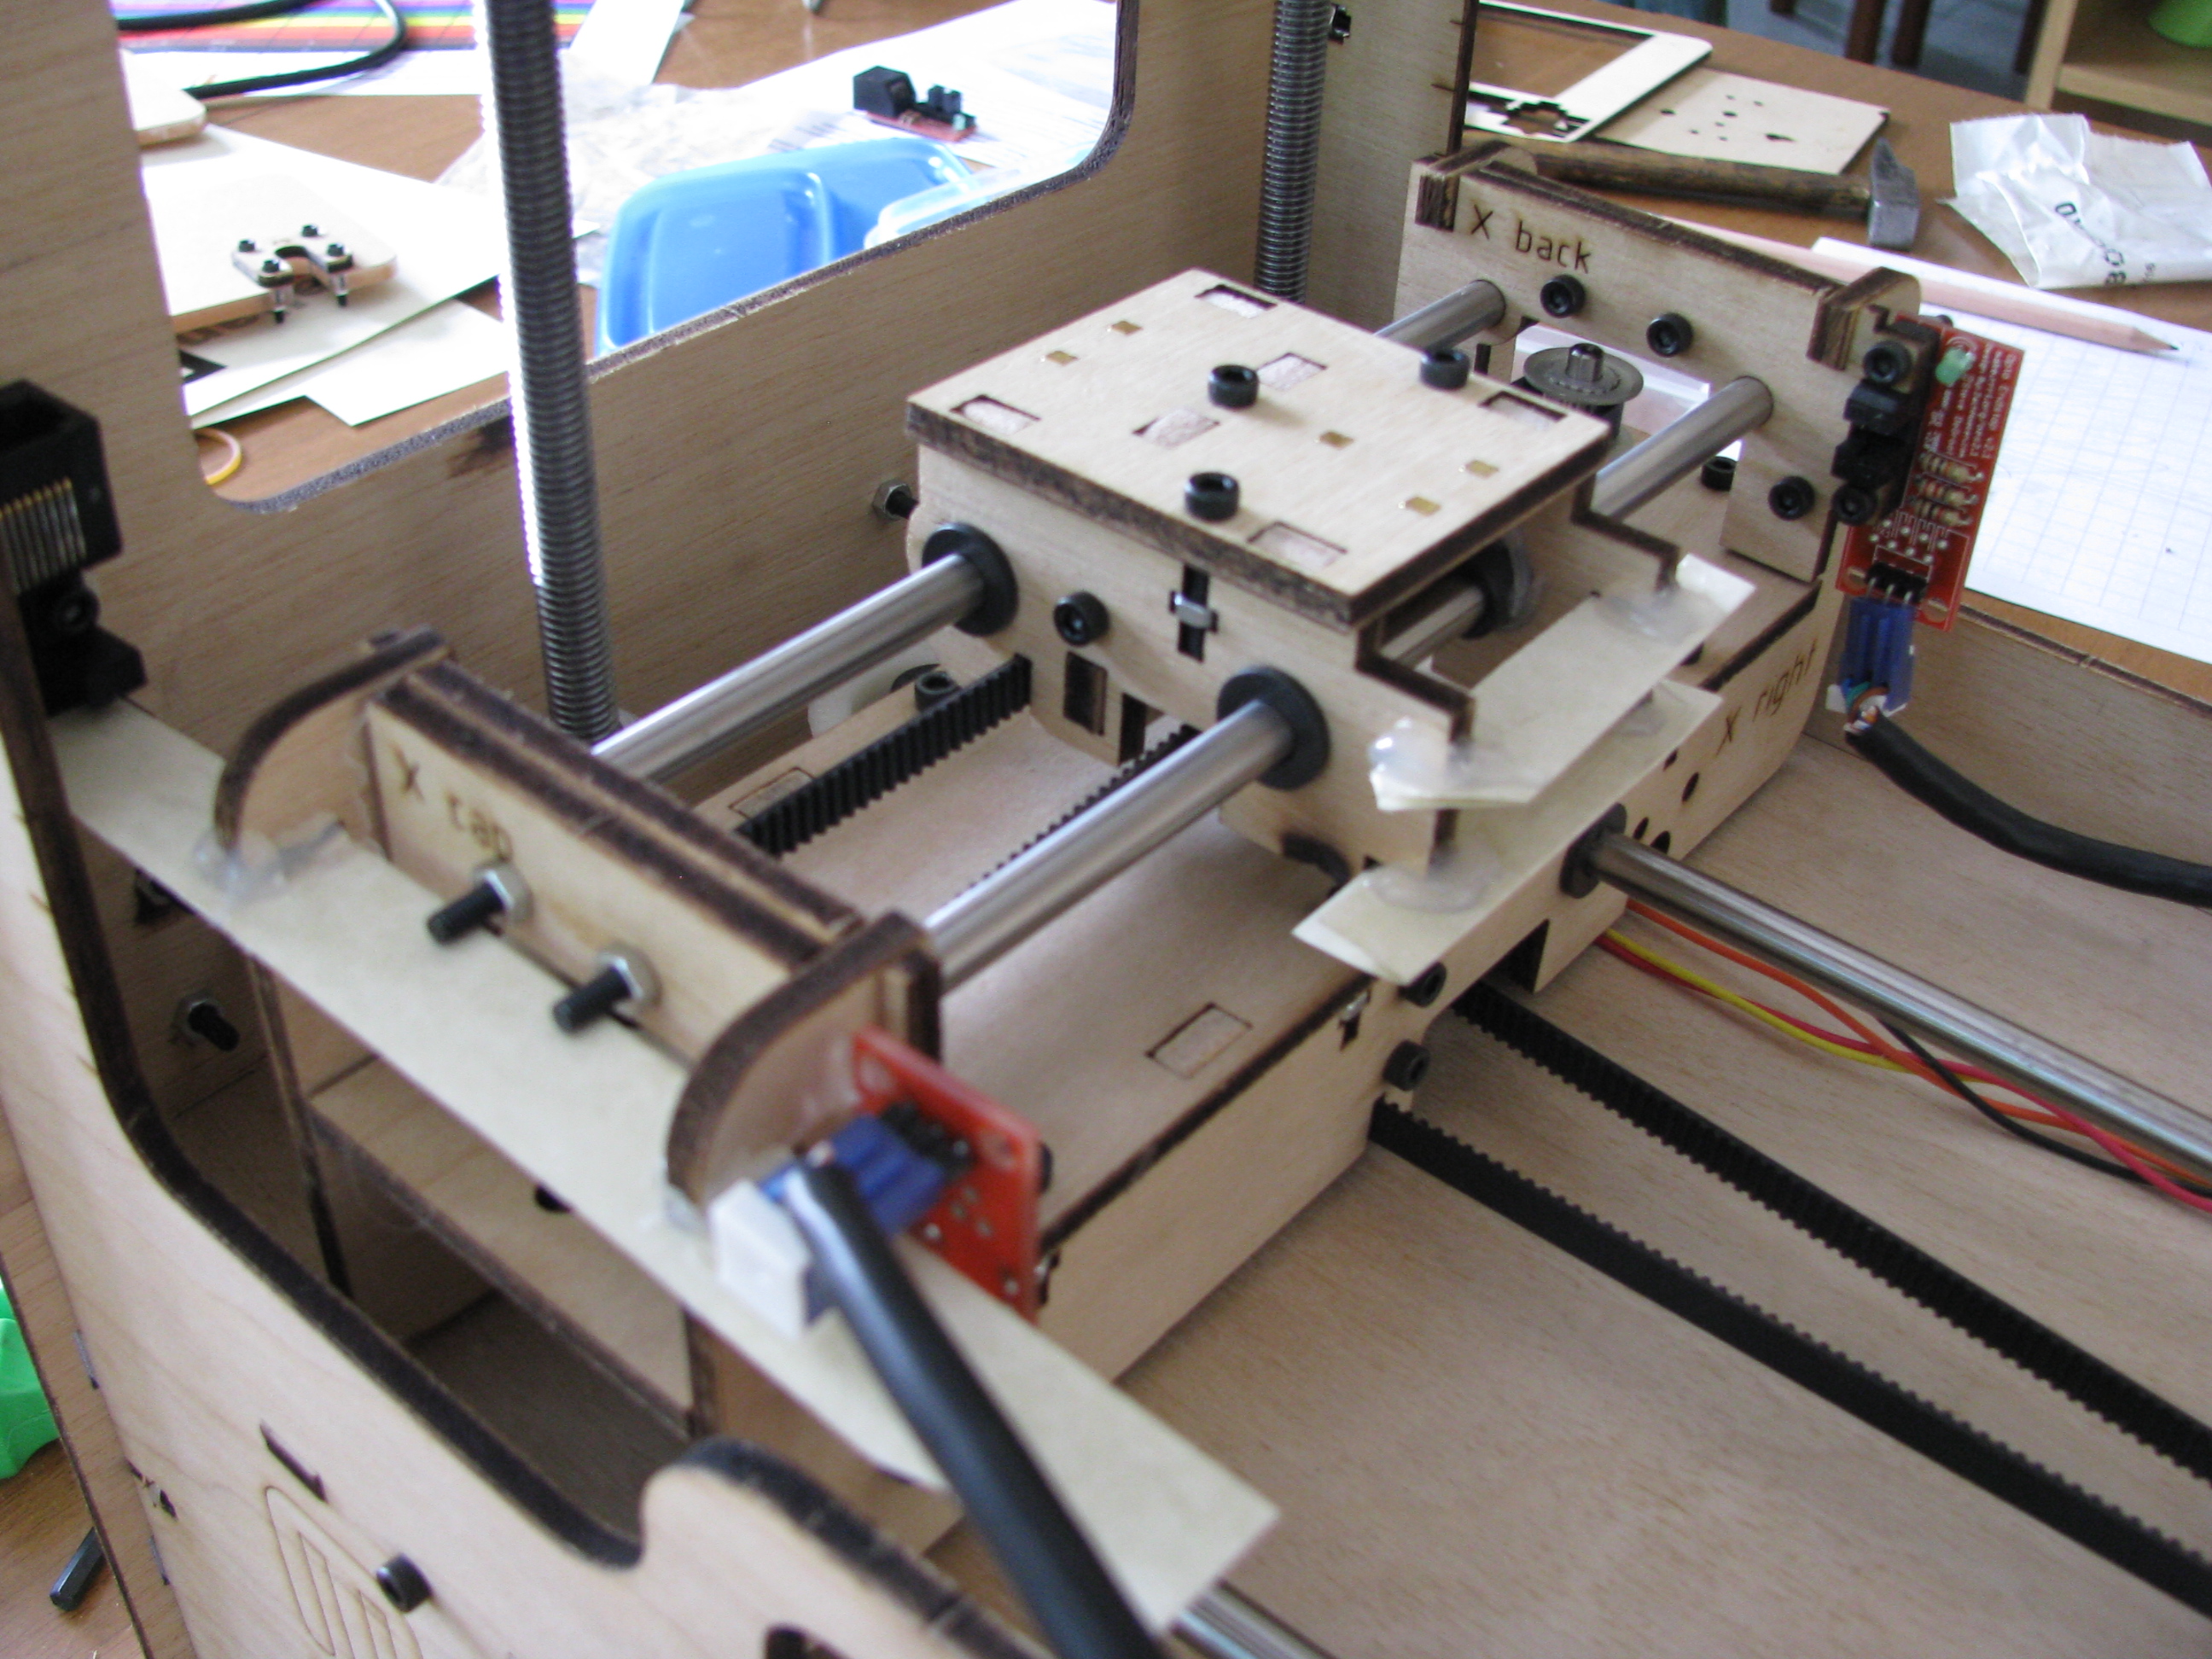
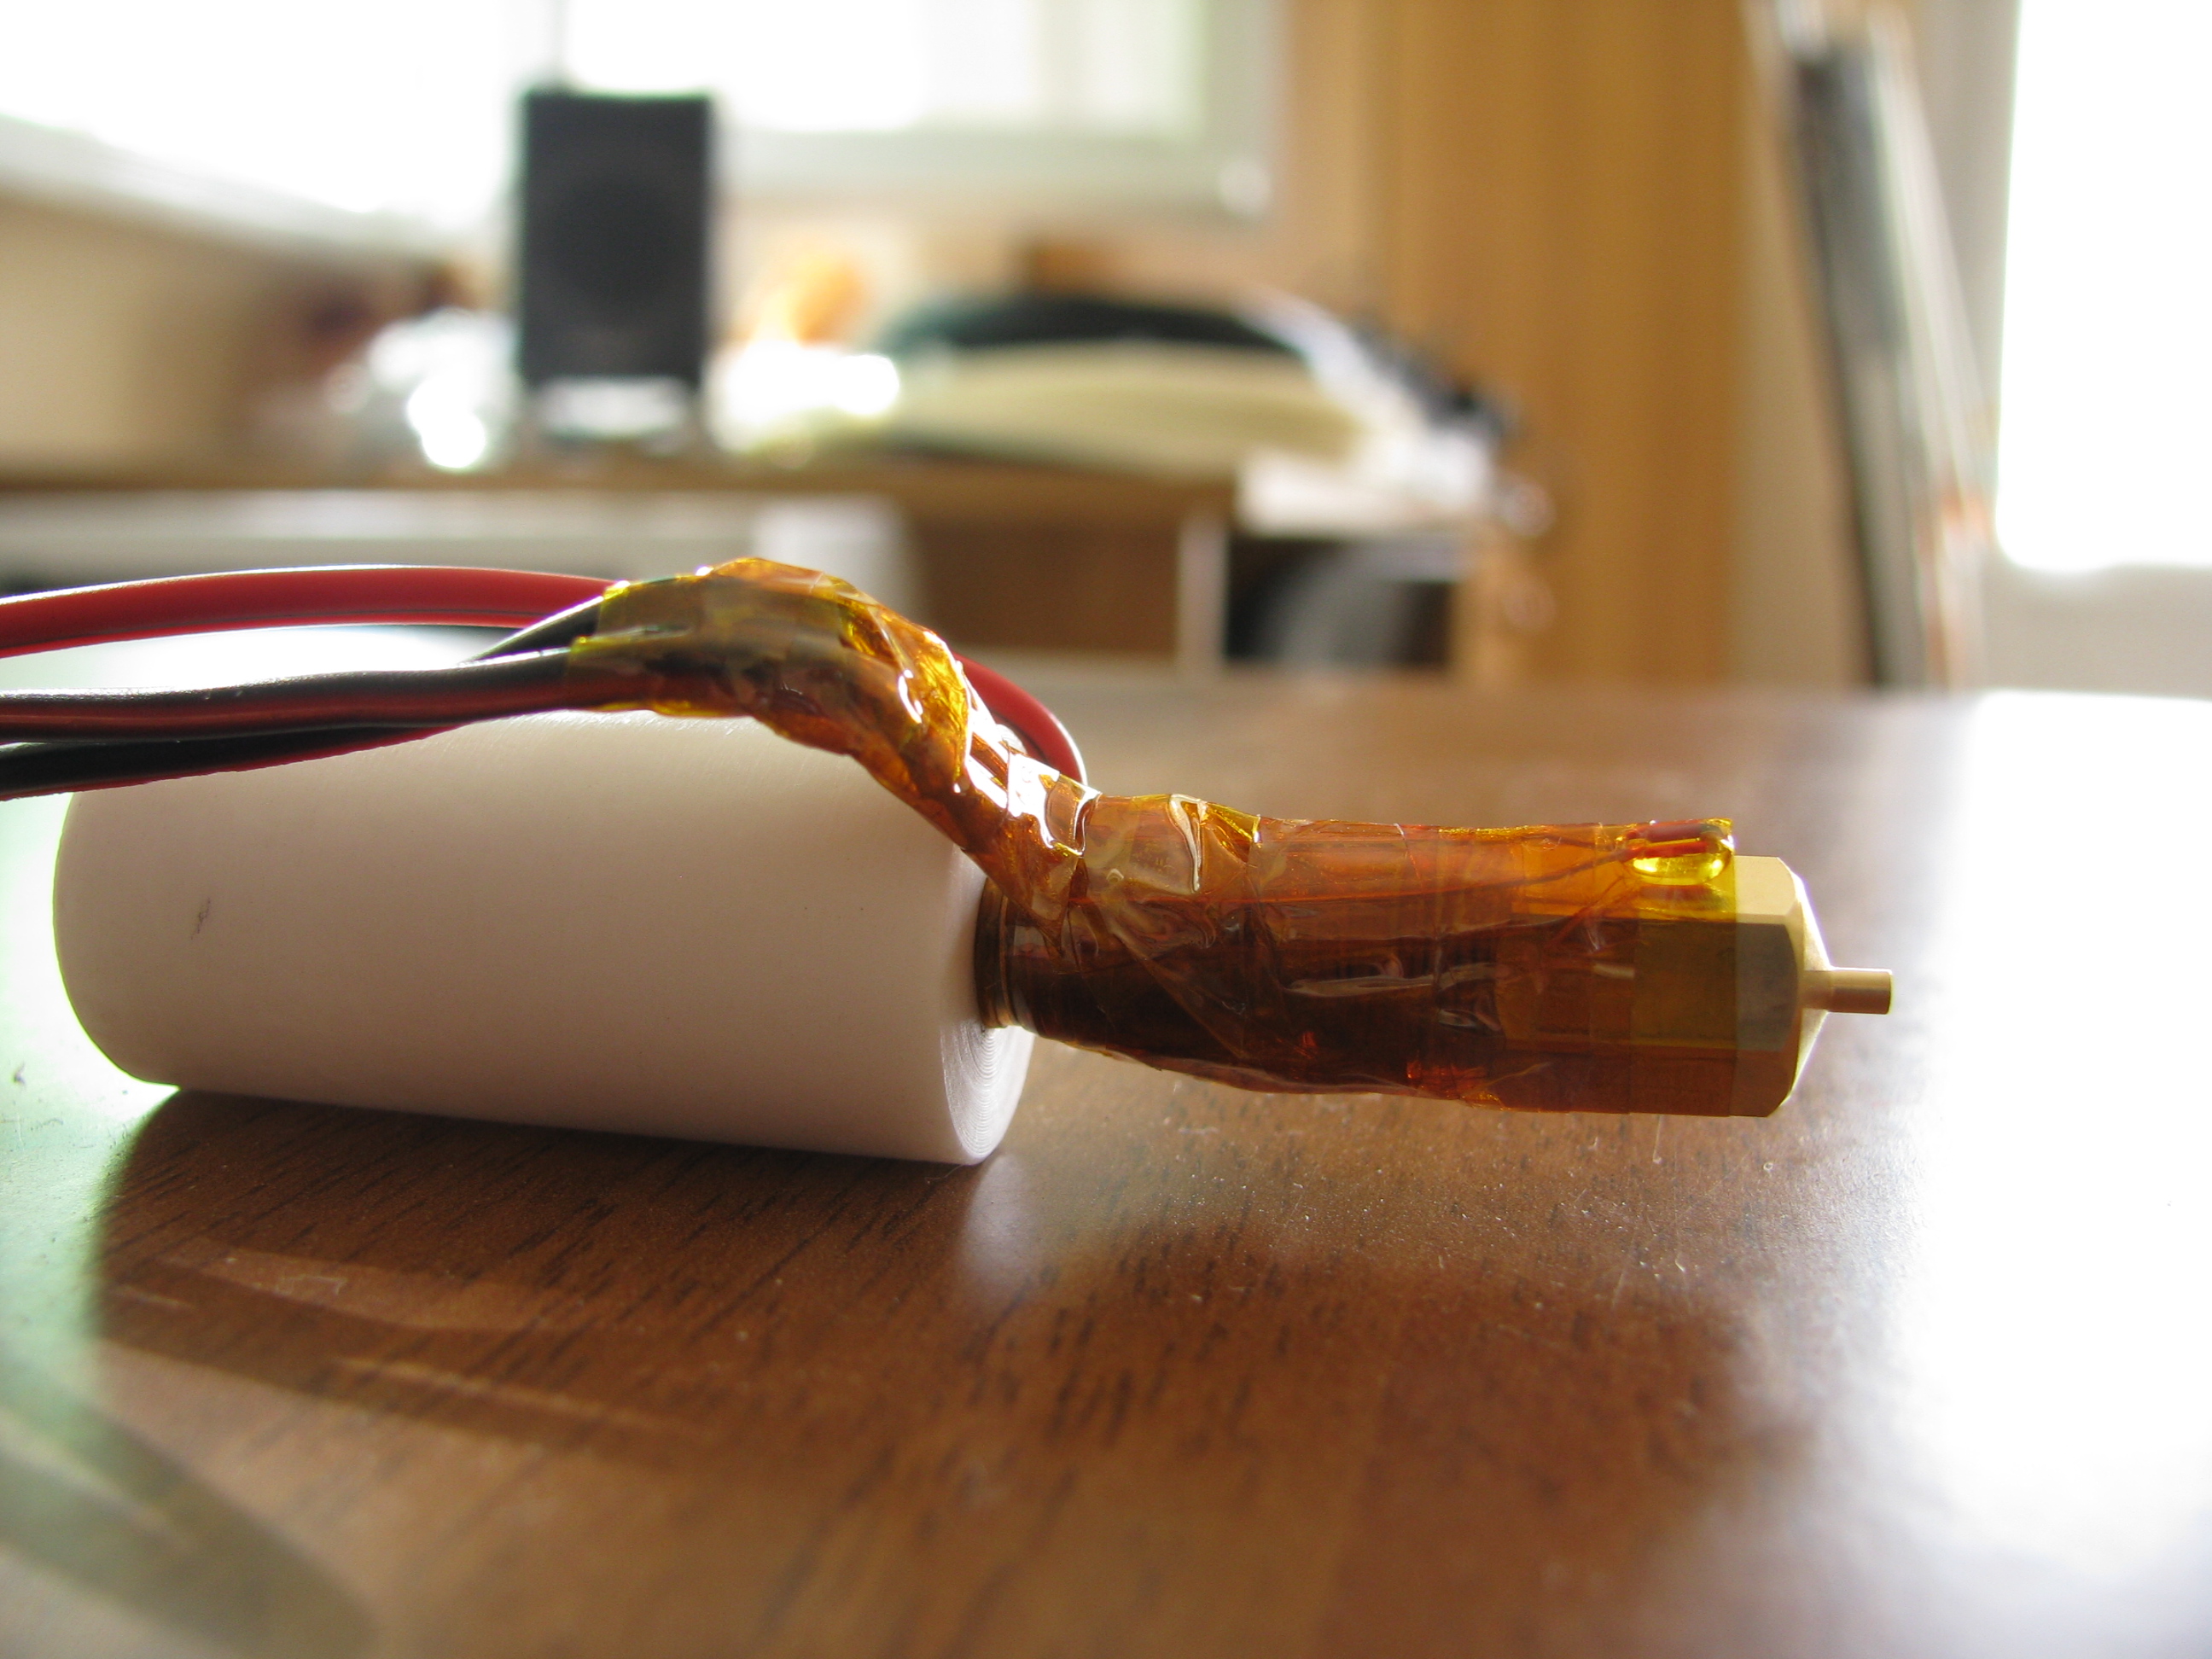
The extruder
It seems that for many people this part is the hardest, and the one giving the most problems: I did not have any particular difficulty.

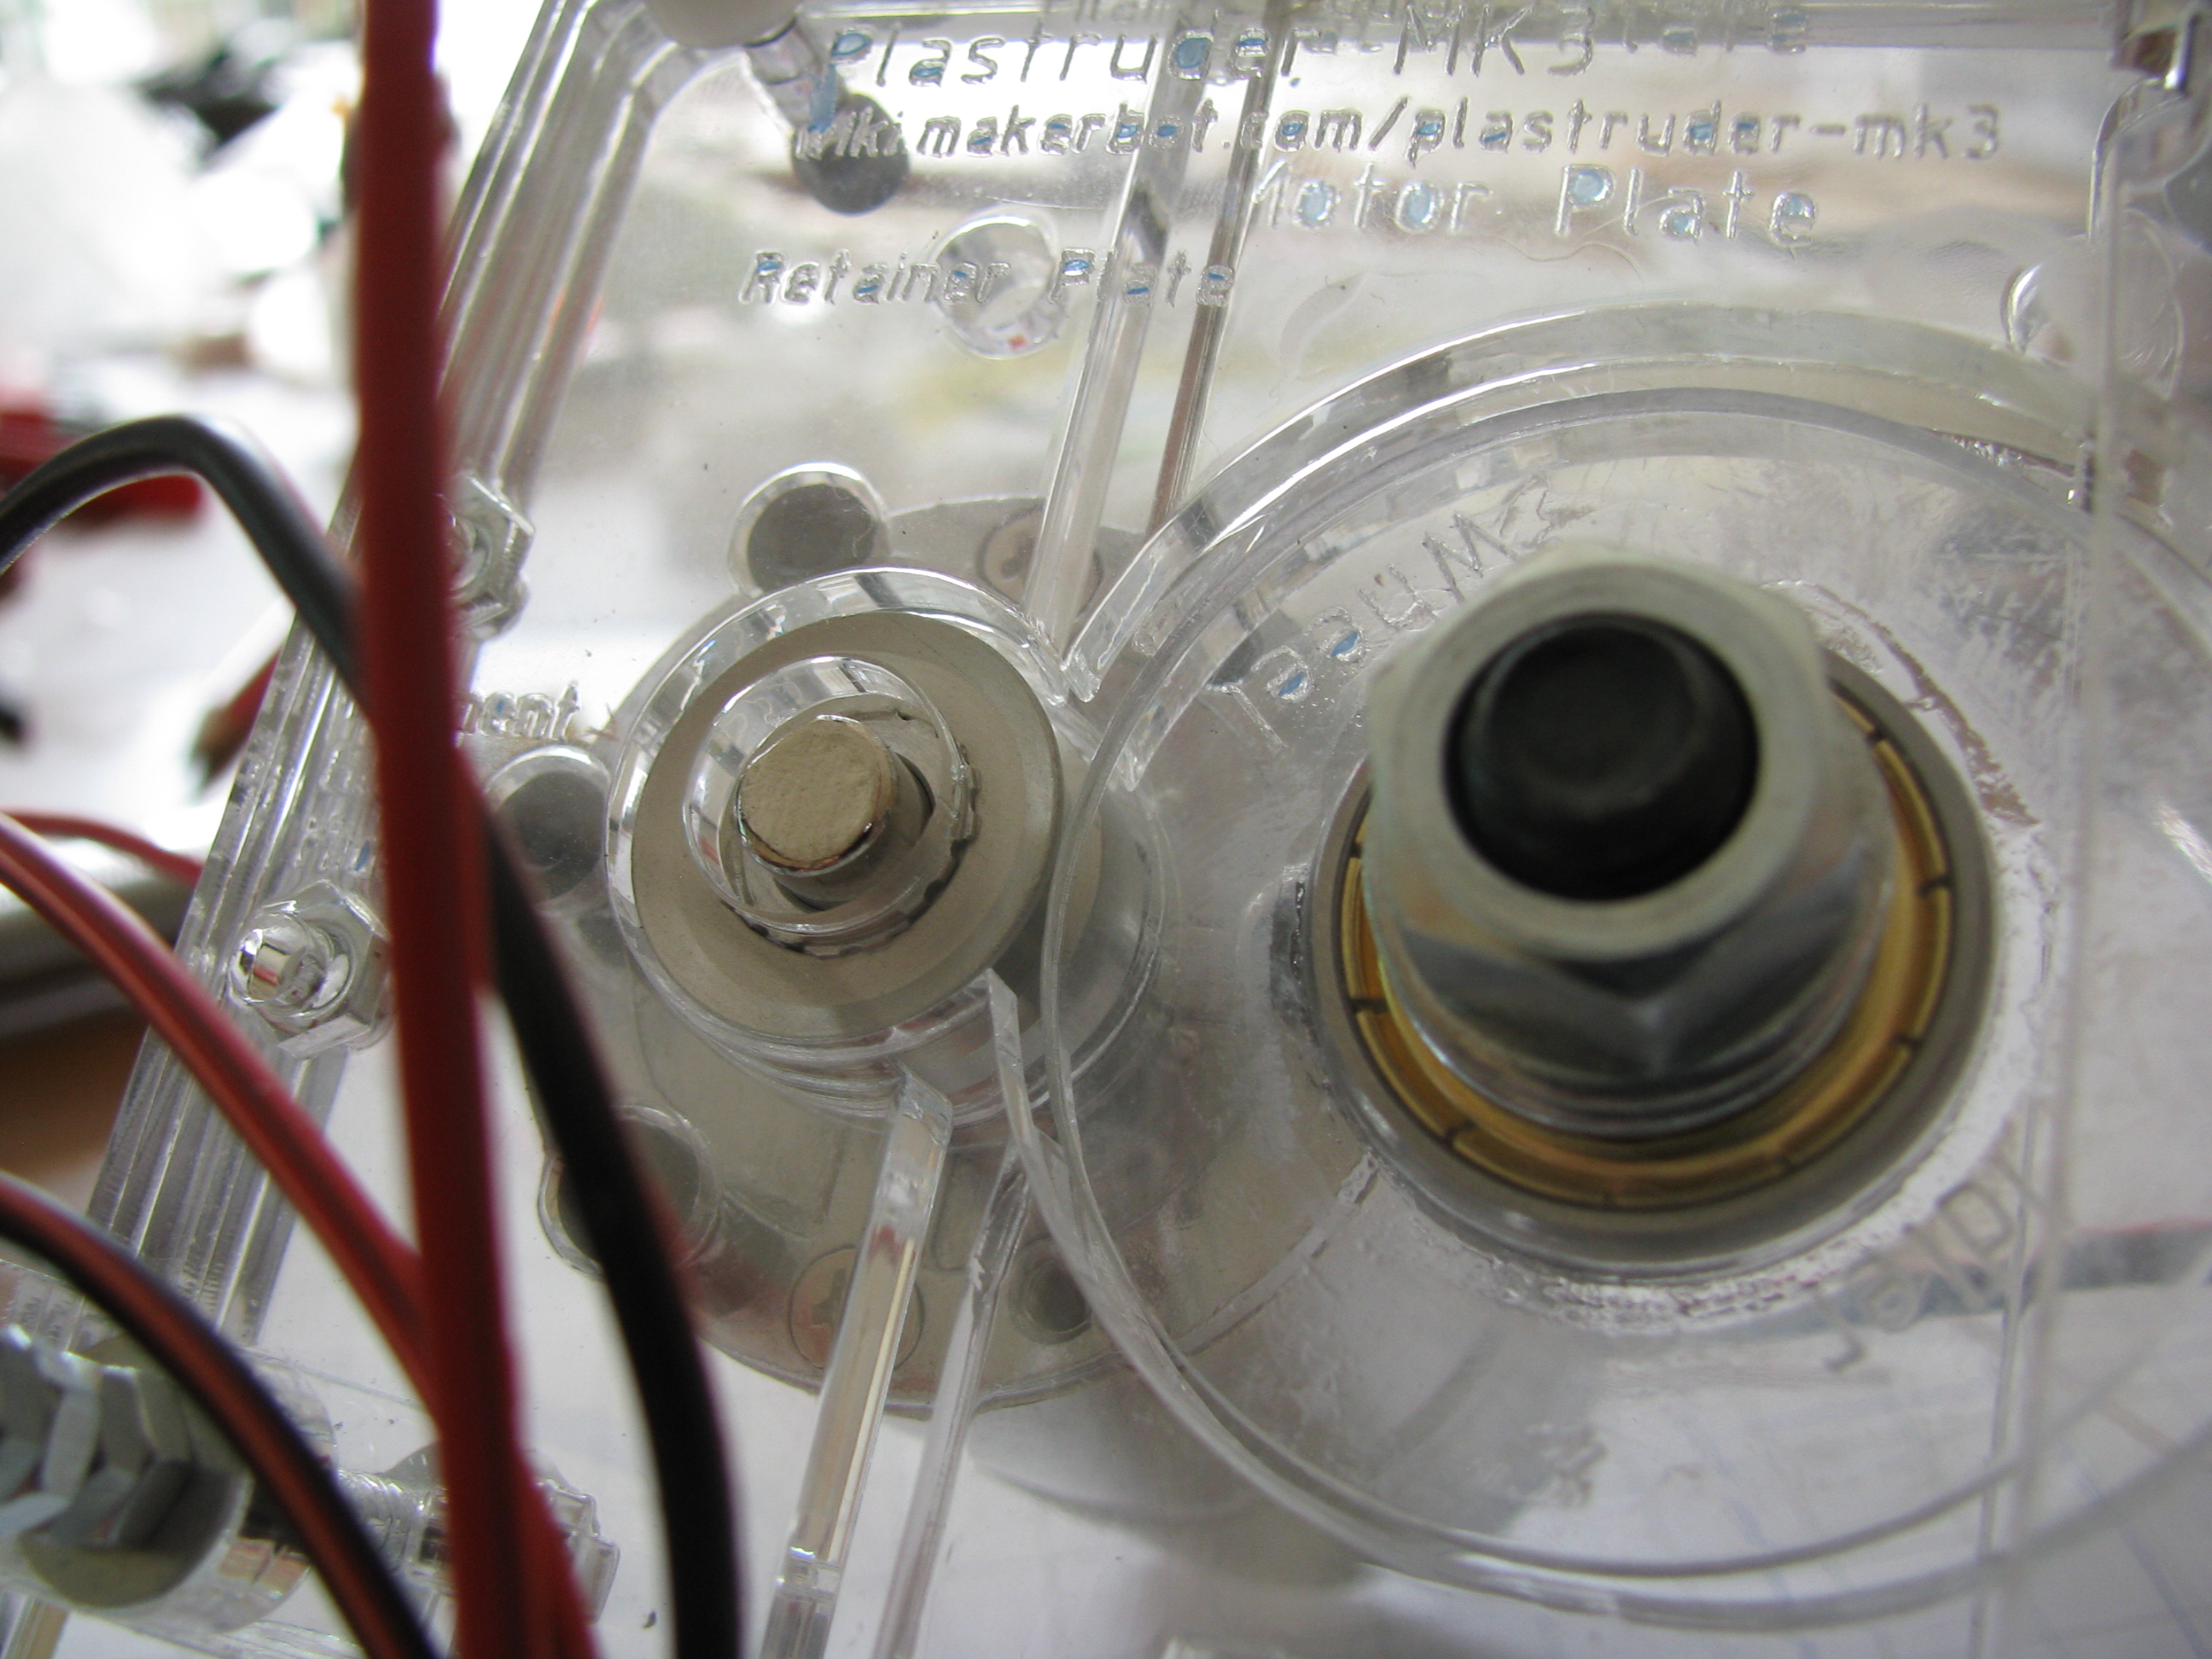
A note on the alignment of the idler pulley: I followed exactly the alignment instructions, then I put the wheel inside the extruder body: on one side it was too near the motor, on the other it was precisely centered.
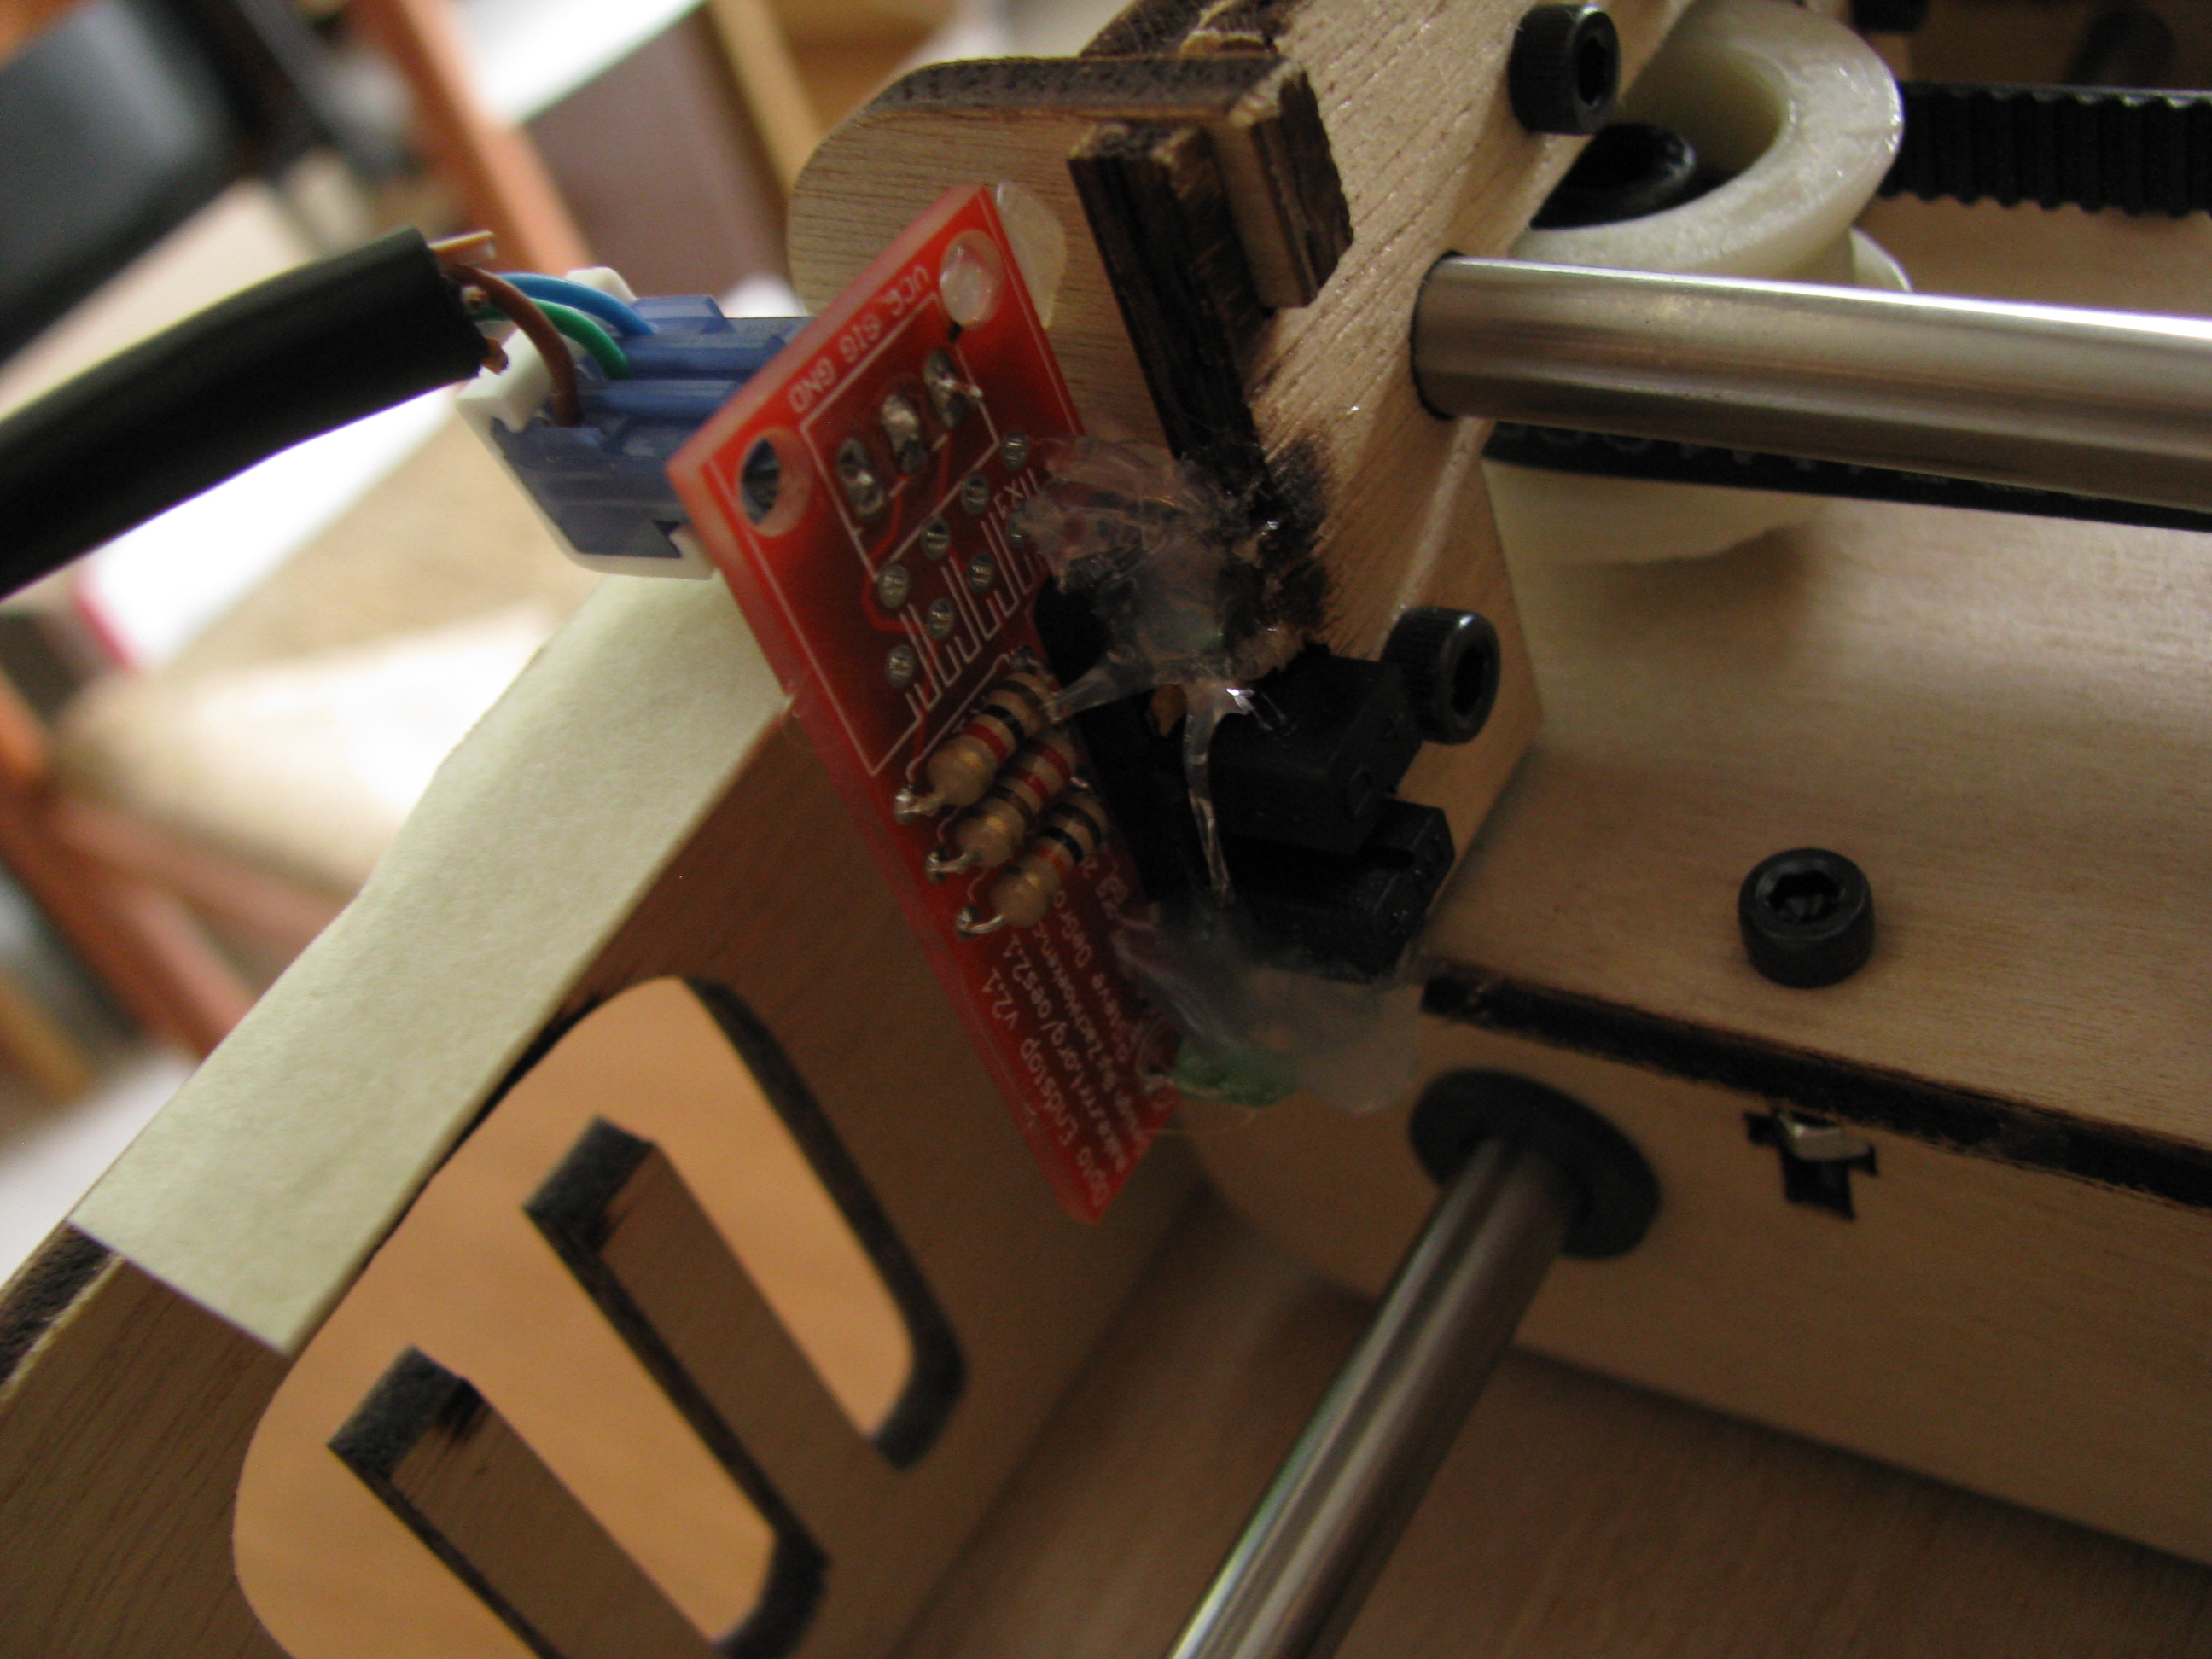
Note
Someone built a double-width idler wheel, by gluing together the two wheels included in the kit. In my case, and apparently also for someone else, the resulting wheel is too thick to fit between the flanges of the pinch wheel, so it's impossible to use.
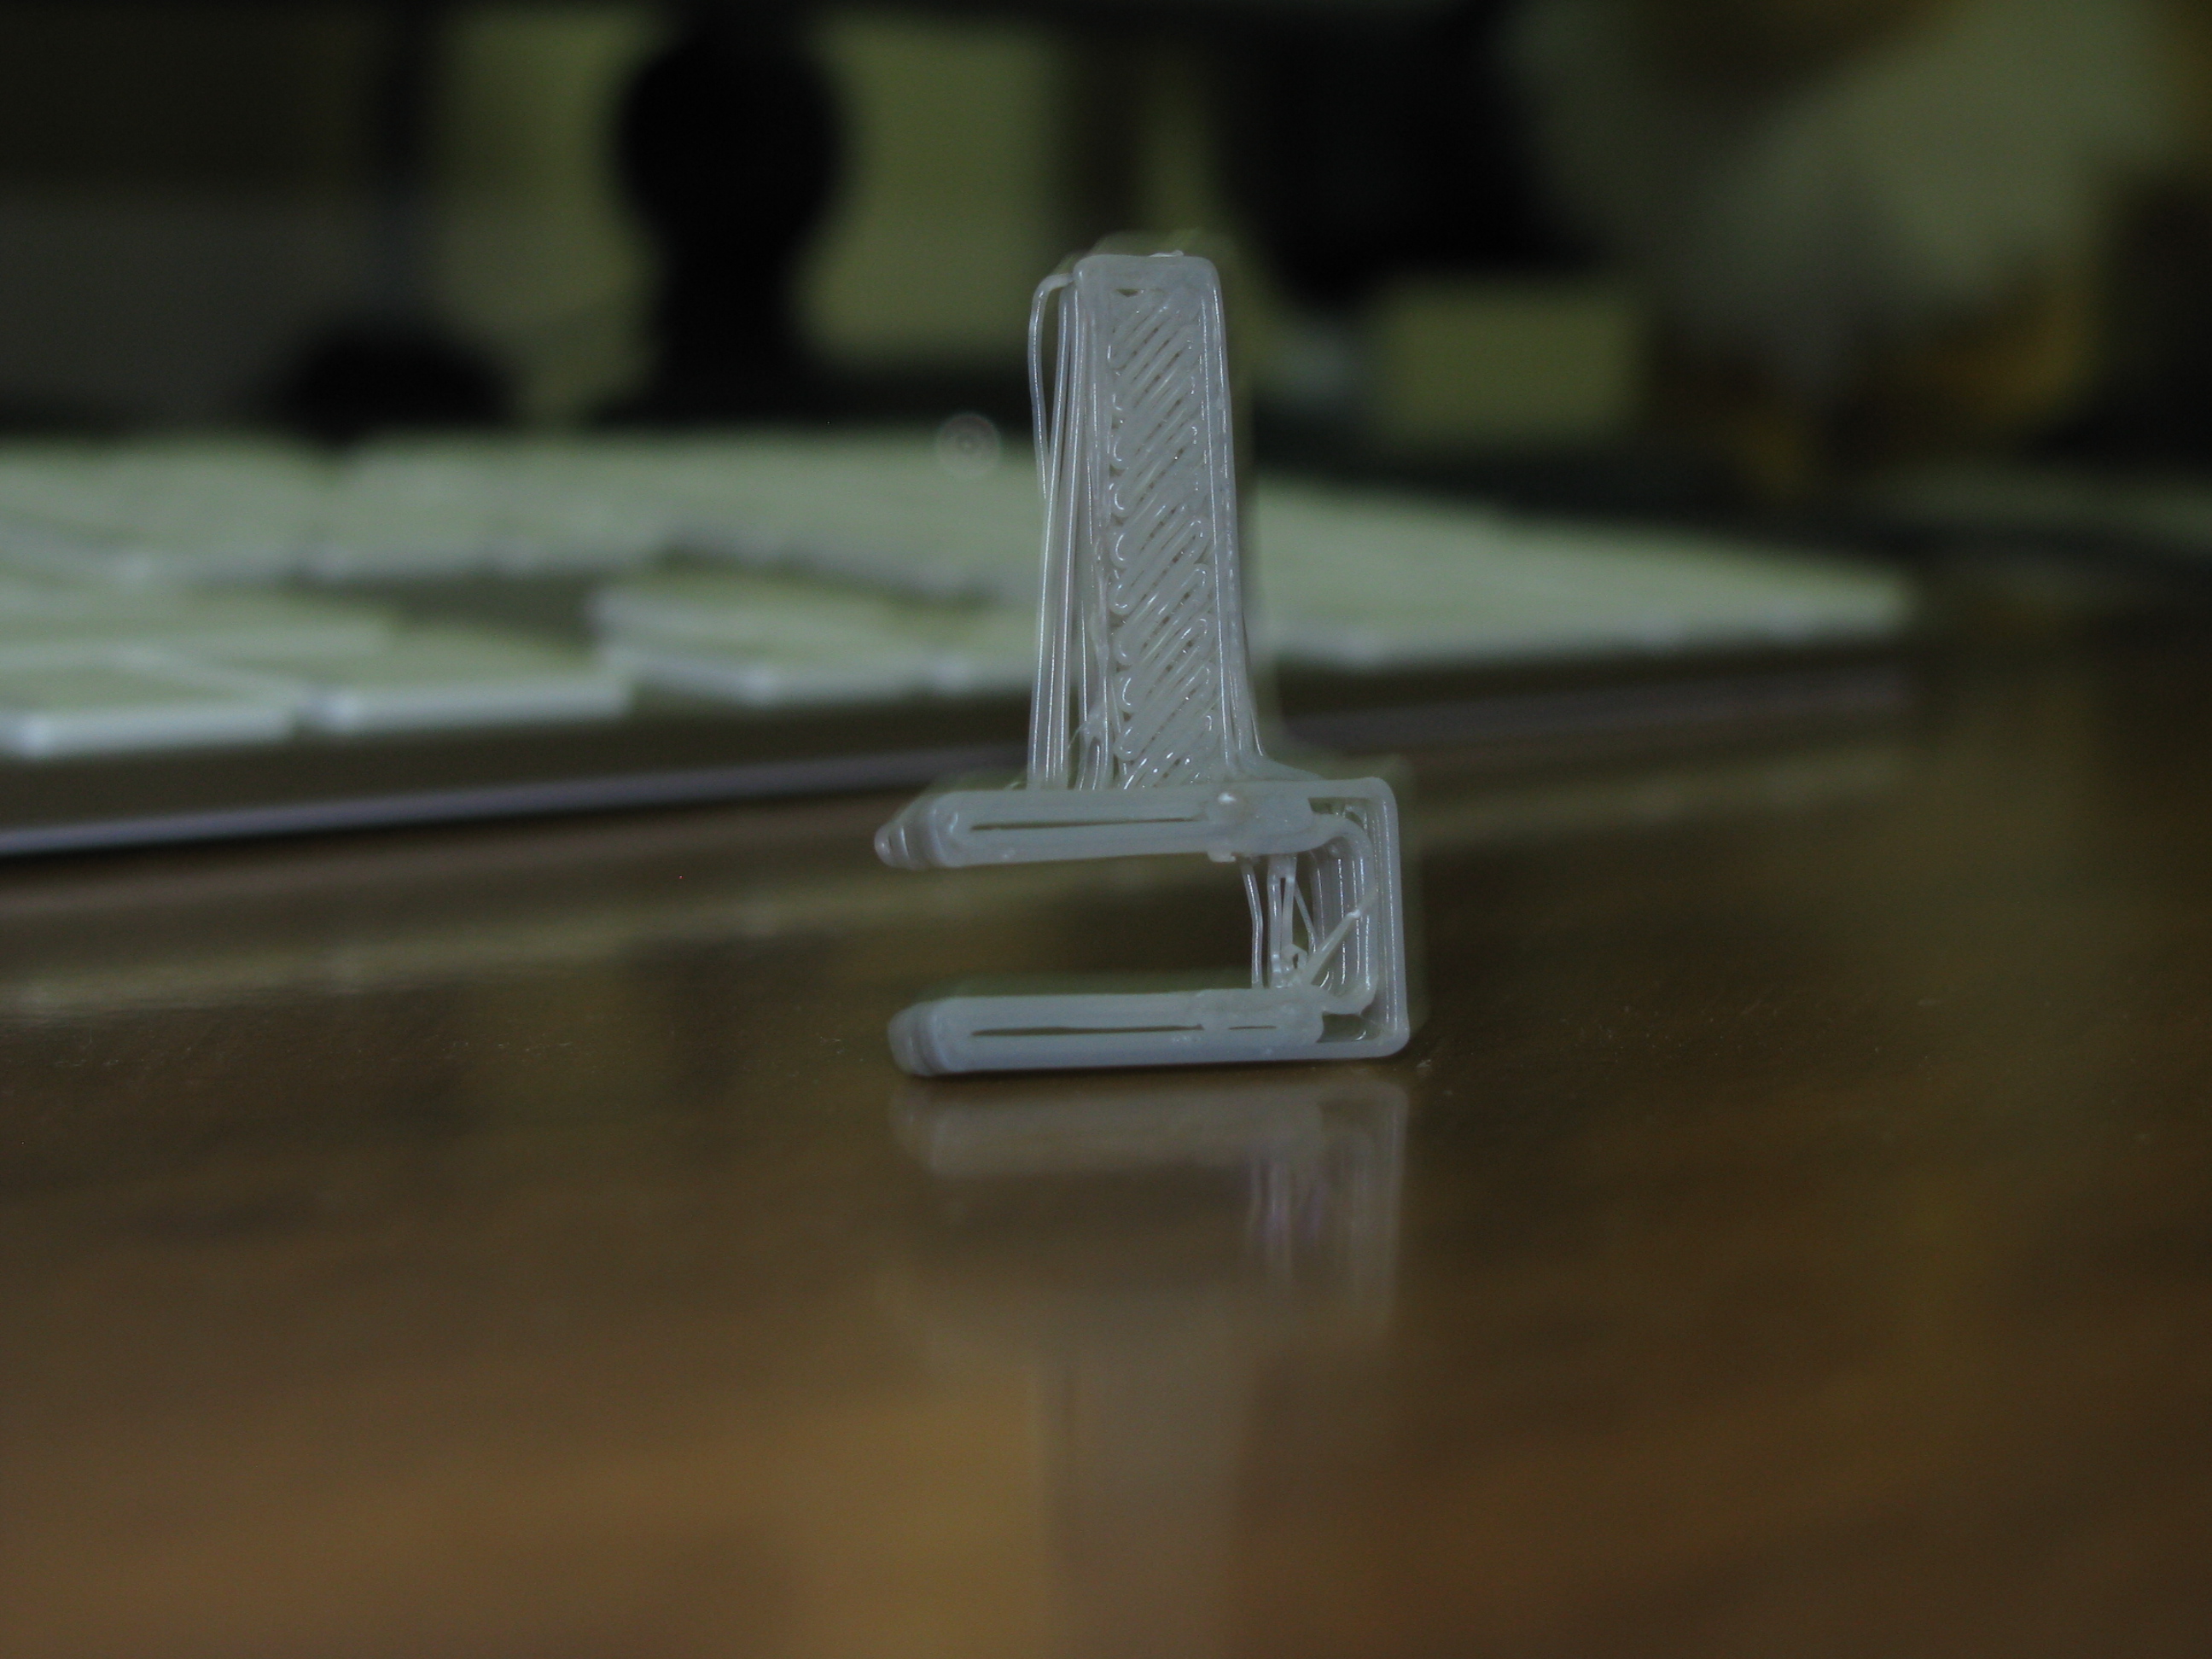
First print
Finally, I can print! The test object is a clip-on Z end-stop trigger, since my kit's Z platform doesn't have the slots for the triggers.
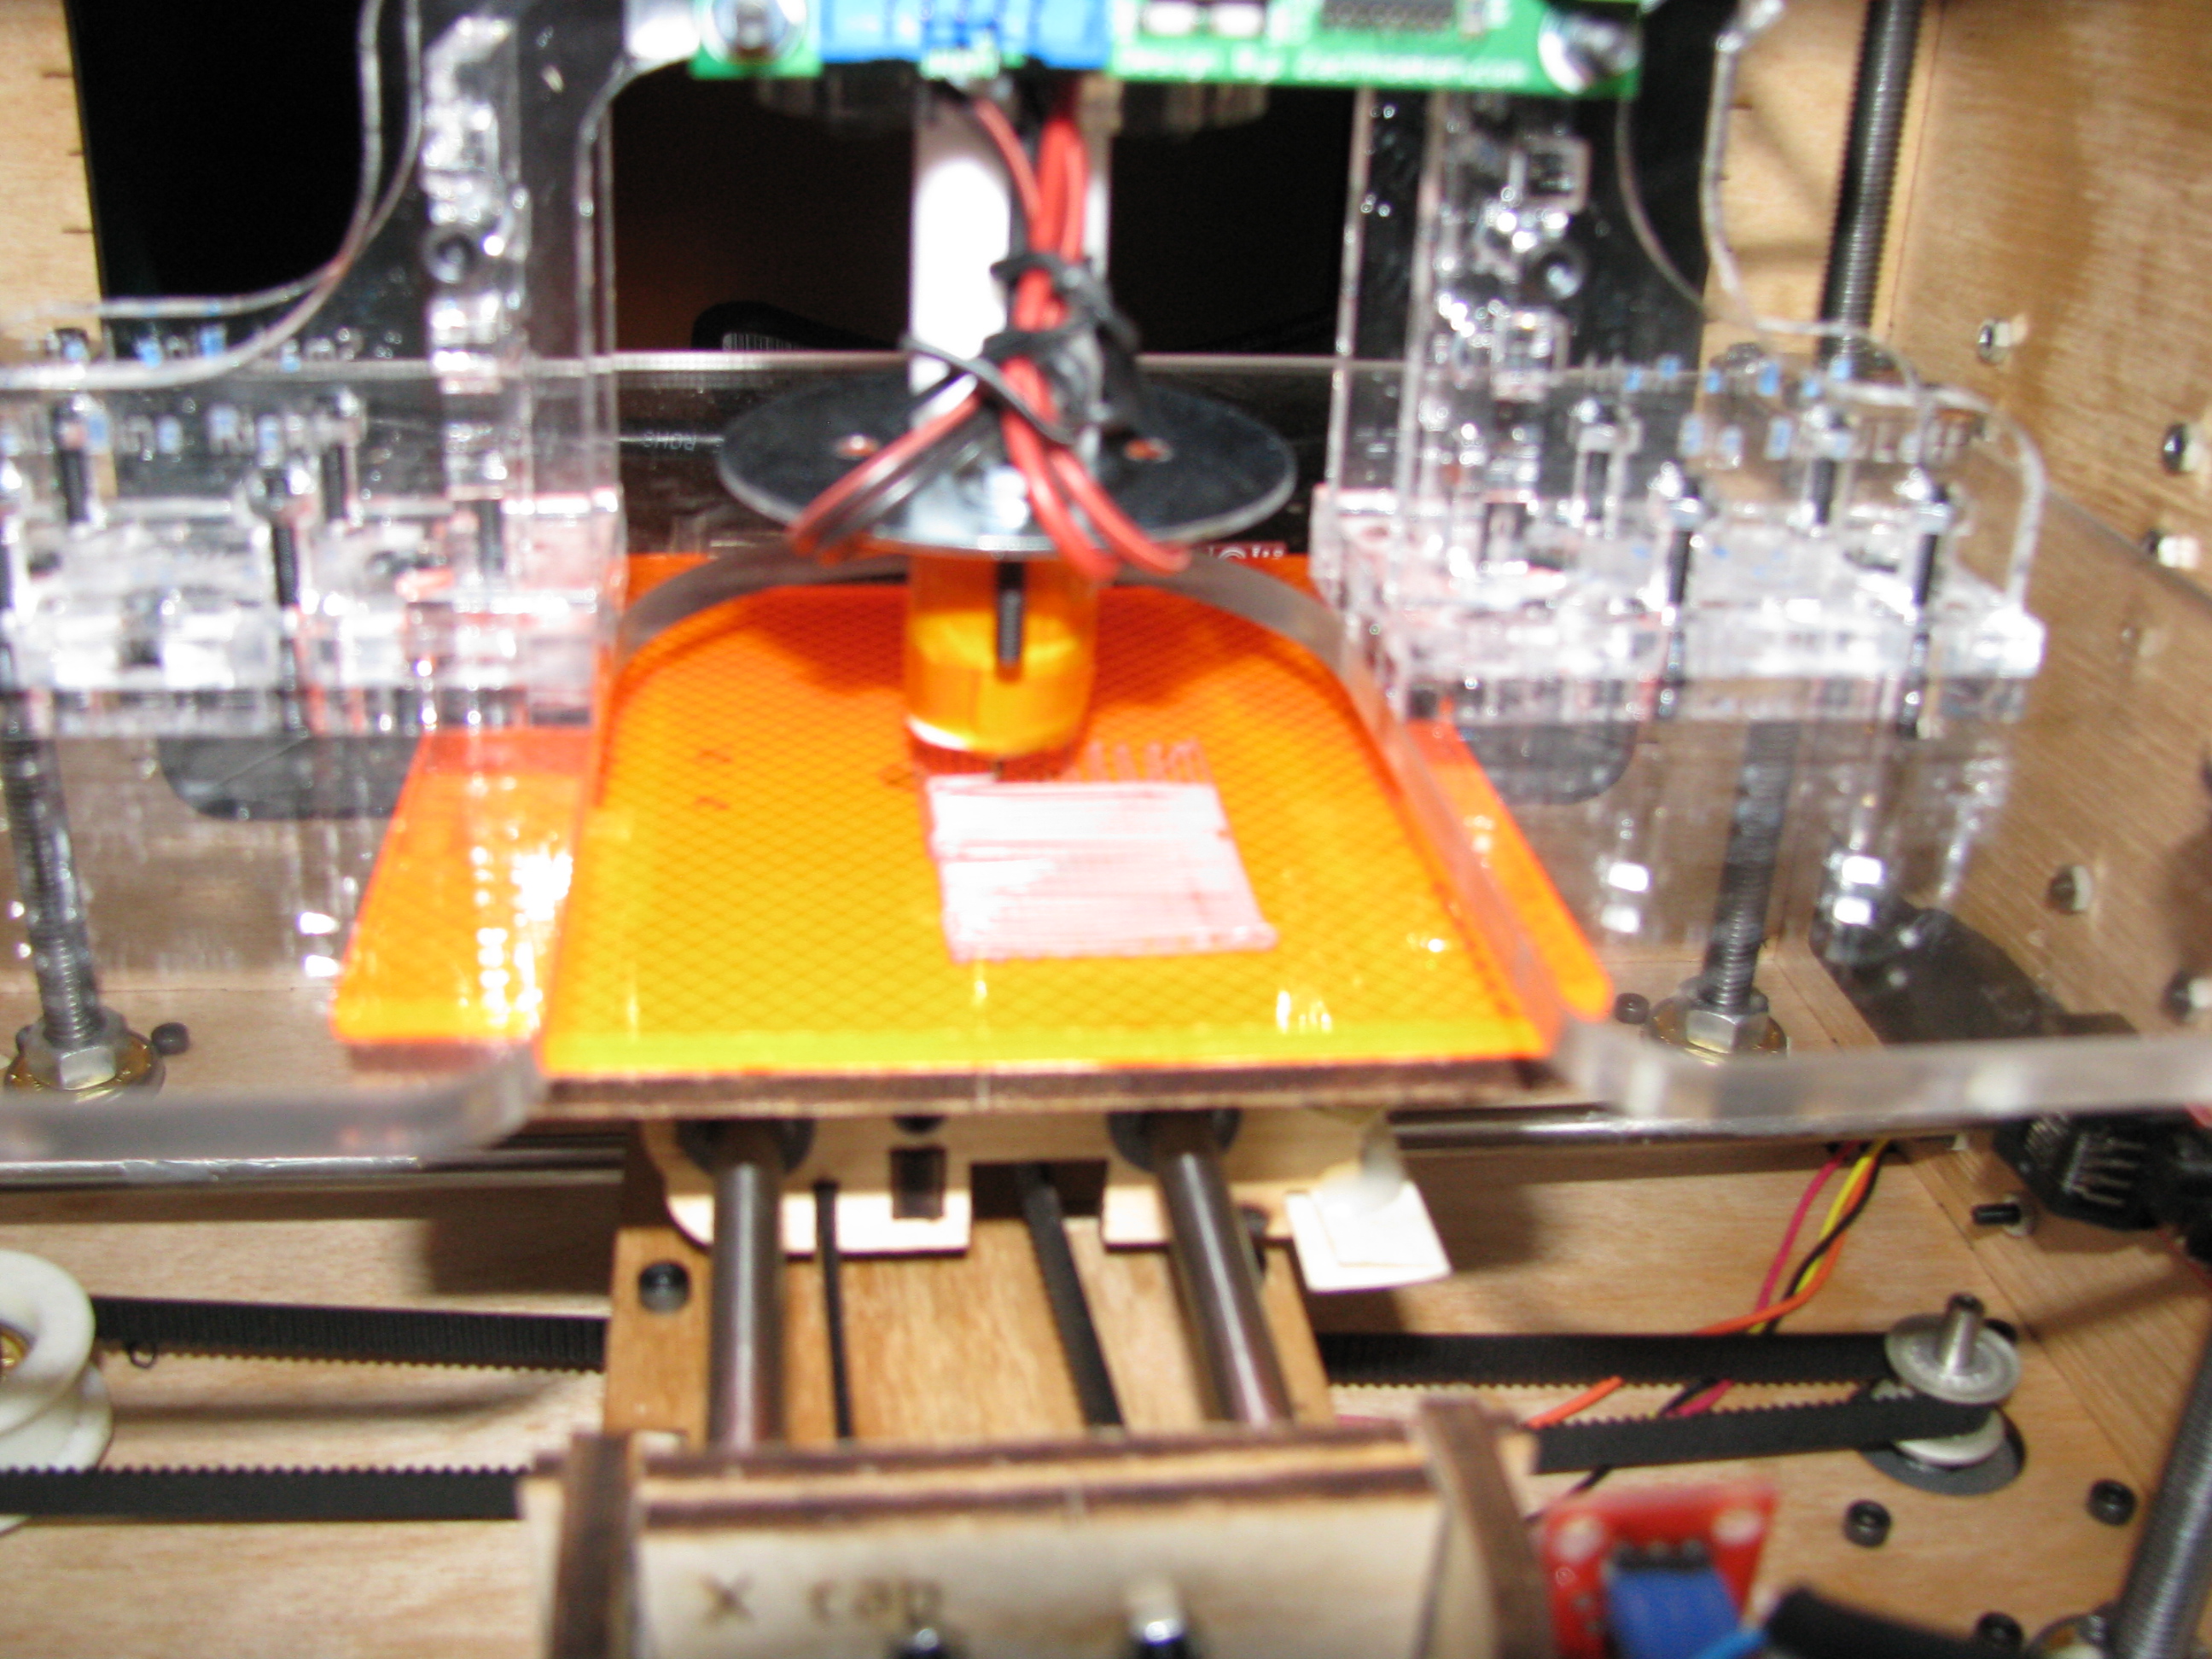
This is actually the third try. The first try caused a head crash, resulting in a small hole in the print platform; the second try started too high, and the raft did not adhere to the platform.

Summary
About 19 hours of work, very few problems, and a working printer: probably the best-spent two full days of work so far :)


