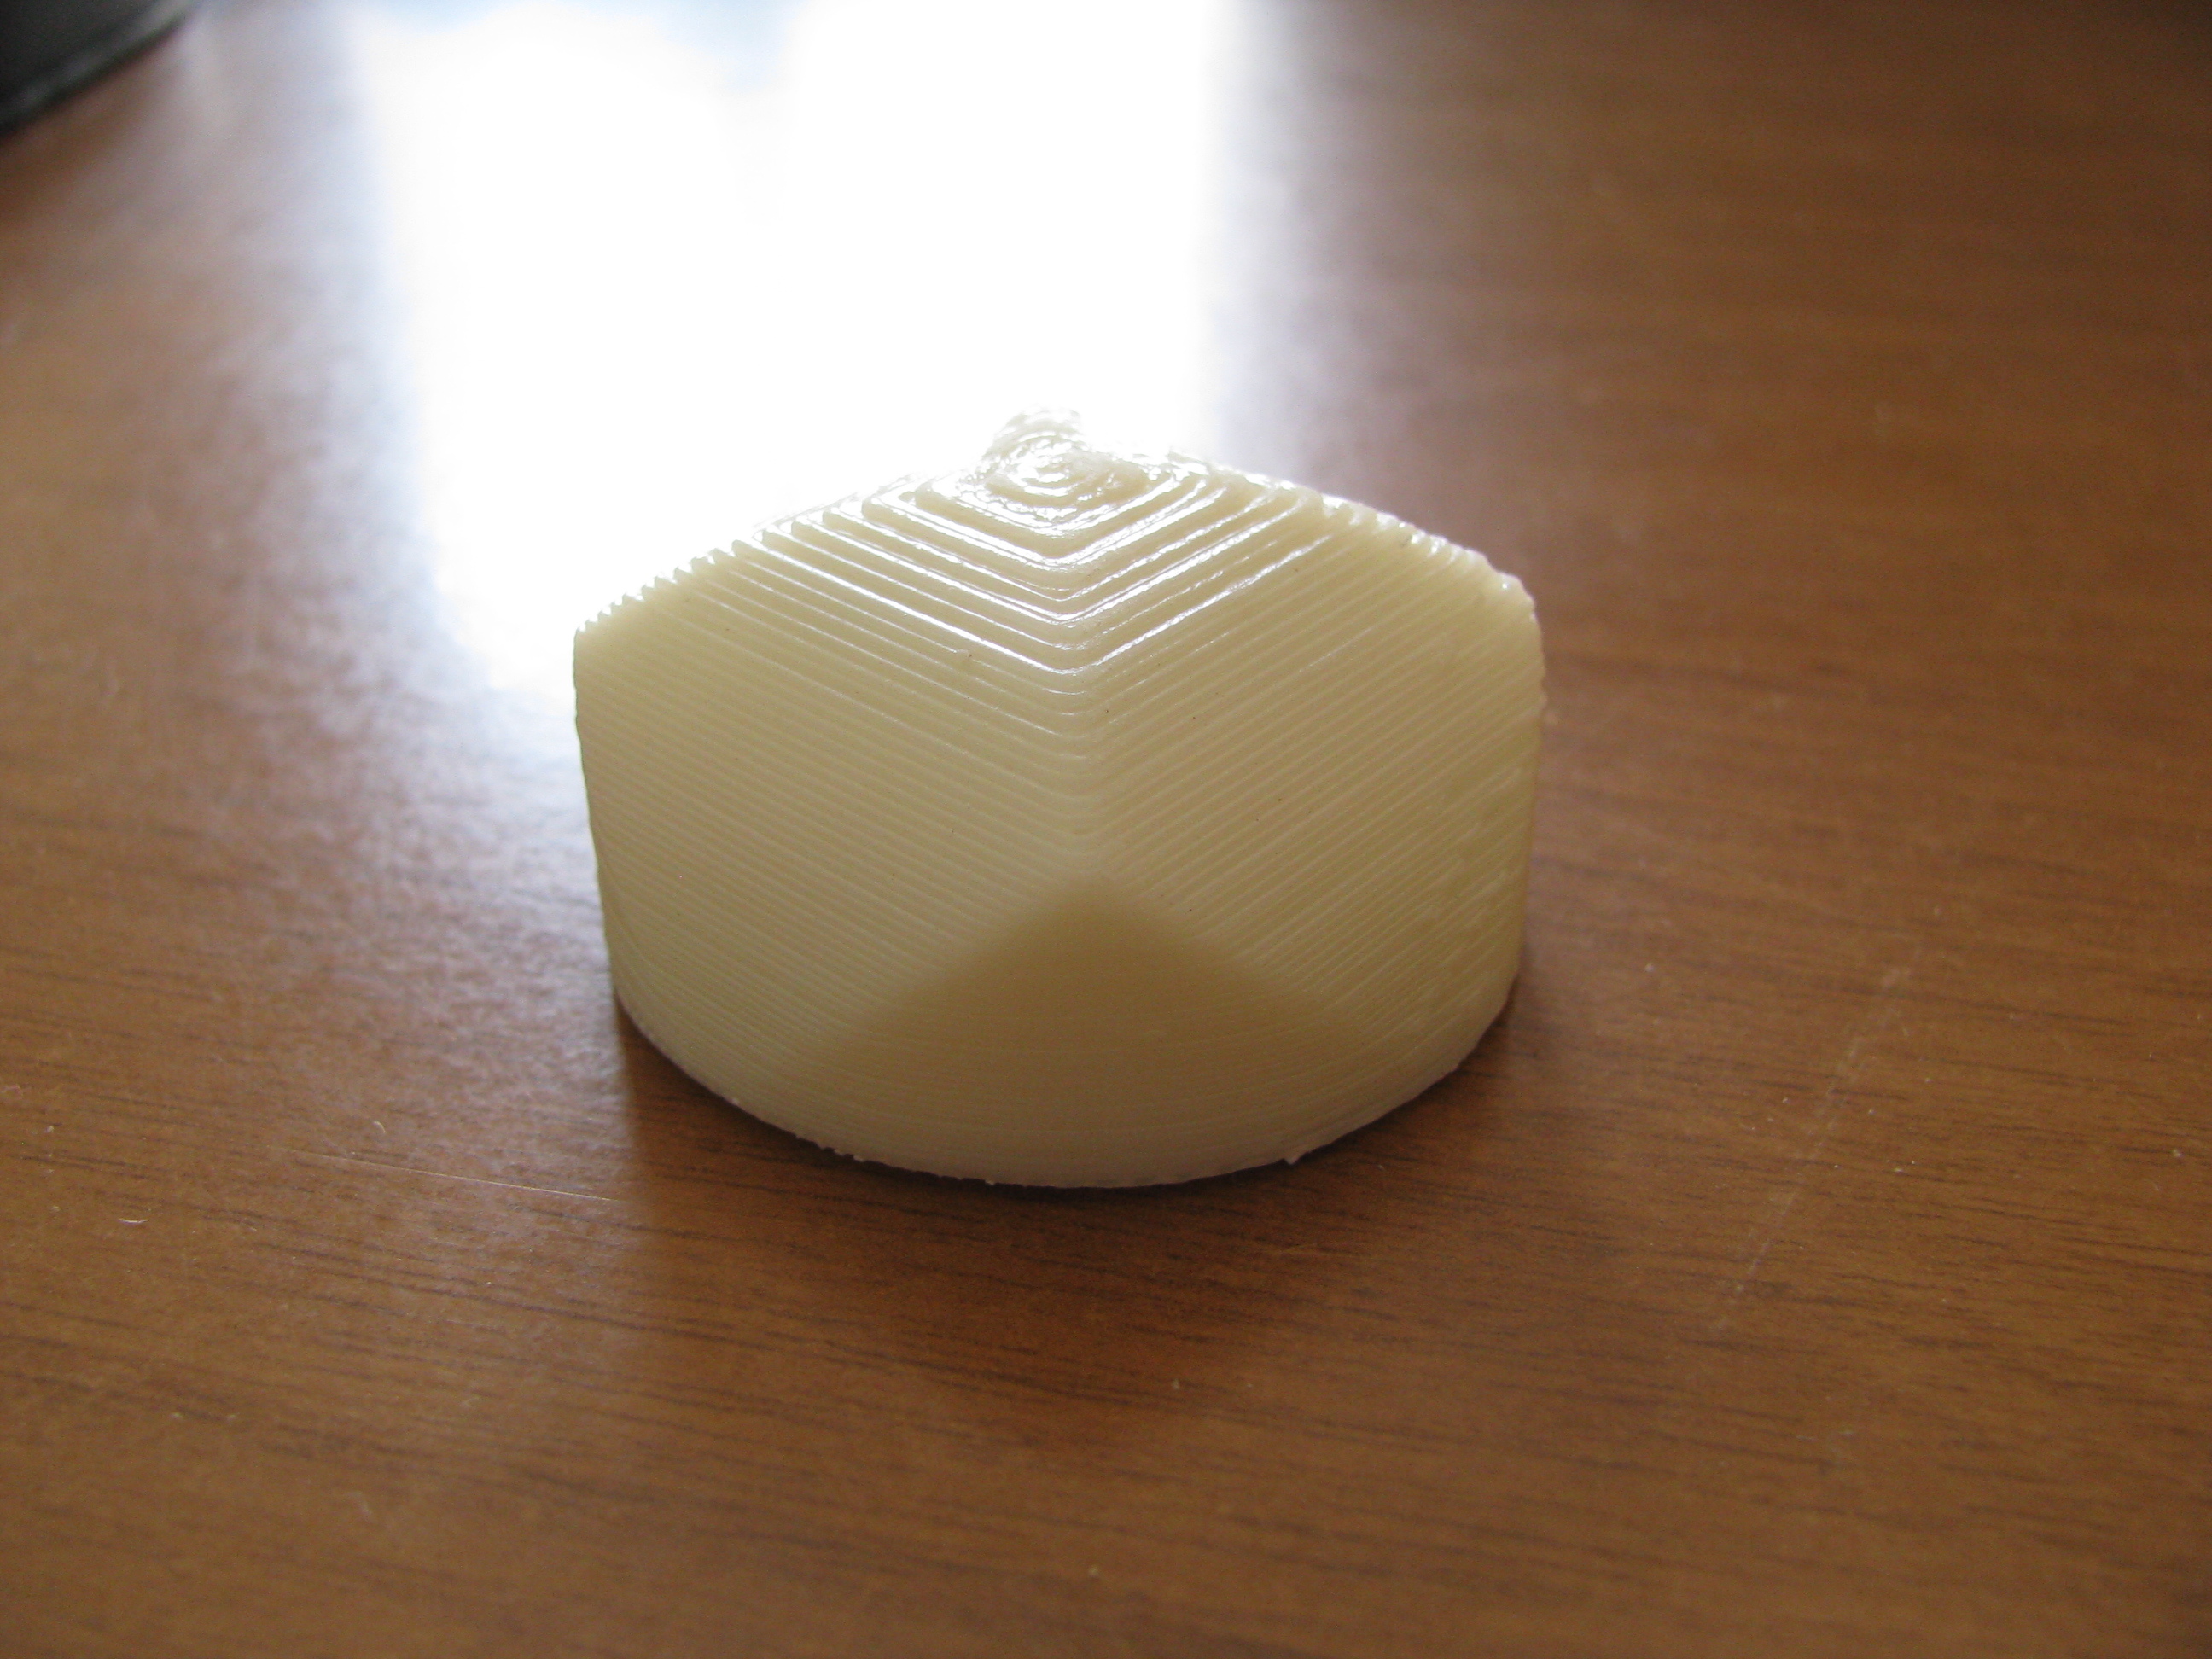
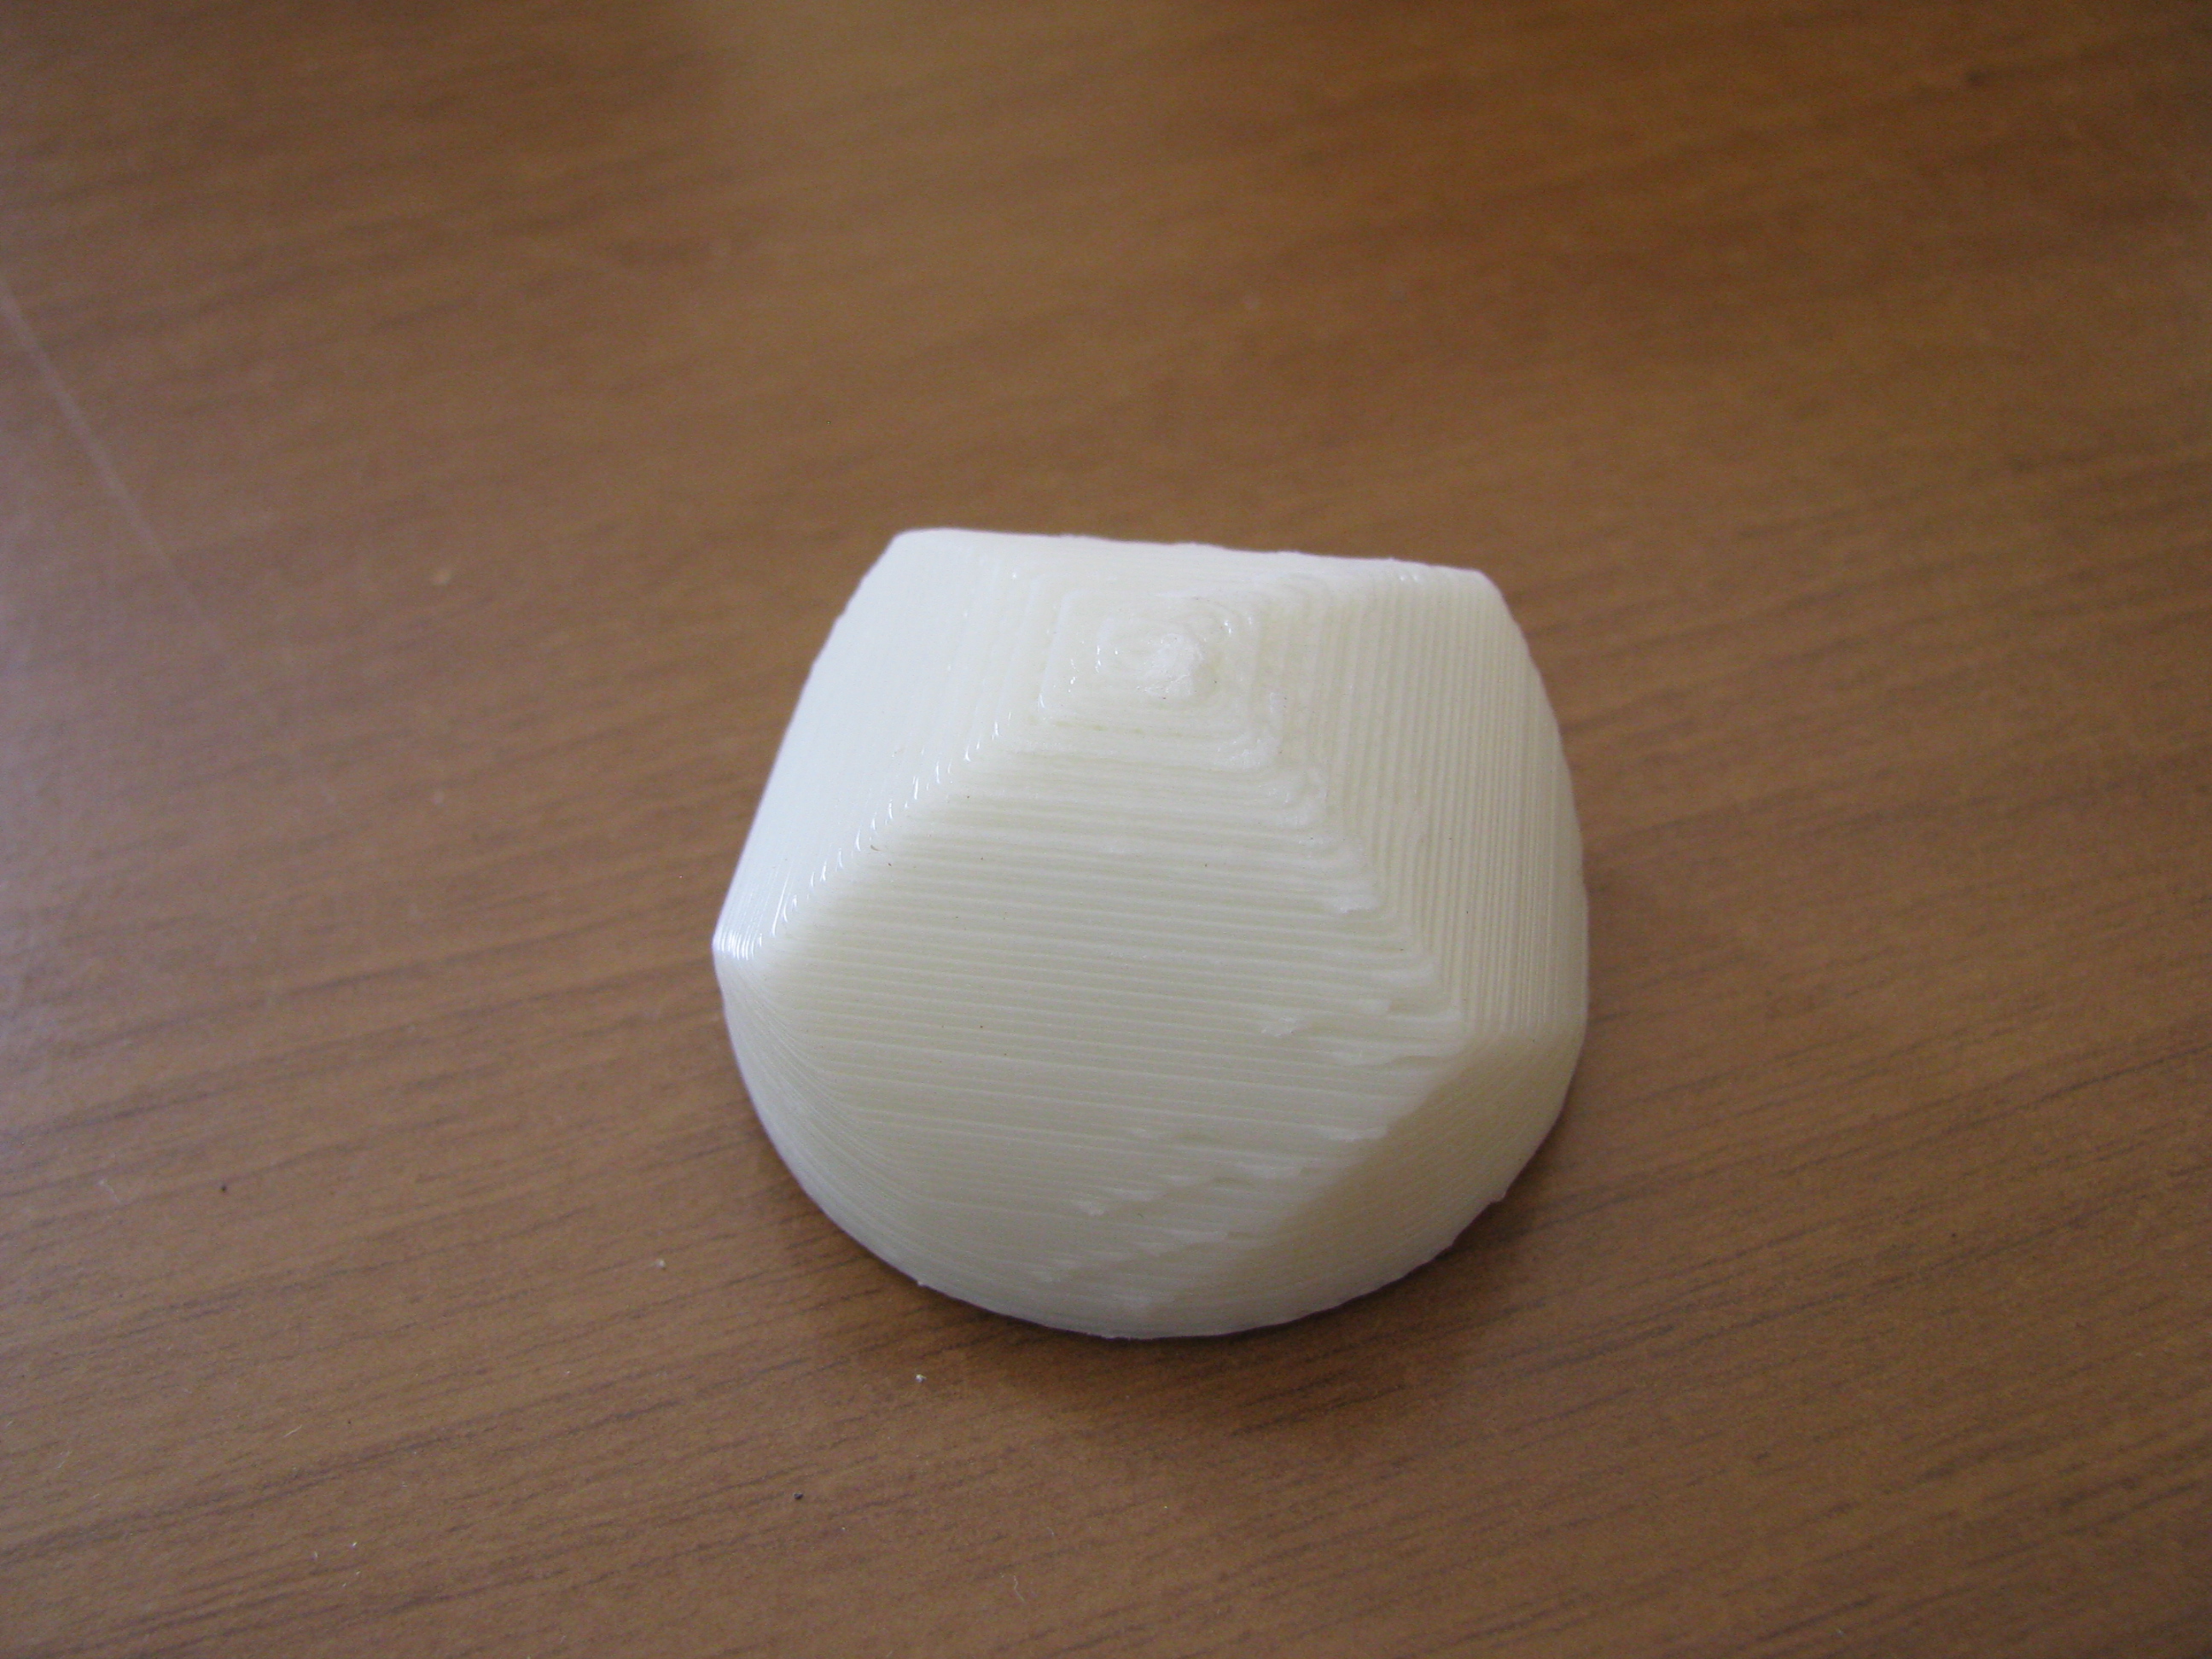
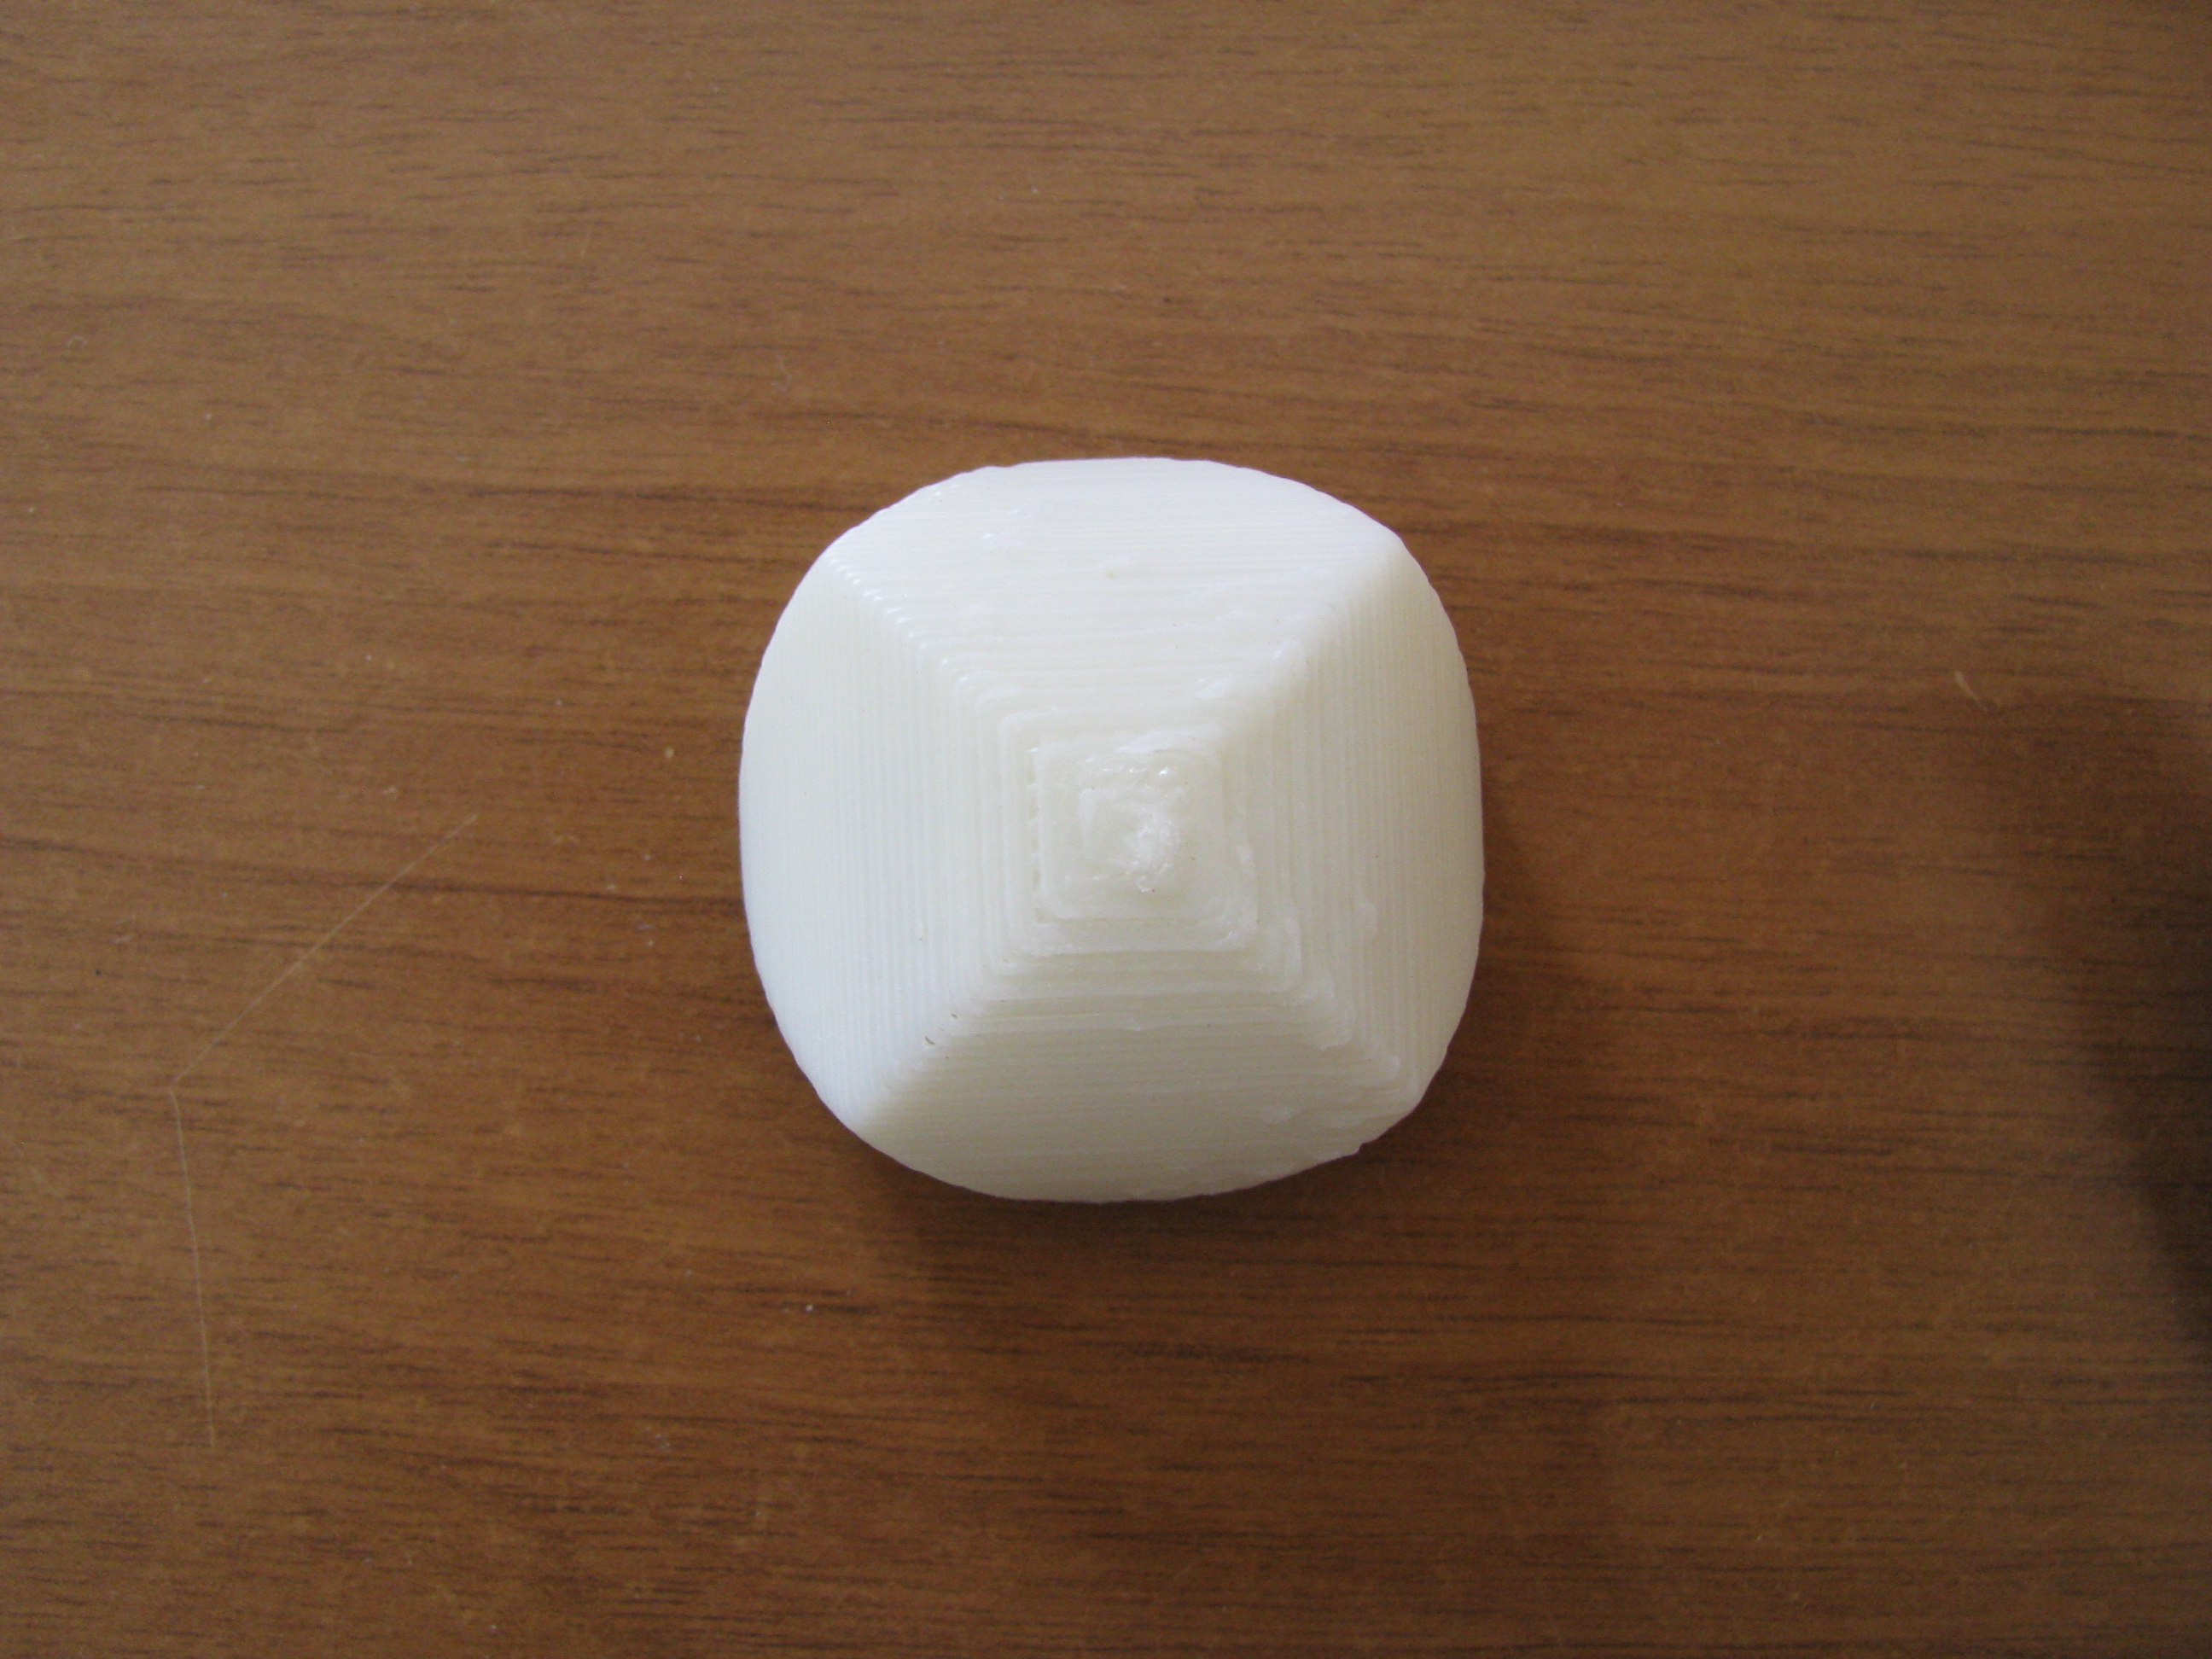
The round 12-sided die
A friend of mine, member of my D&D group, asked me, as soon as he discovered that I would get a 3-D printer: «can you print me the intersection of three cylinders?»
New, the resulting object is not exactly easy to visualize, but it's a 12-sided solid, where each side would be a square, were it flat; in fact, the sides are curved.
Obviously there is no way to print an object similar to a sphere on the CupCake: we would need some support material. What we can do, instead, is to print a half-sphere; we print it twice, we glue the halves together, and we get a sphere.
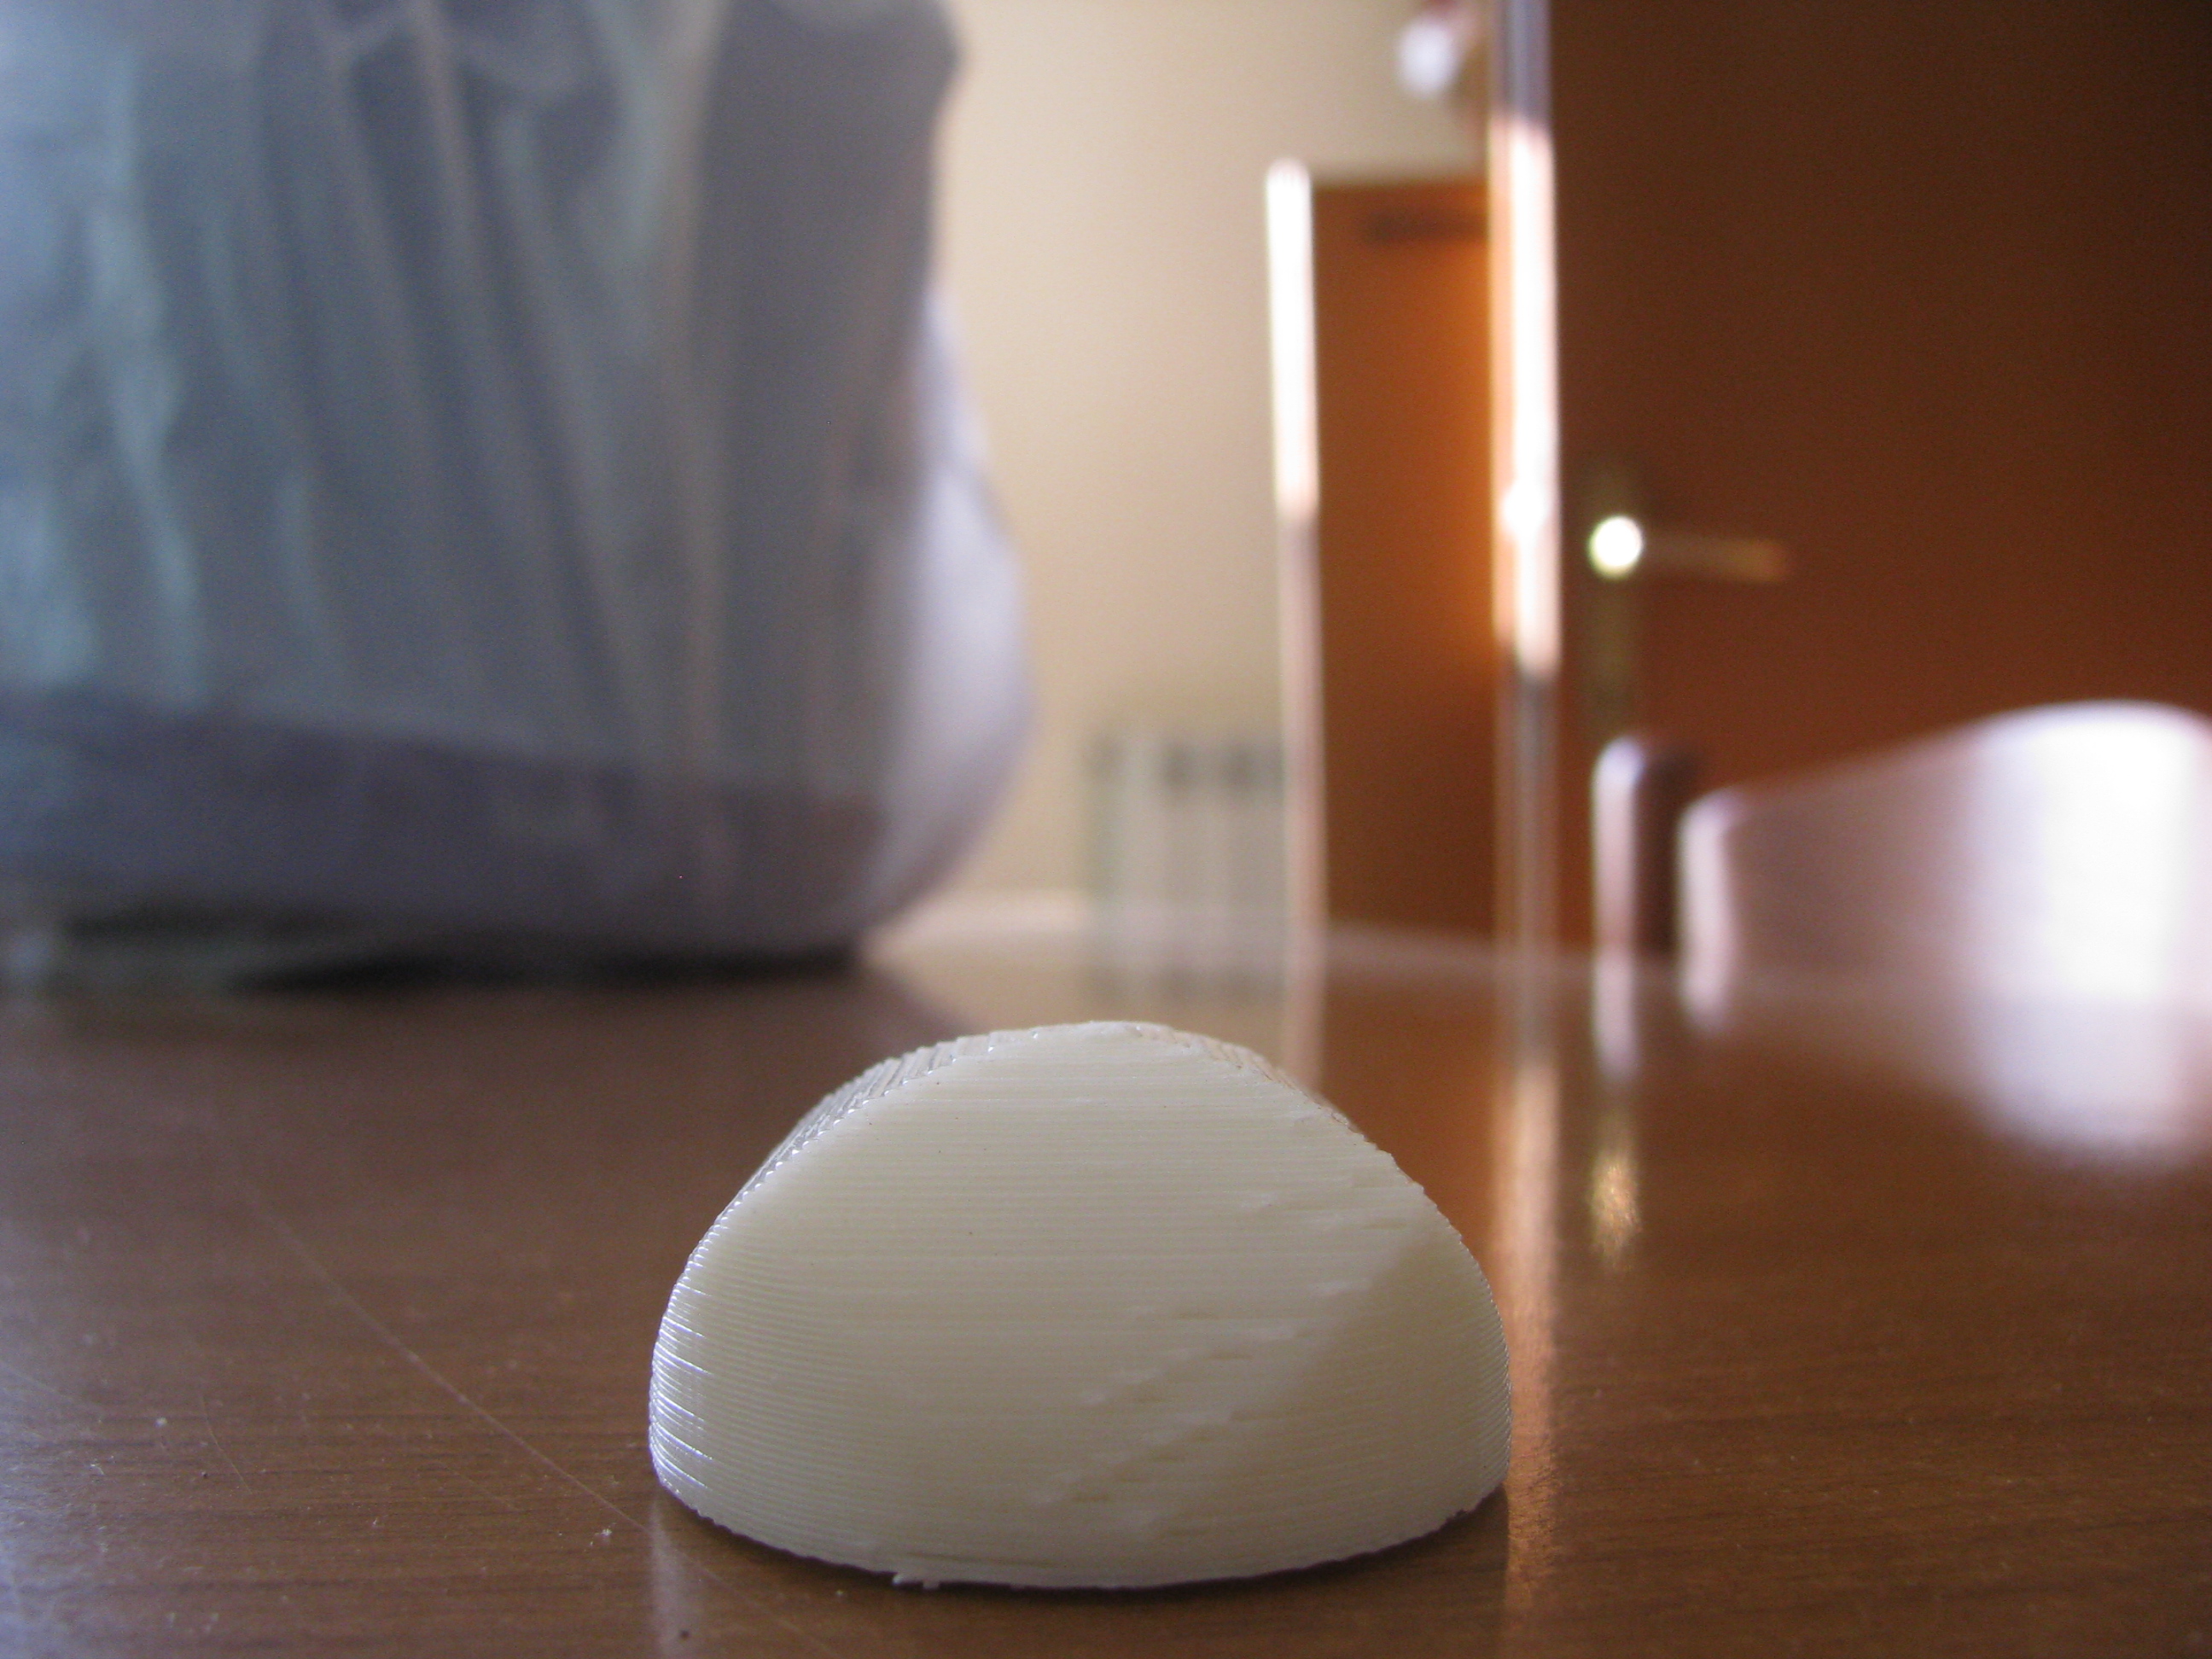
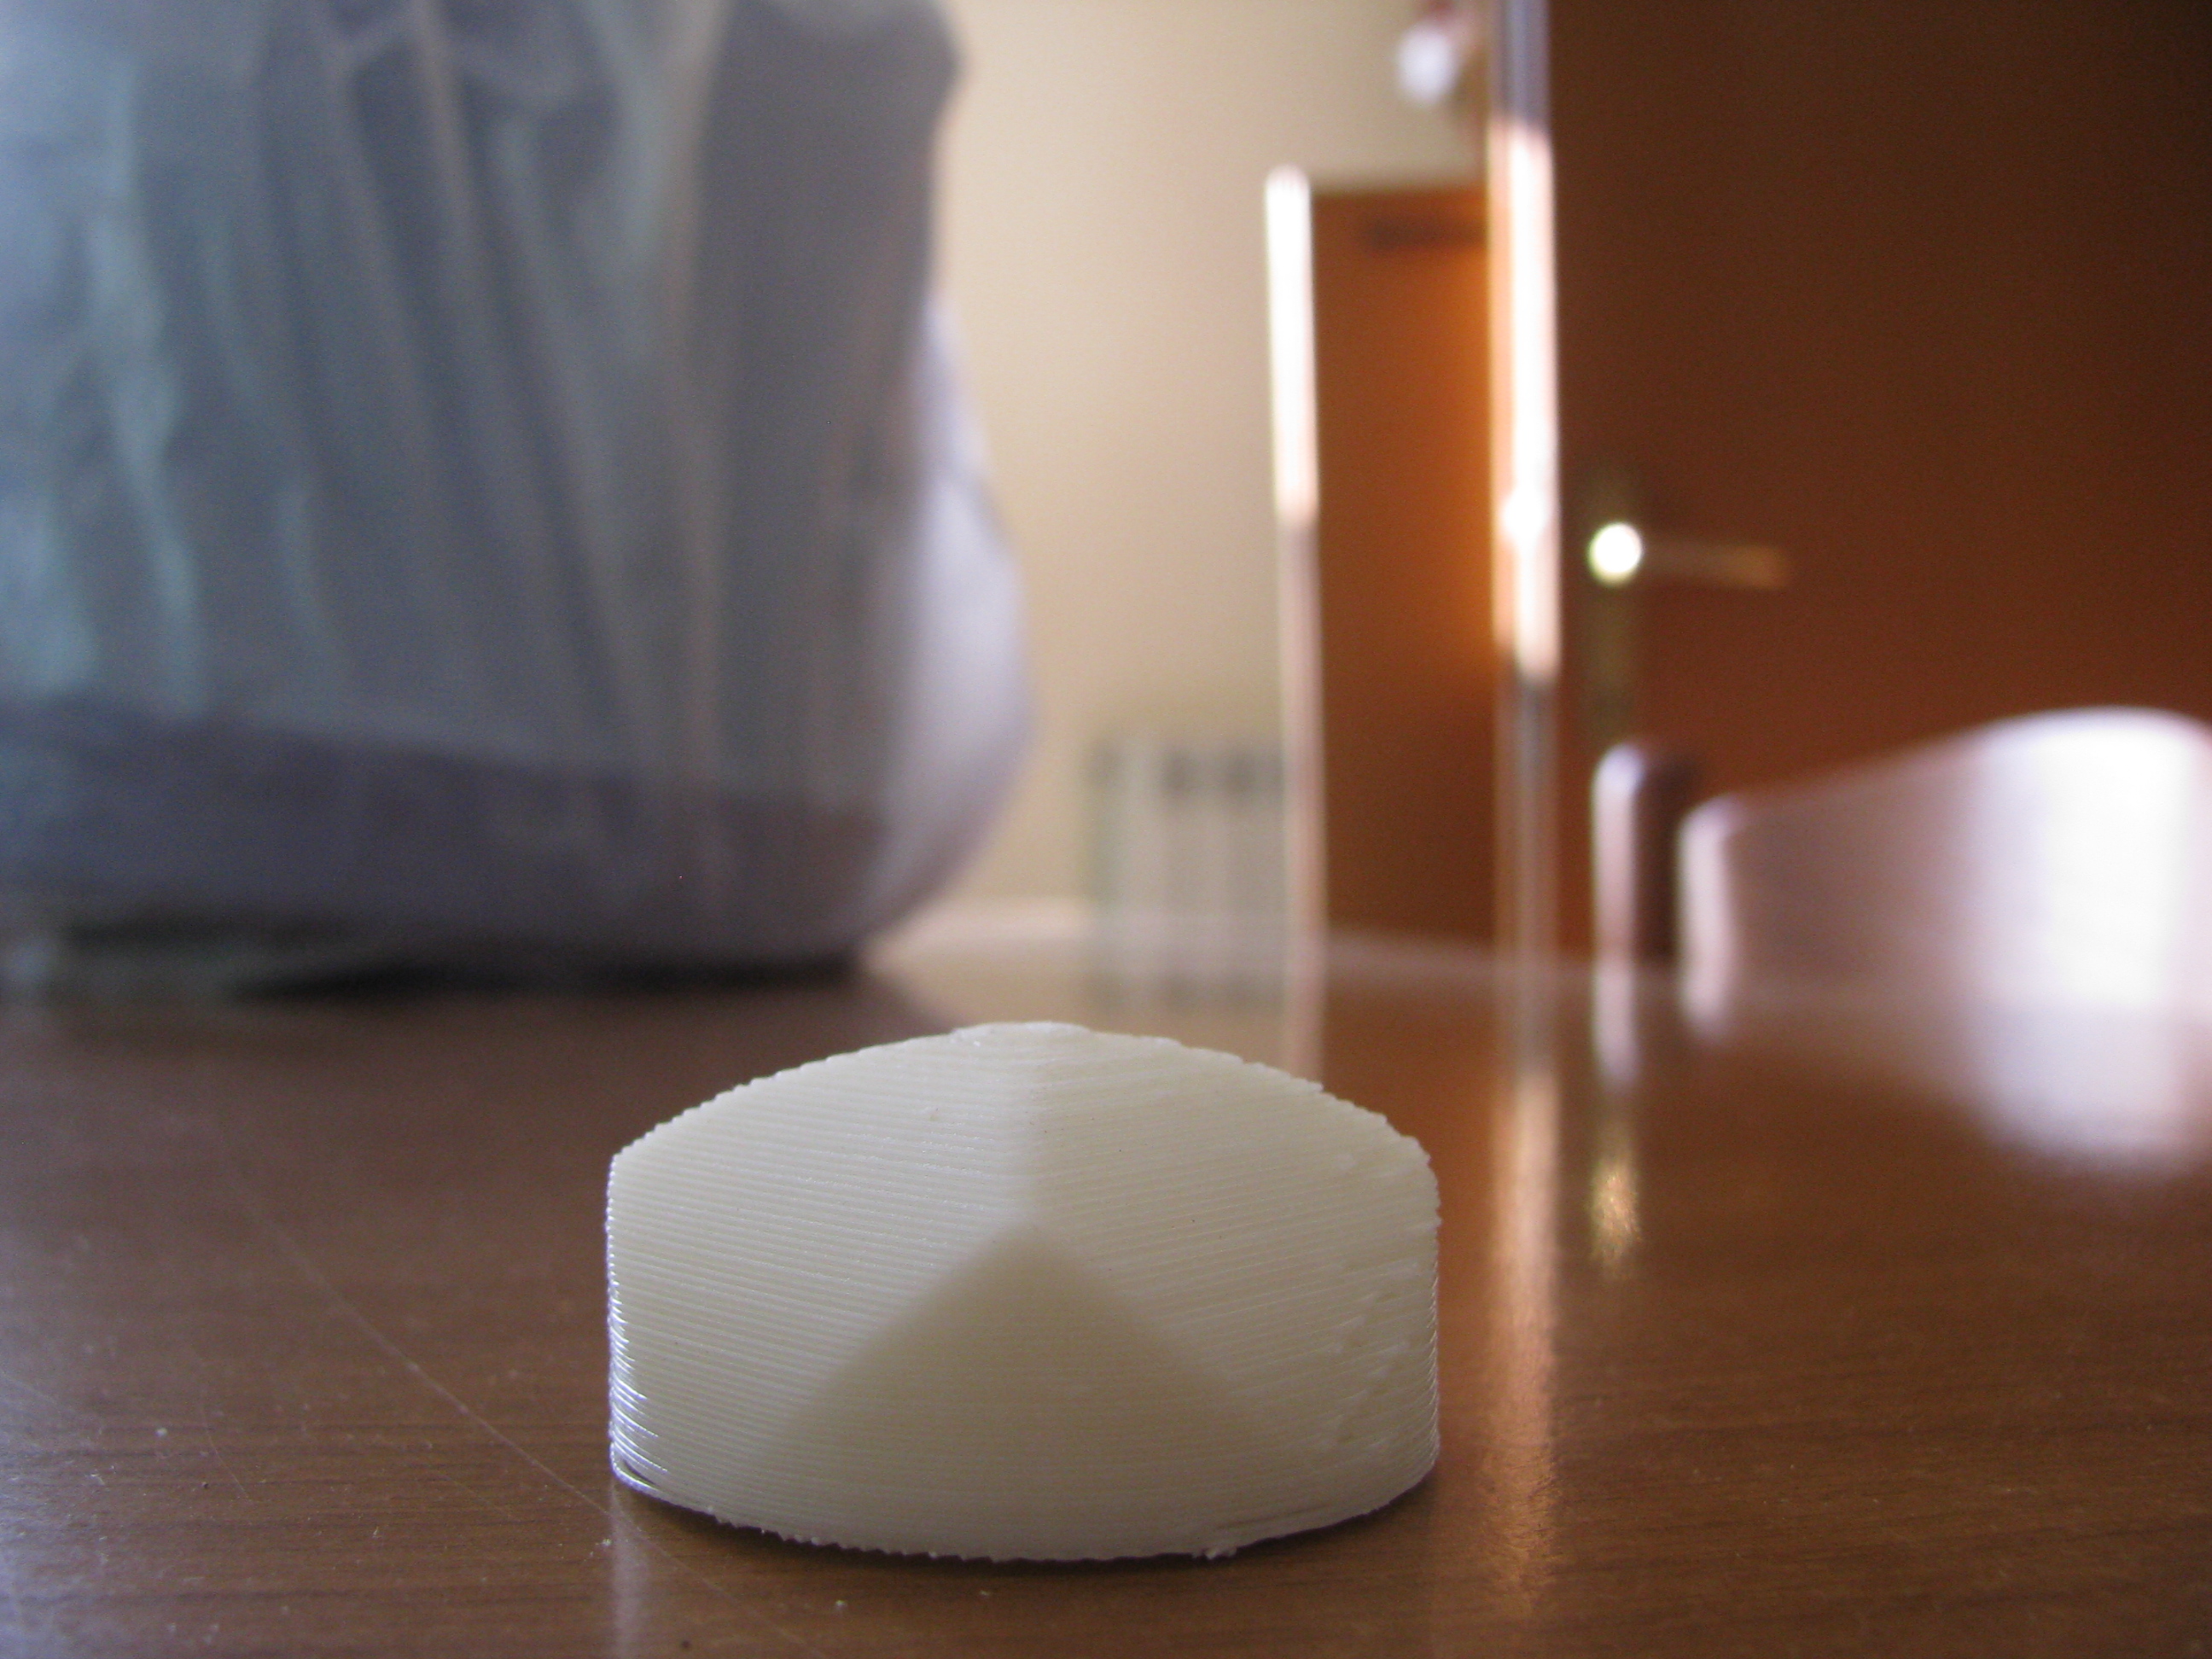
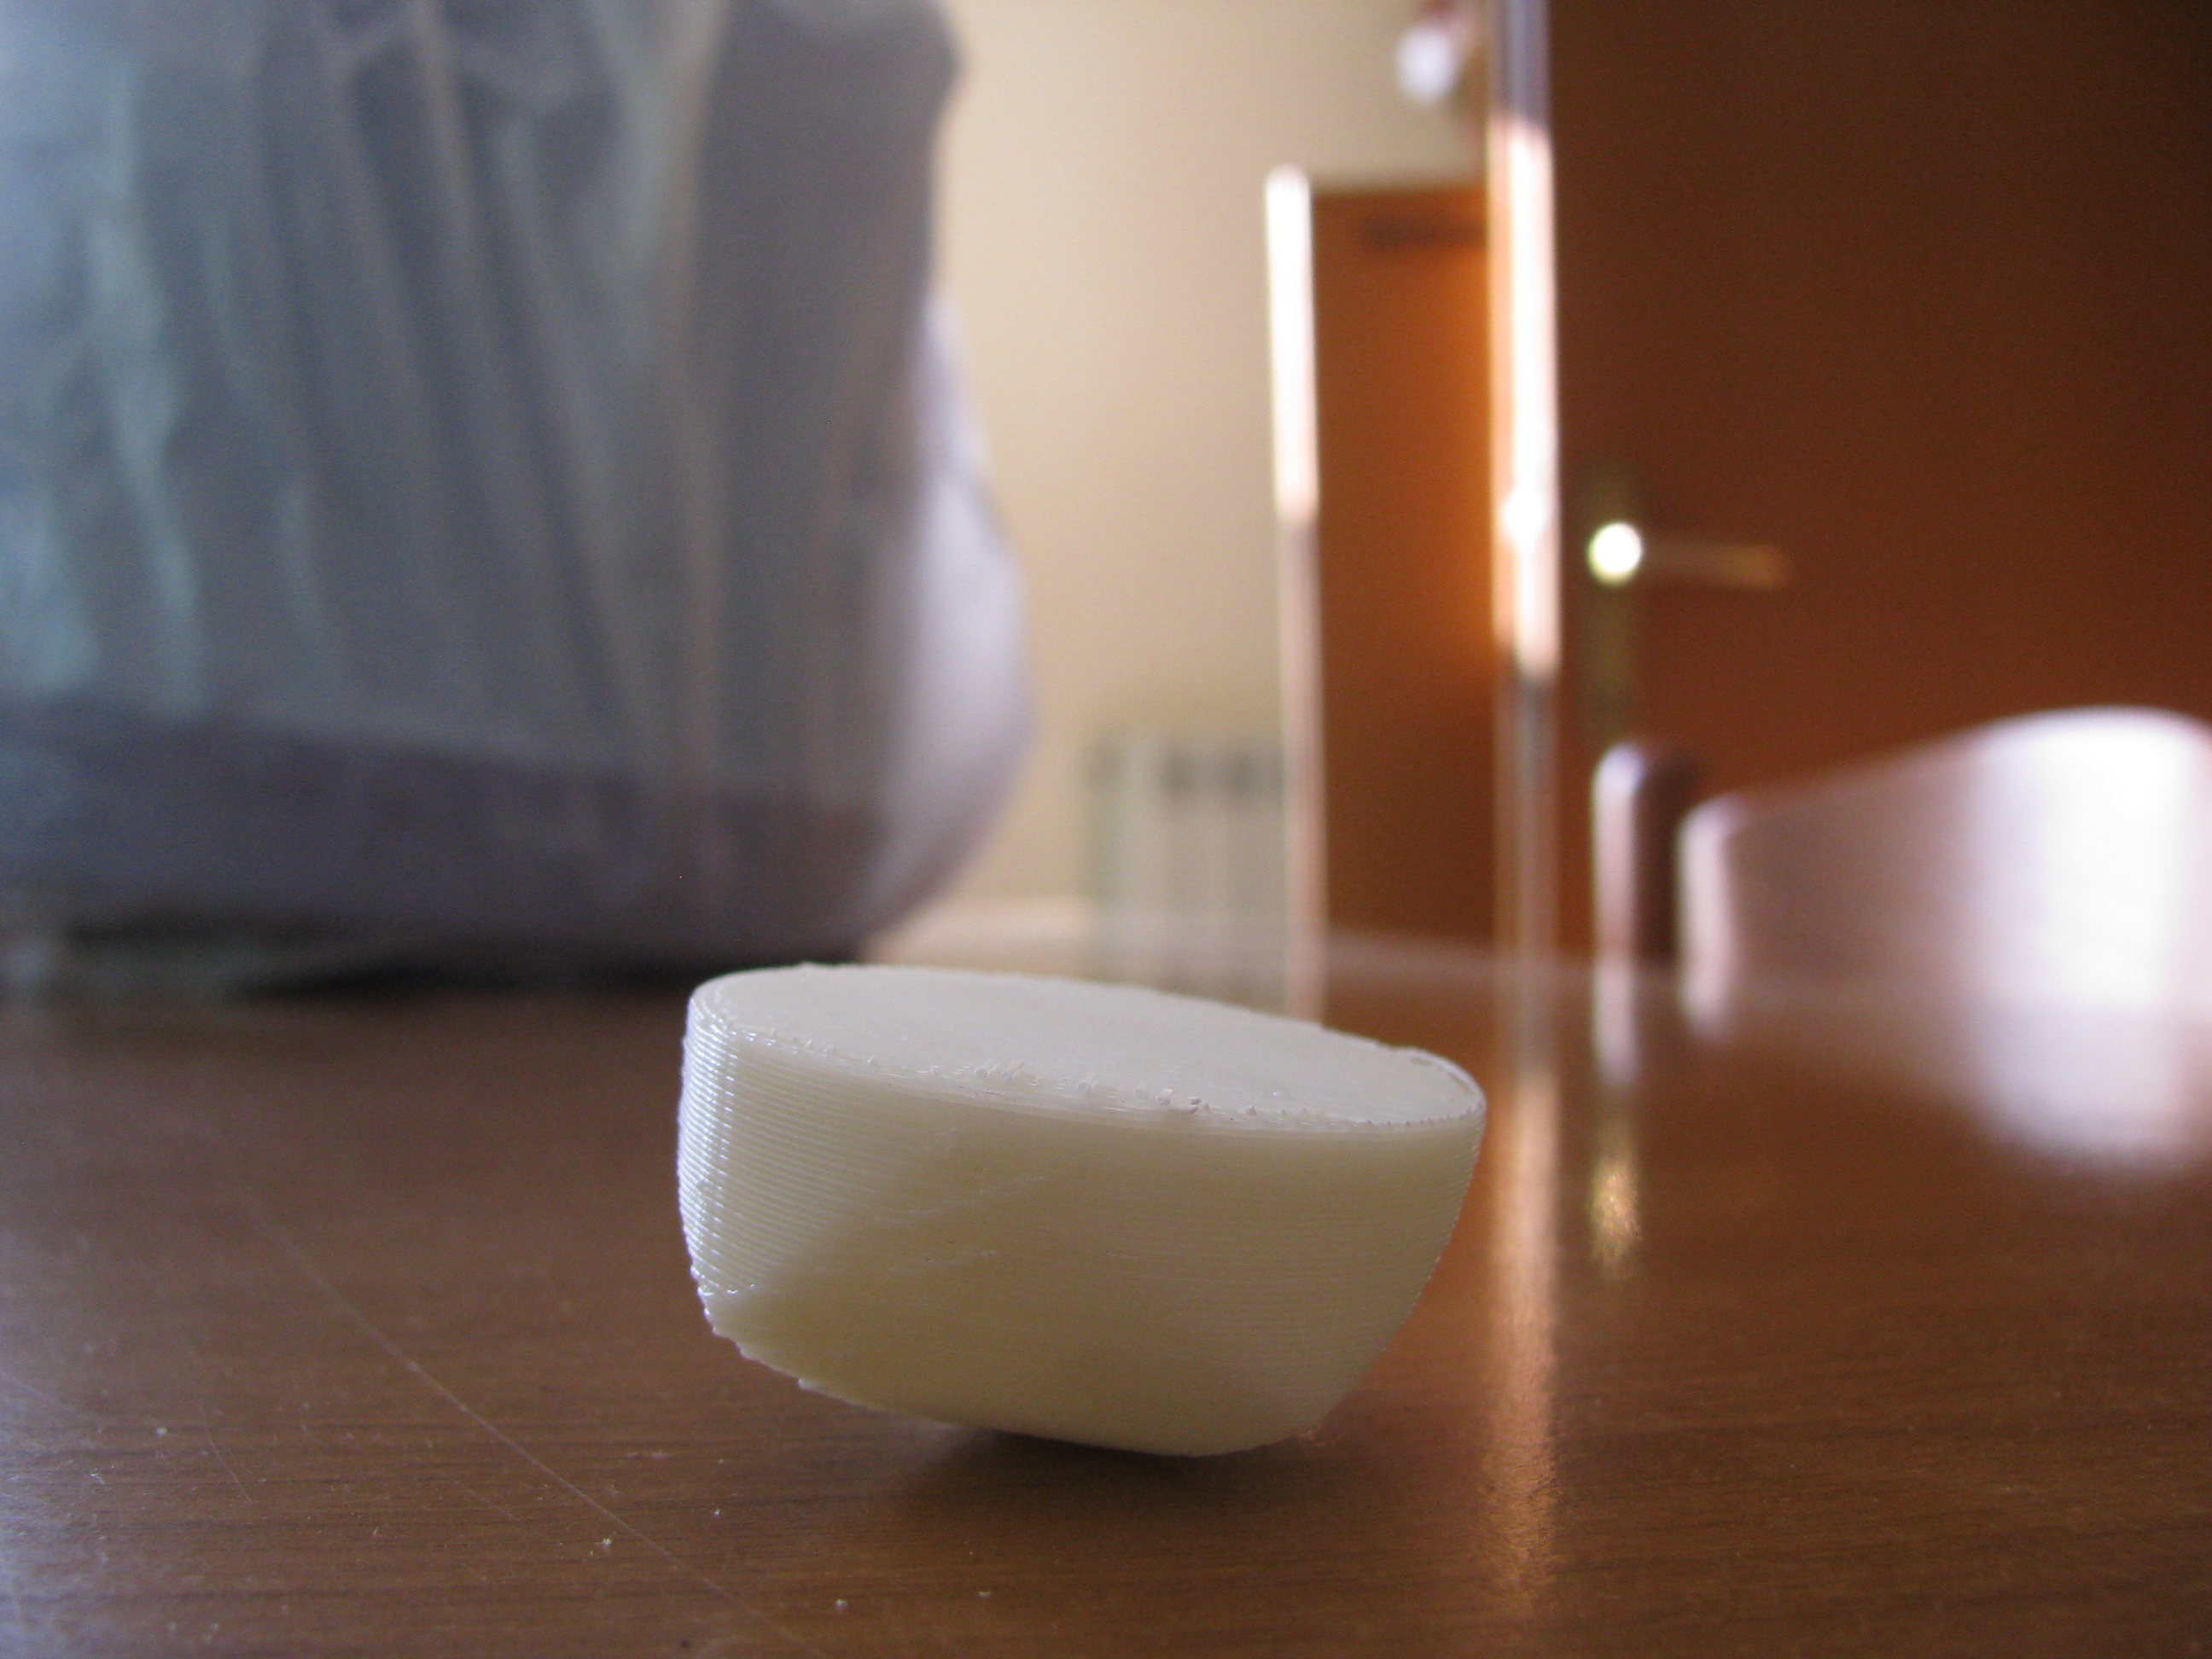
Sadly, the two halves have warped a bit during printing, and it will not be easy to glue them in such a way as to keep them "round".
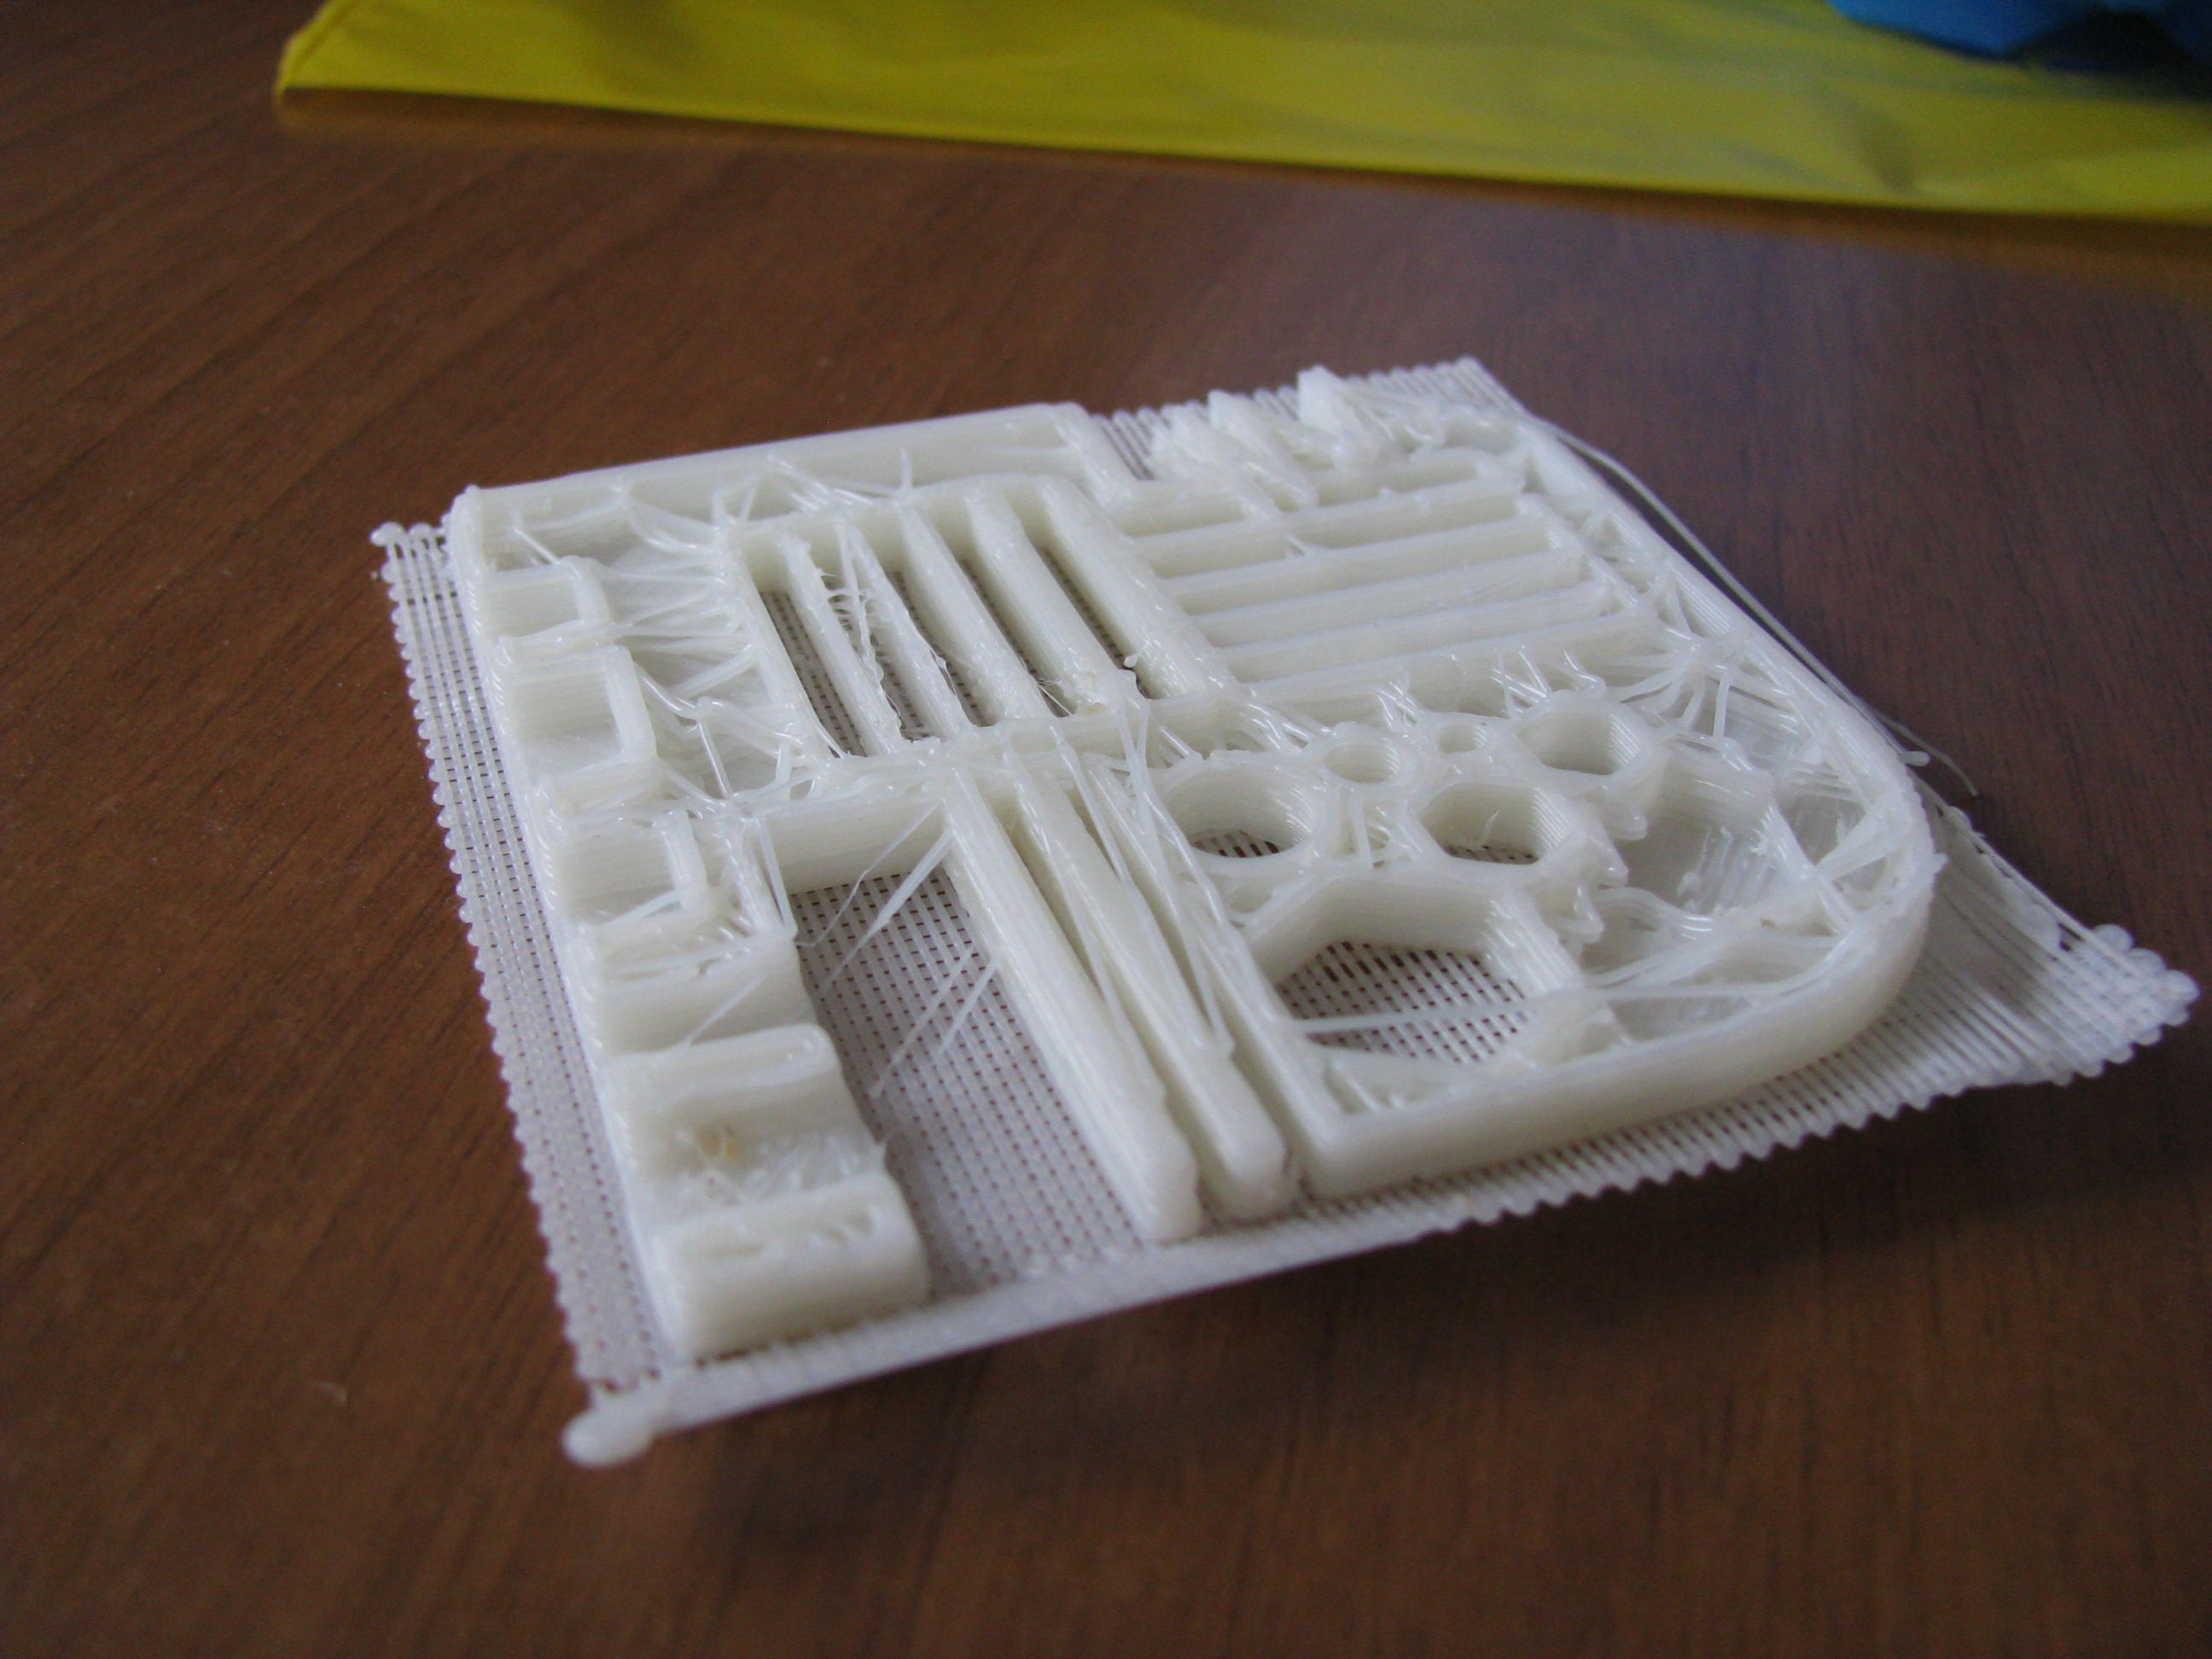
The benchmark piece
Just to try it out, I printed the RepRap benchmark piece.
First problem: the raft wasn't sticking to the build base; solved by keeping the extruder nearer to the base.
I discovered immediately afterwards that the build base was not precisely horizontal; I don't know whether the plastic build base is distorted, or the translation axes are somehow misaligned (hard to believe).
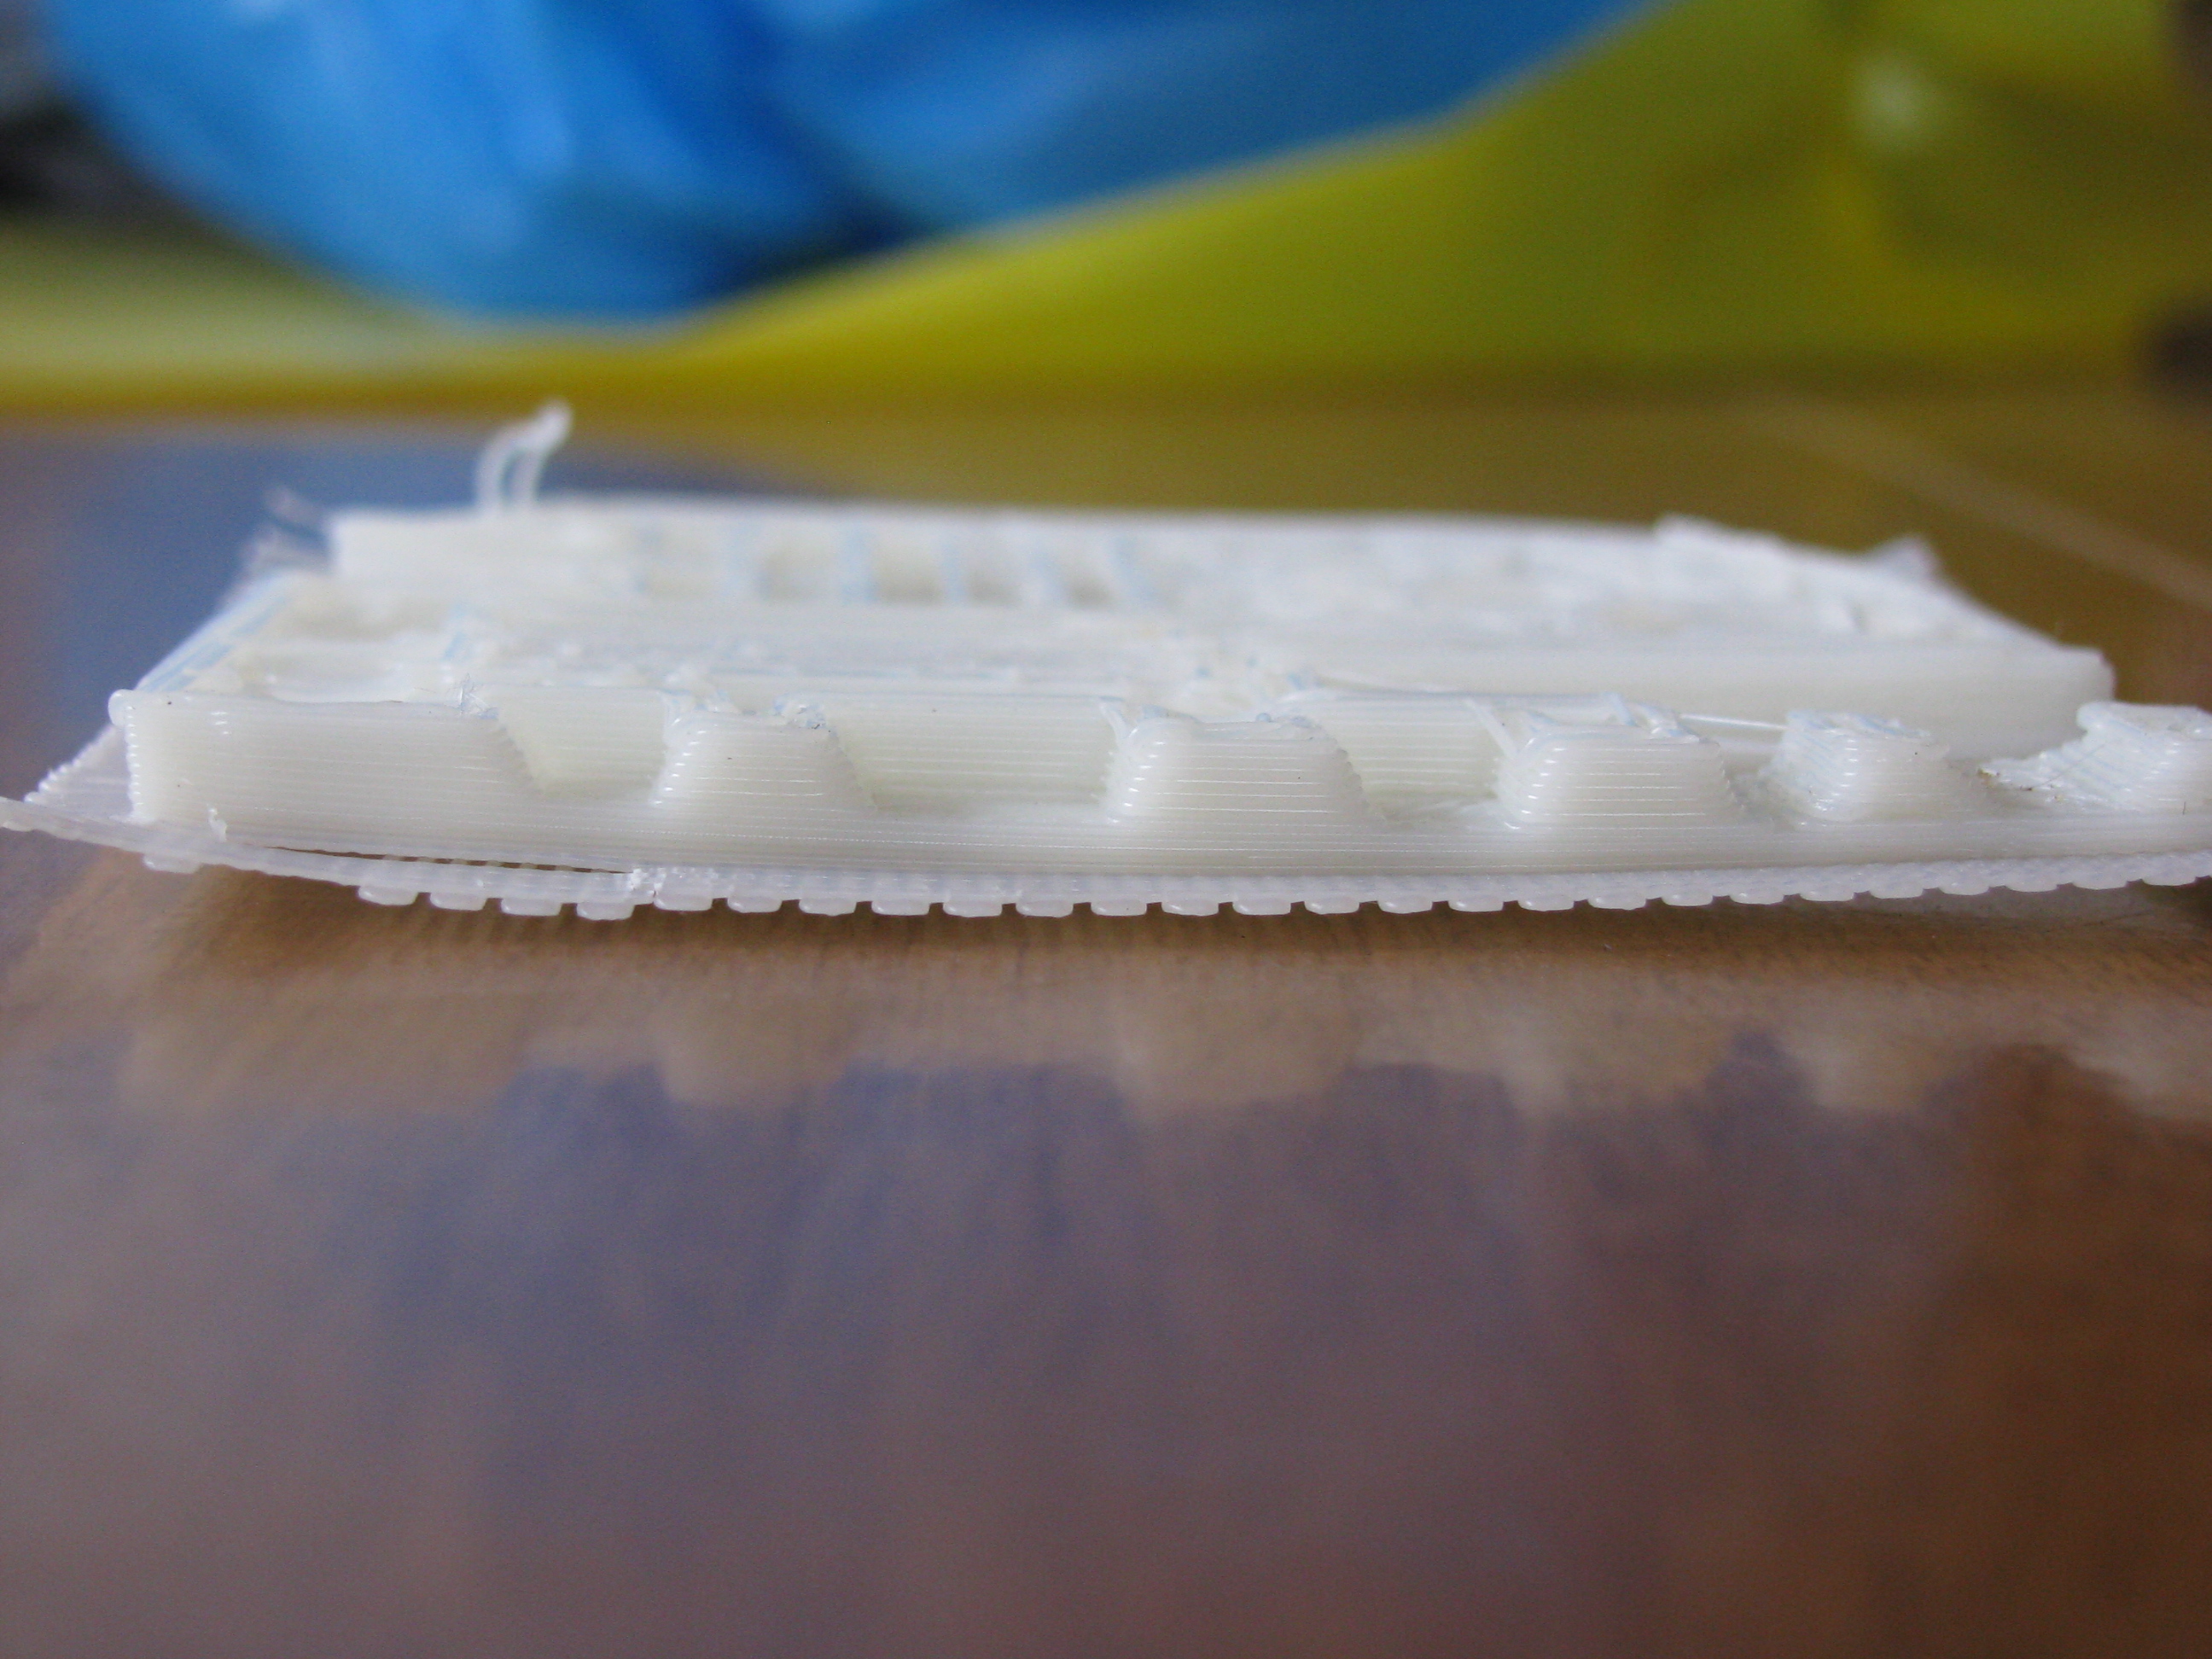
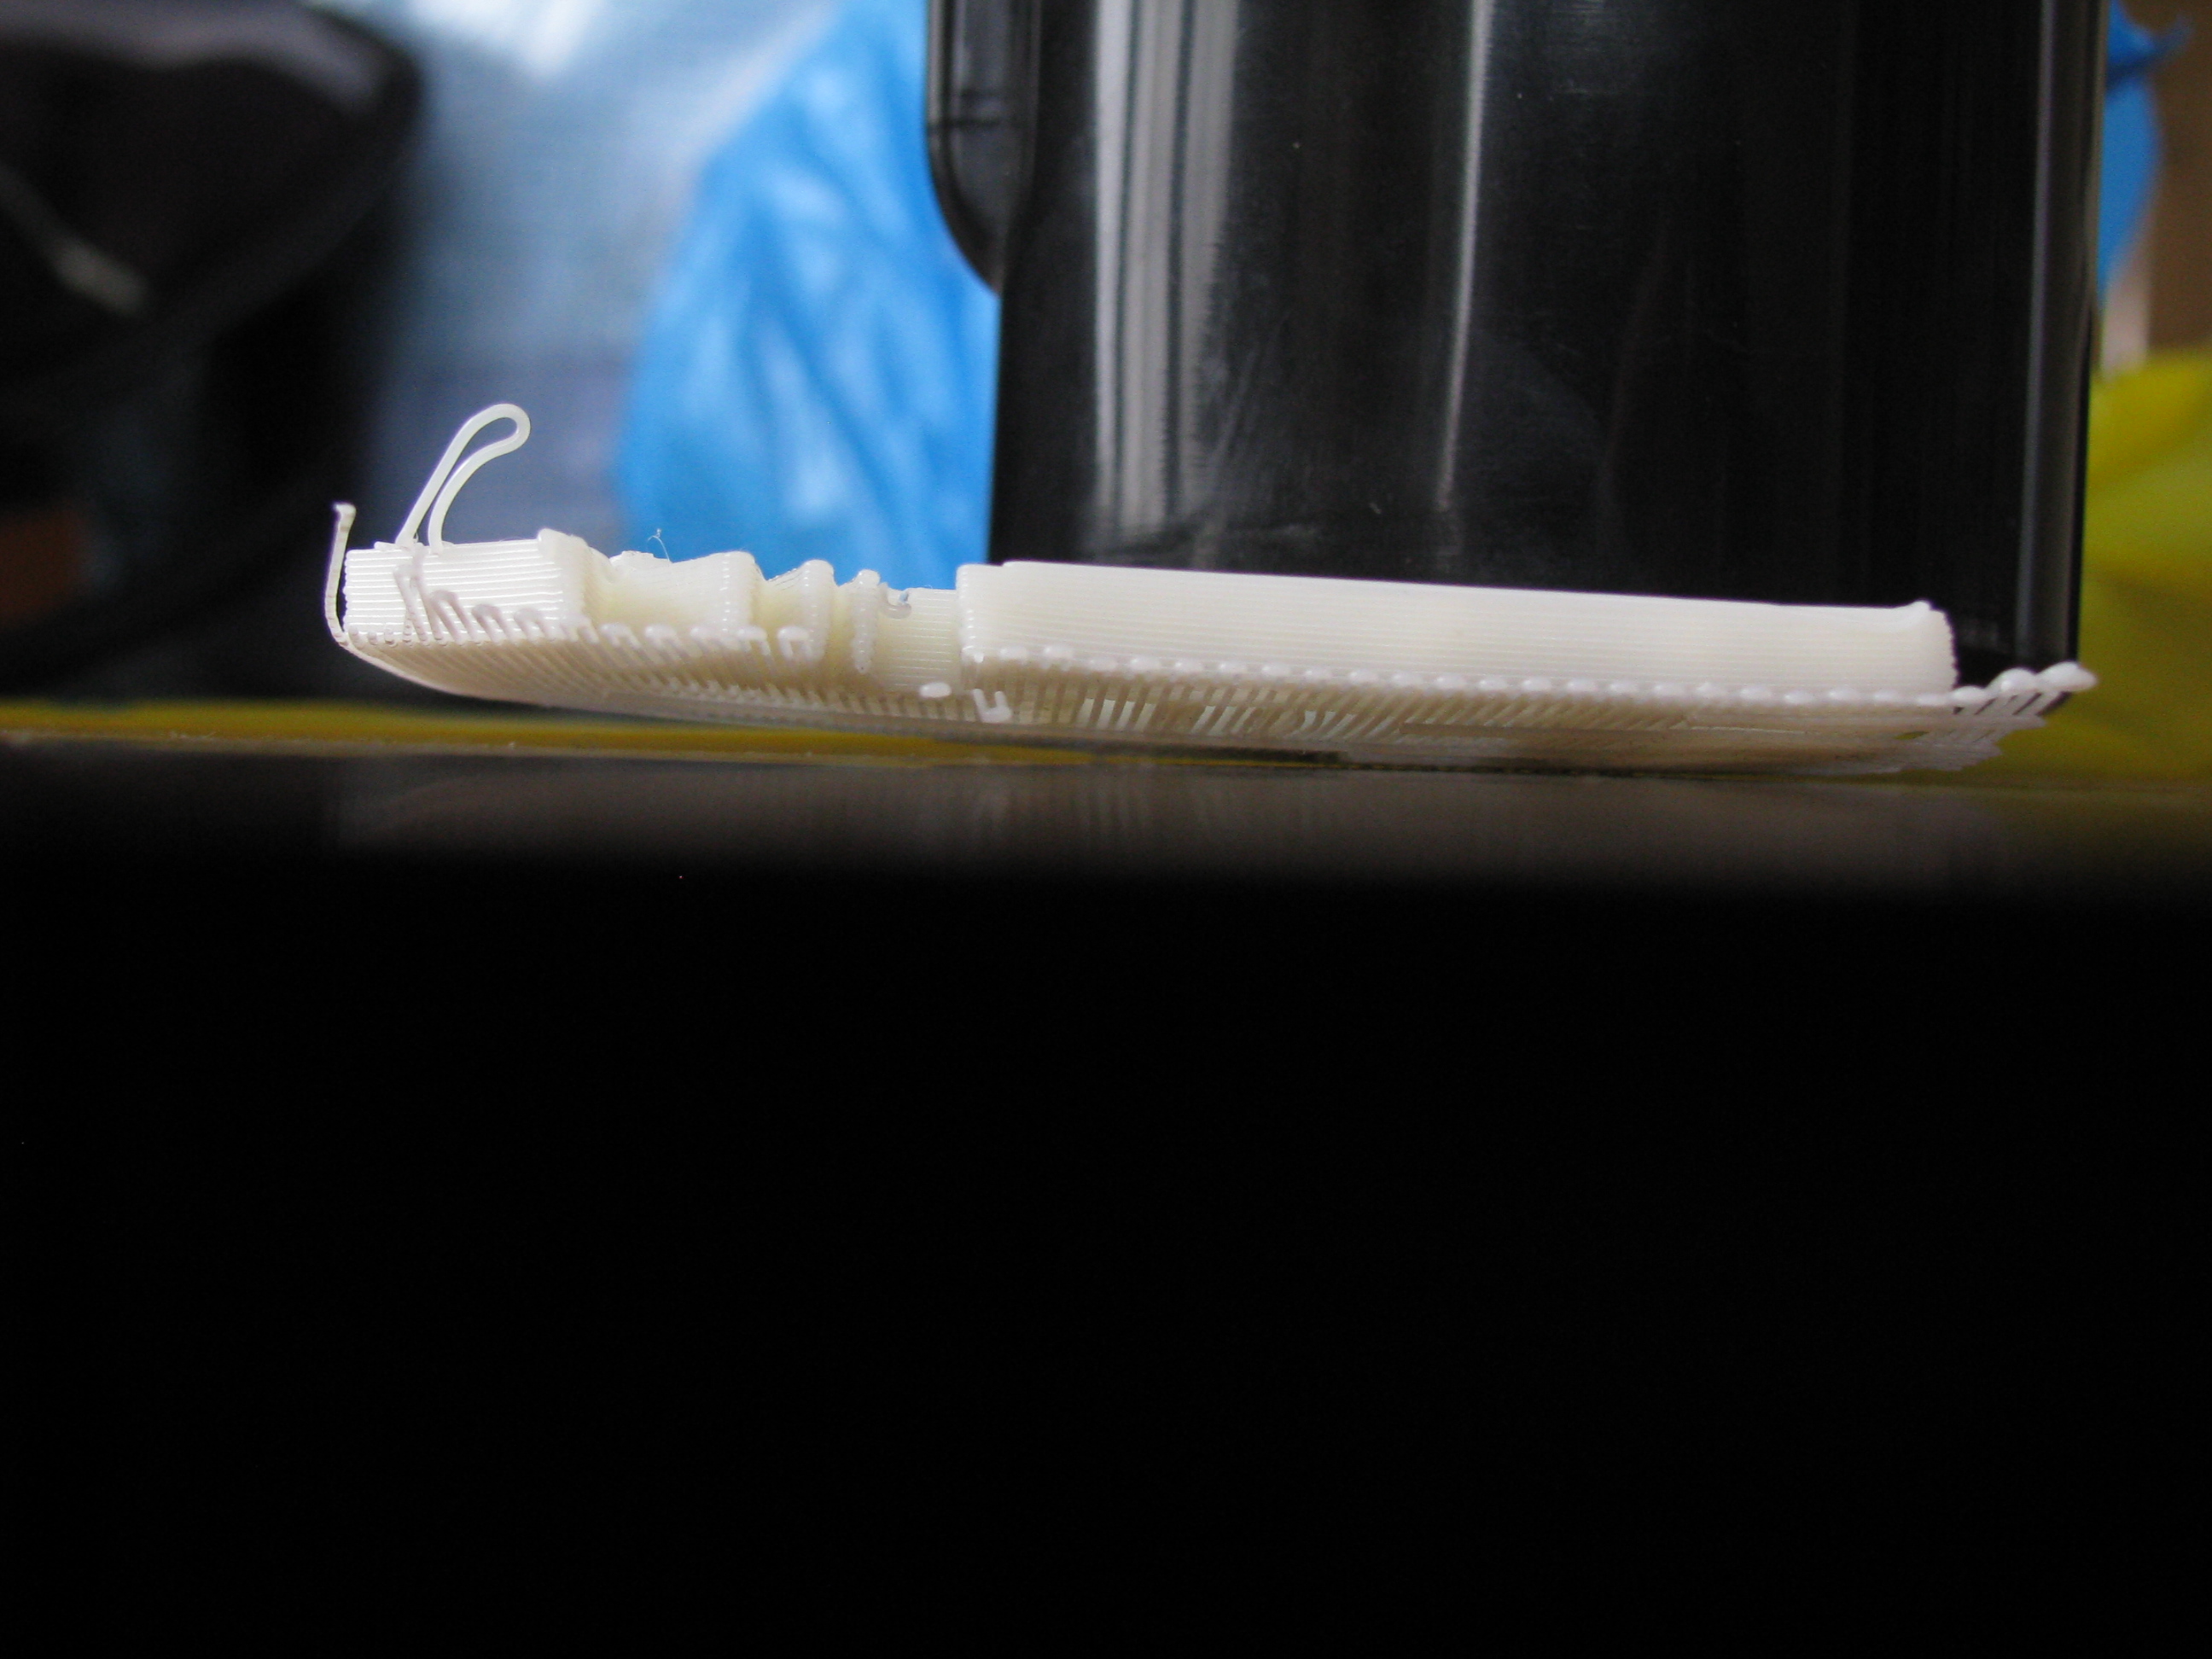
After about forty minutes of printing, I notice that the model is distorted; it happens quite often, but this time it's warping the build base! In fact, I soon had to abort the print: the base had detached from the wooden support that holds it to the Y stage, and the extruded filaments were going every which way.
Results:

To do for next time:
- check the orthogonality of the base
- use the bolted build base, instead of the one held with double-sided tape
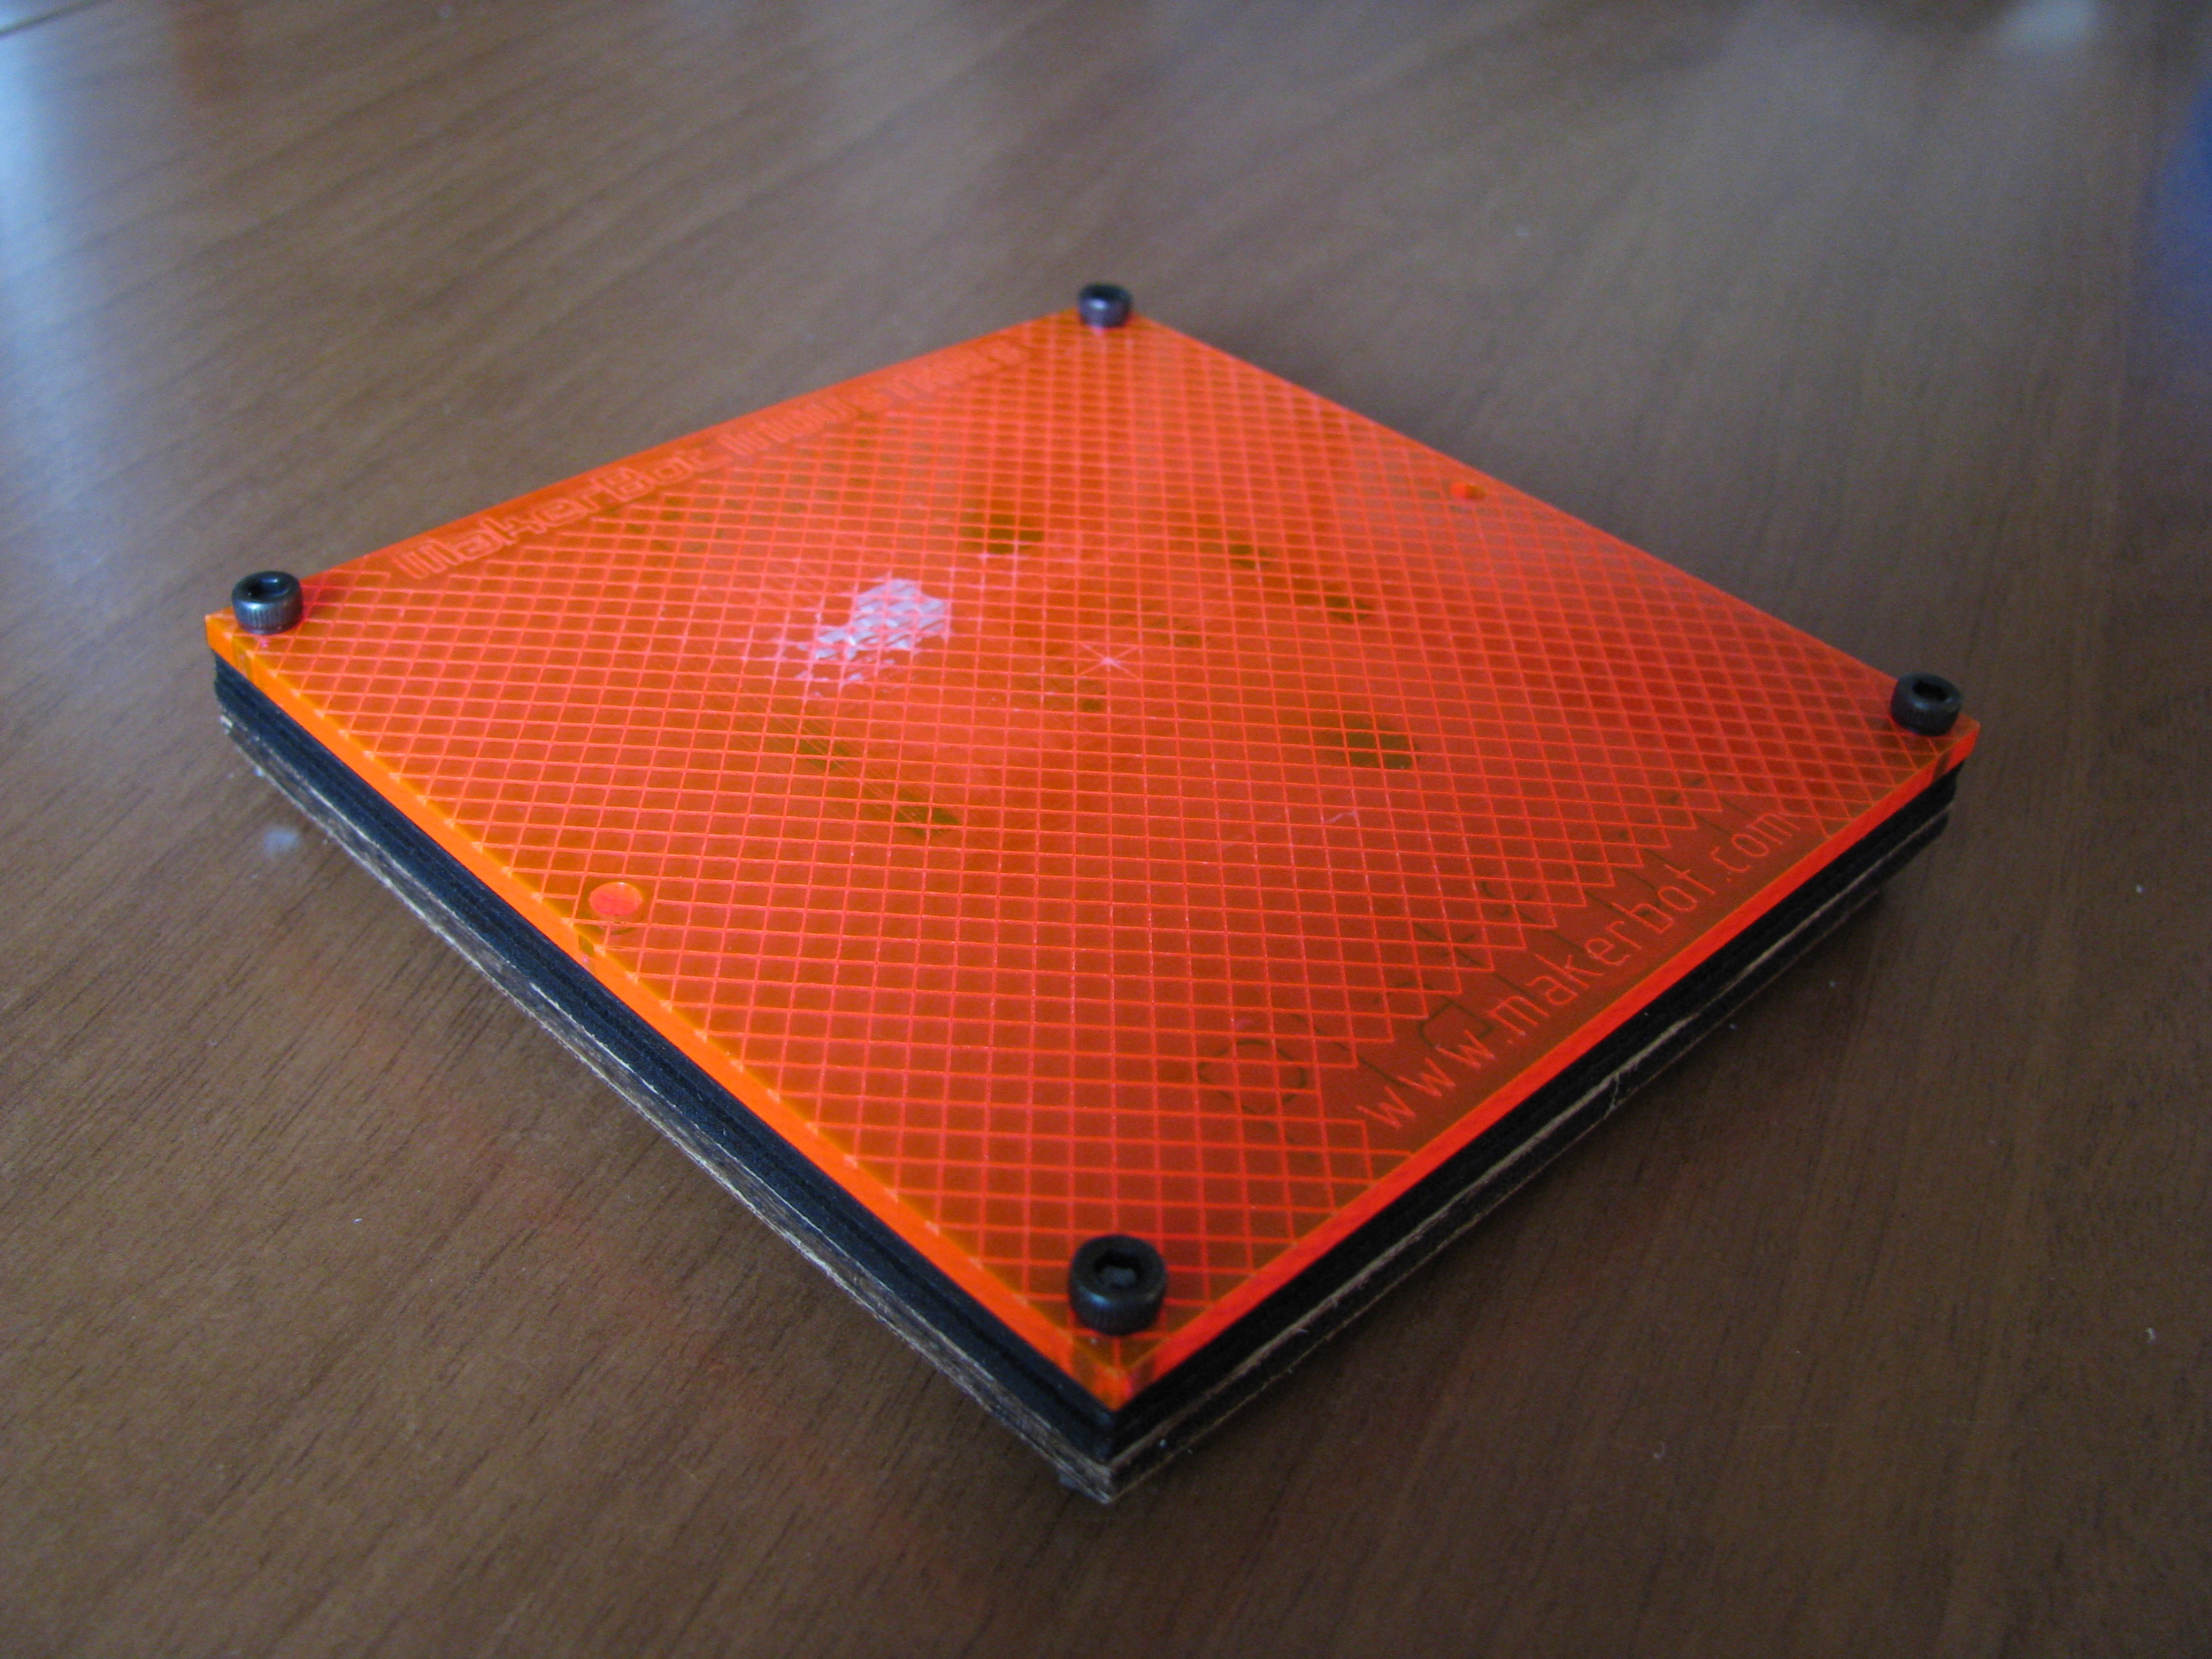
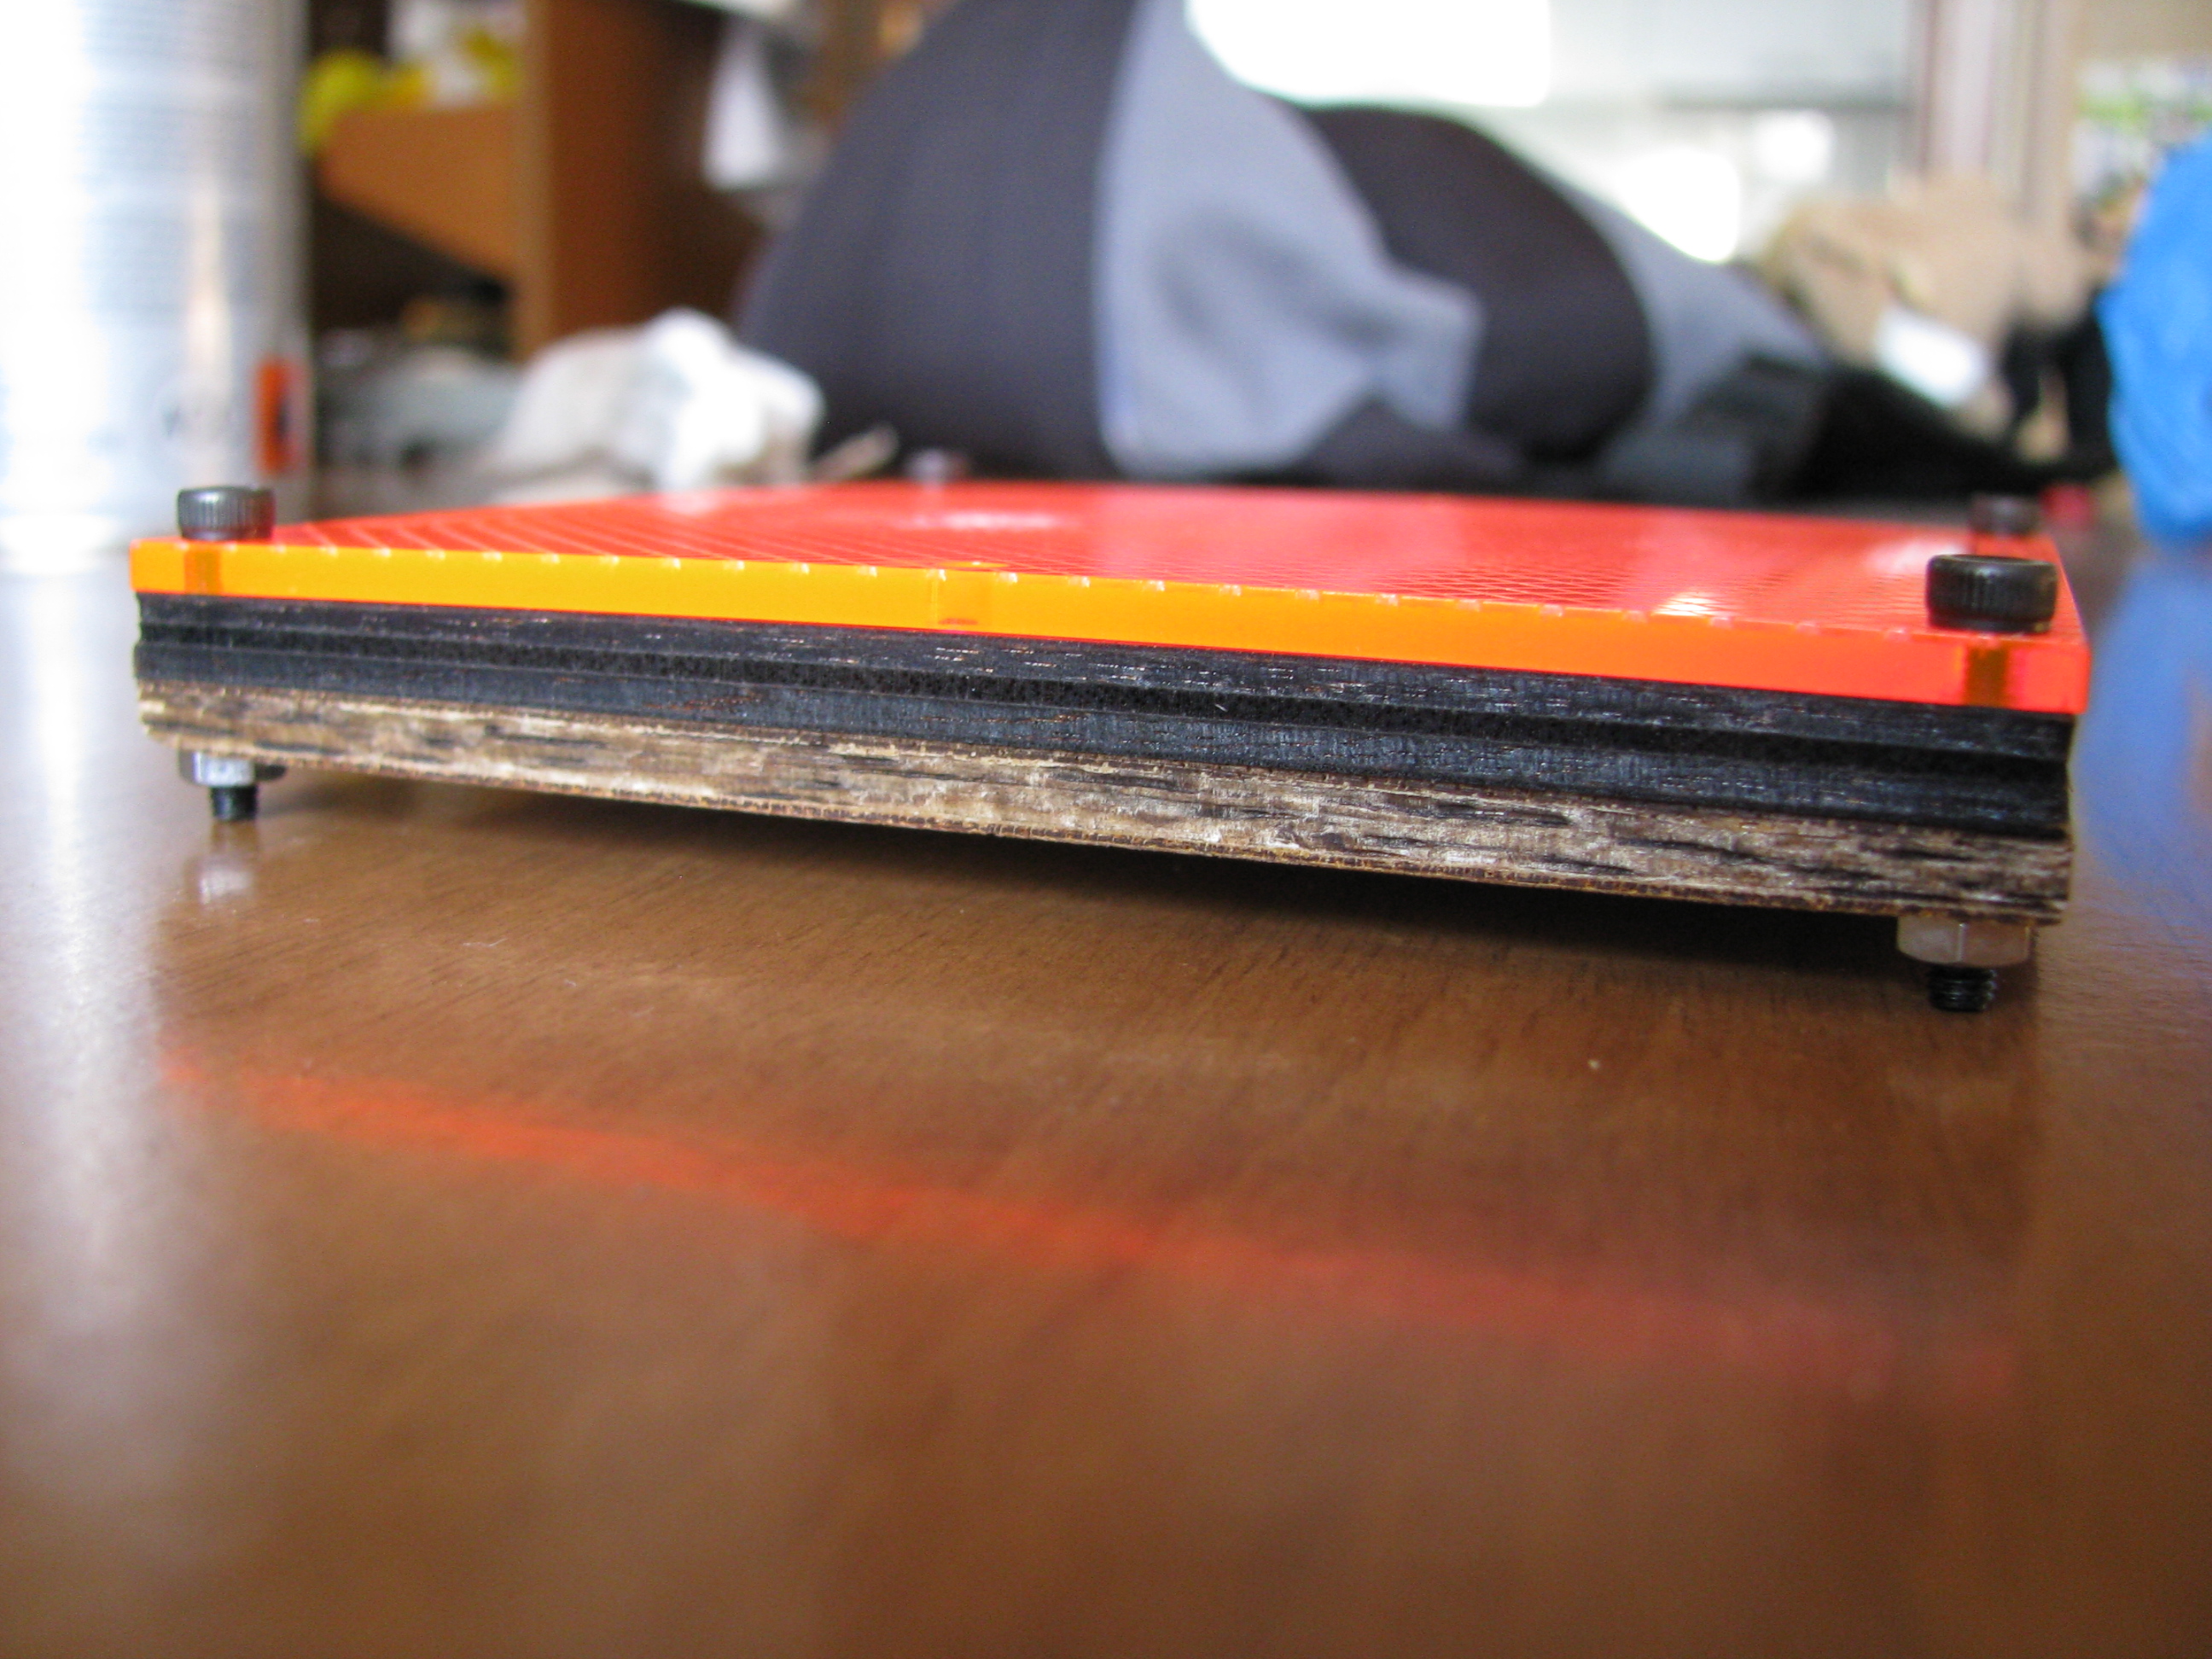
Bolted build base
Seeing the (little) reliability of the taped build base, I started using the bolted one. To make it more robust, I used both wooden plates (by drilling the holes in one of them).
The whistle
Using the new build base, I printed the whistle (I actually used the cleaned version ).
It came out pretty well, but it does not actually whistle…
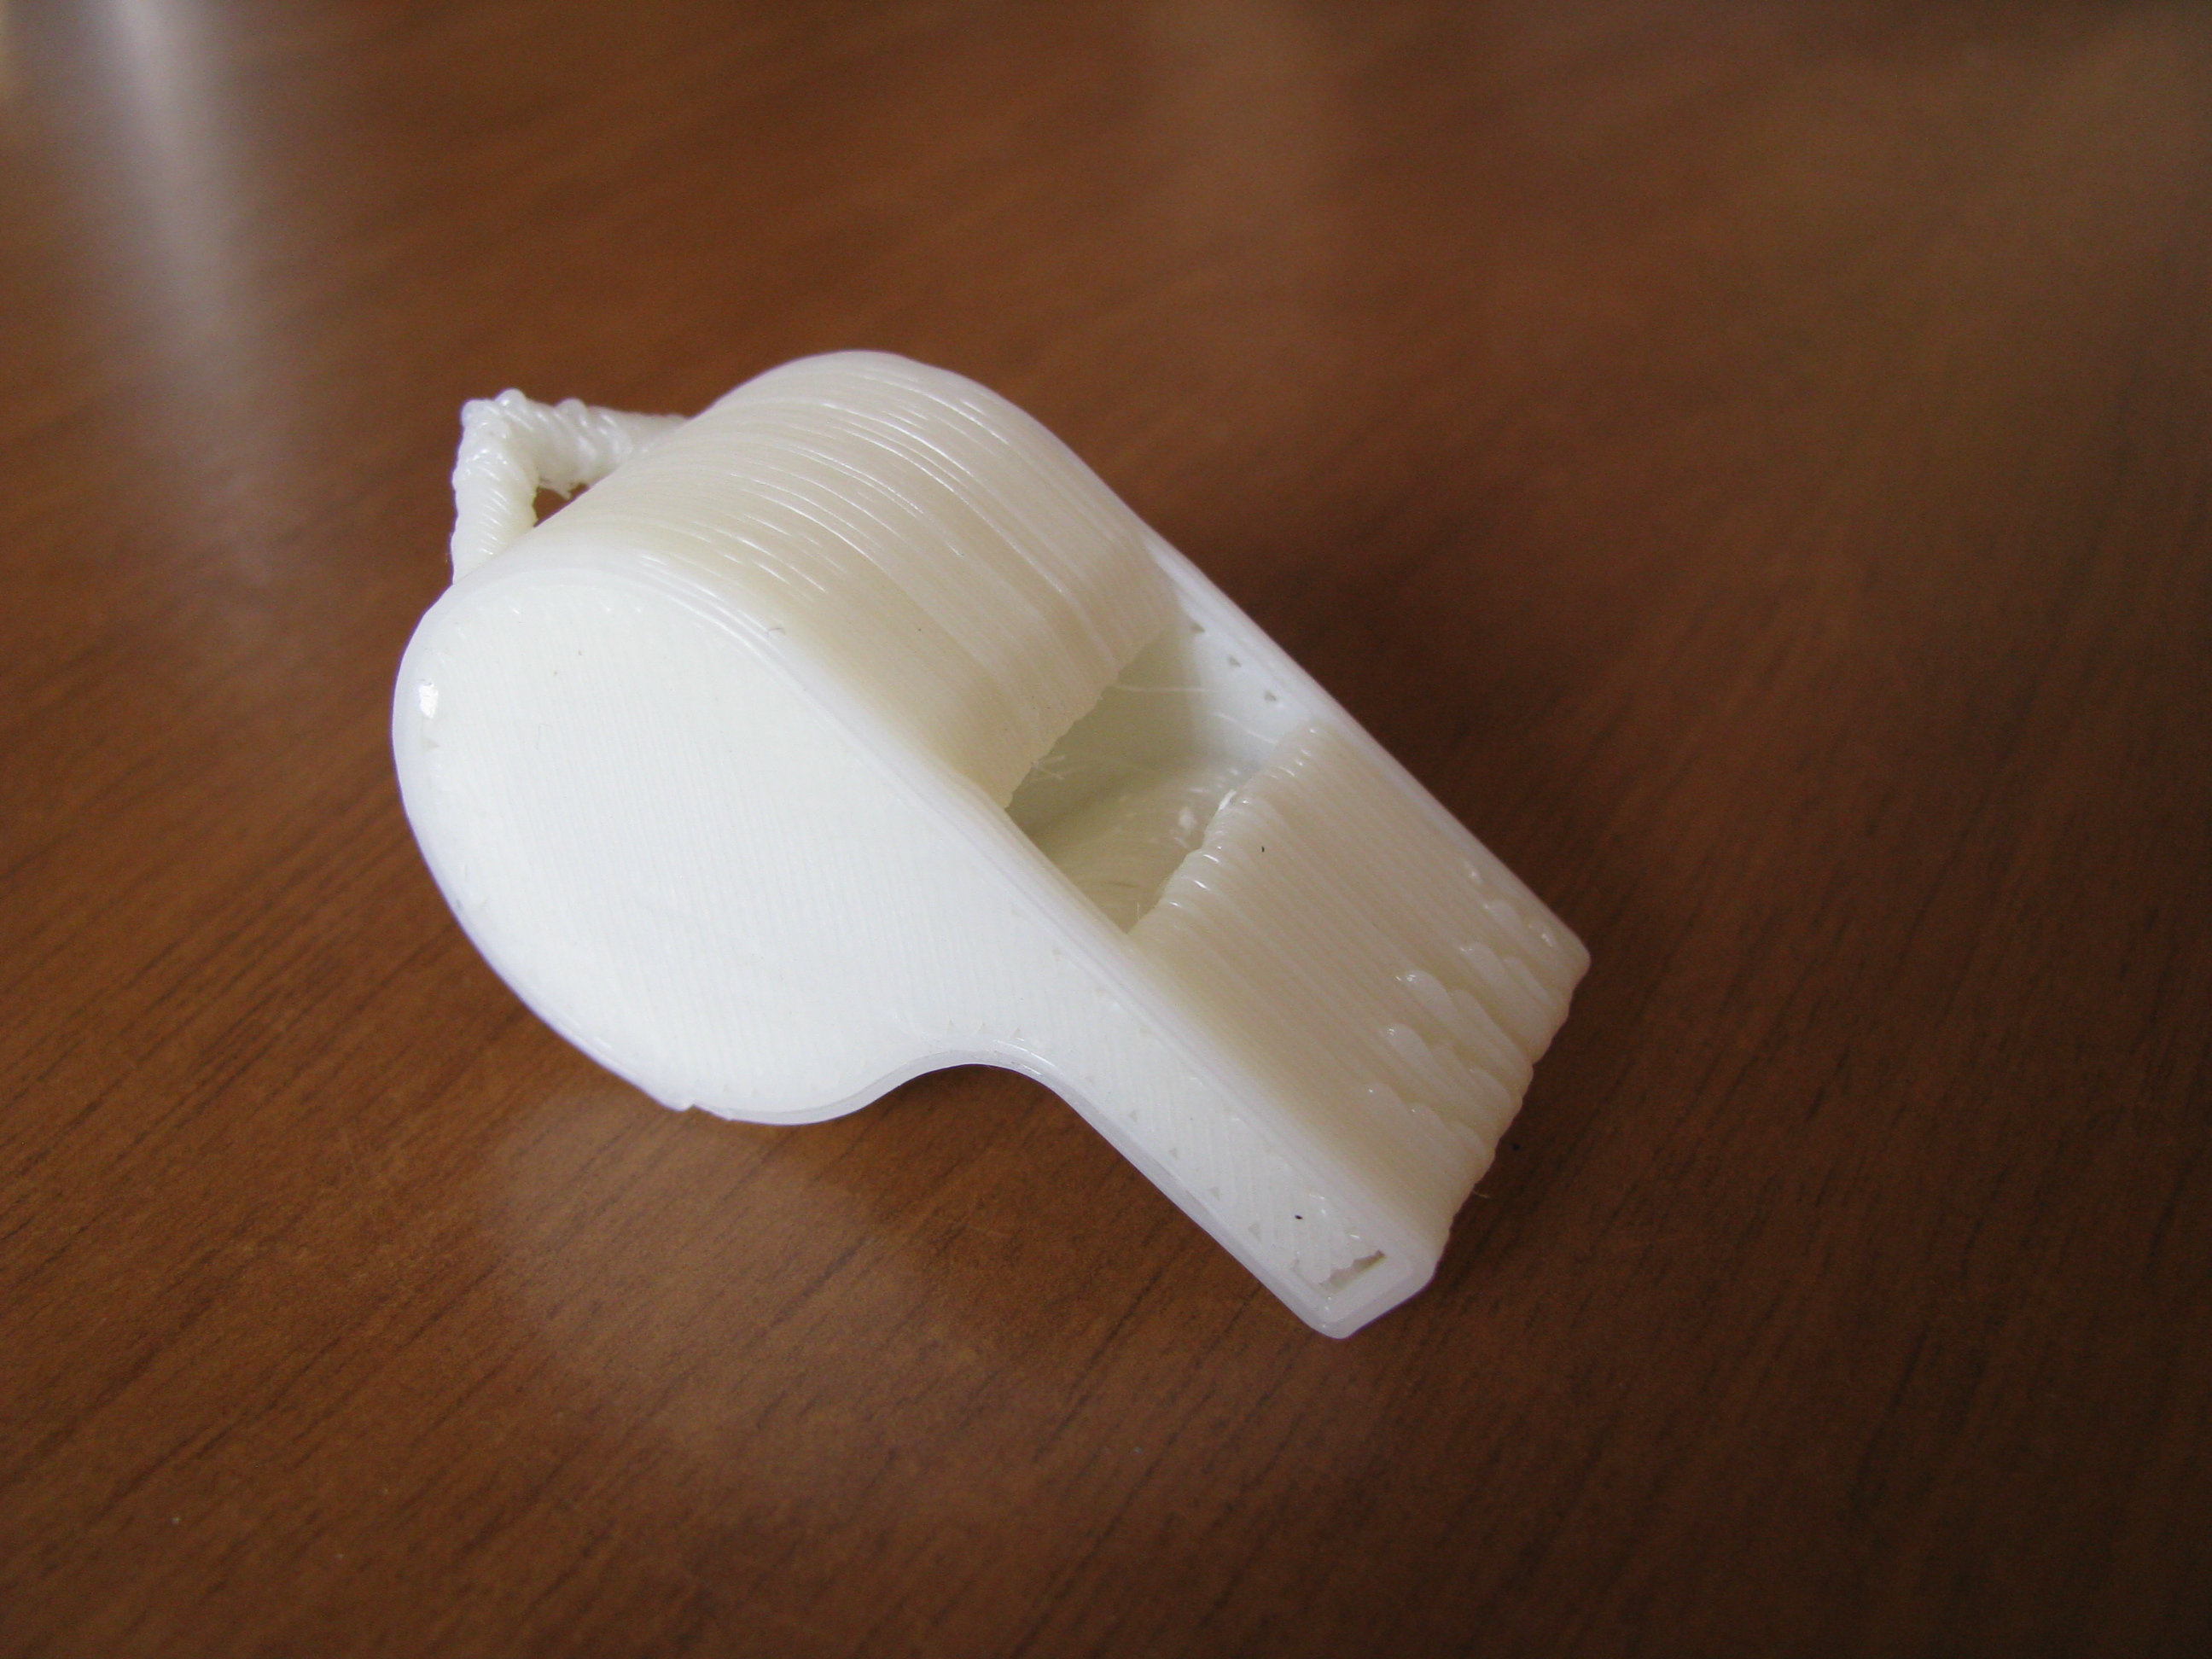
I should maybe study the effects of the "comb" and "oozebane" settings in skeinforge…
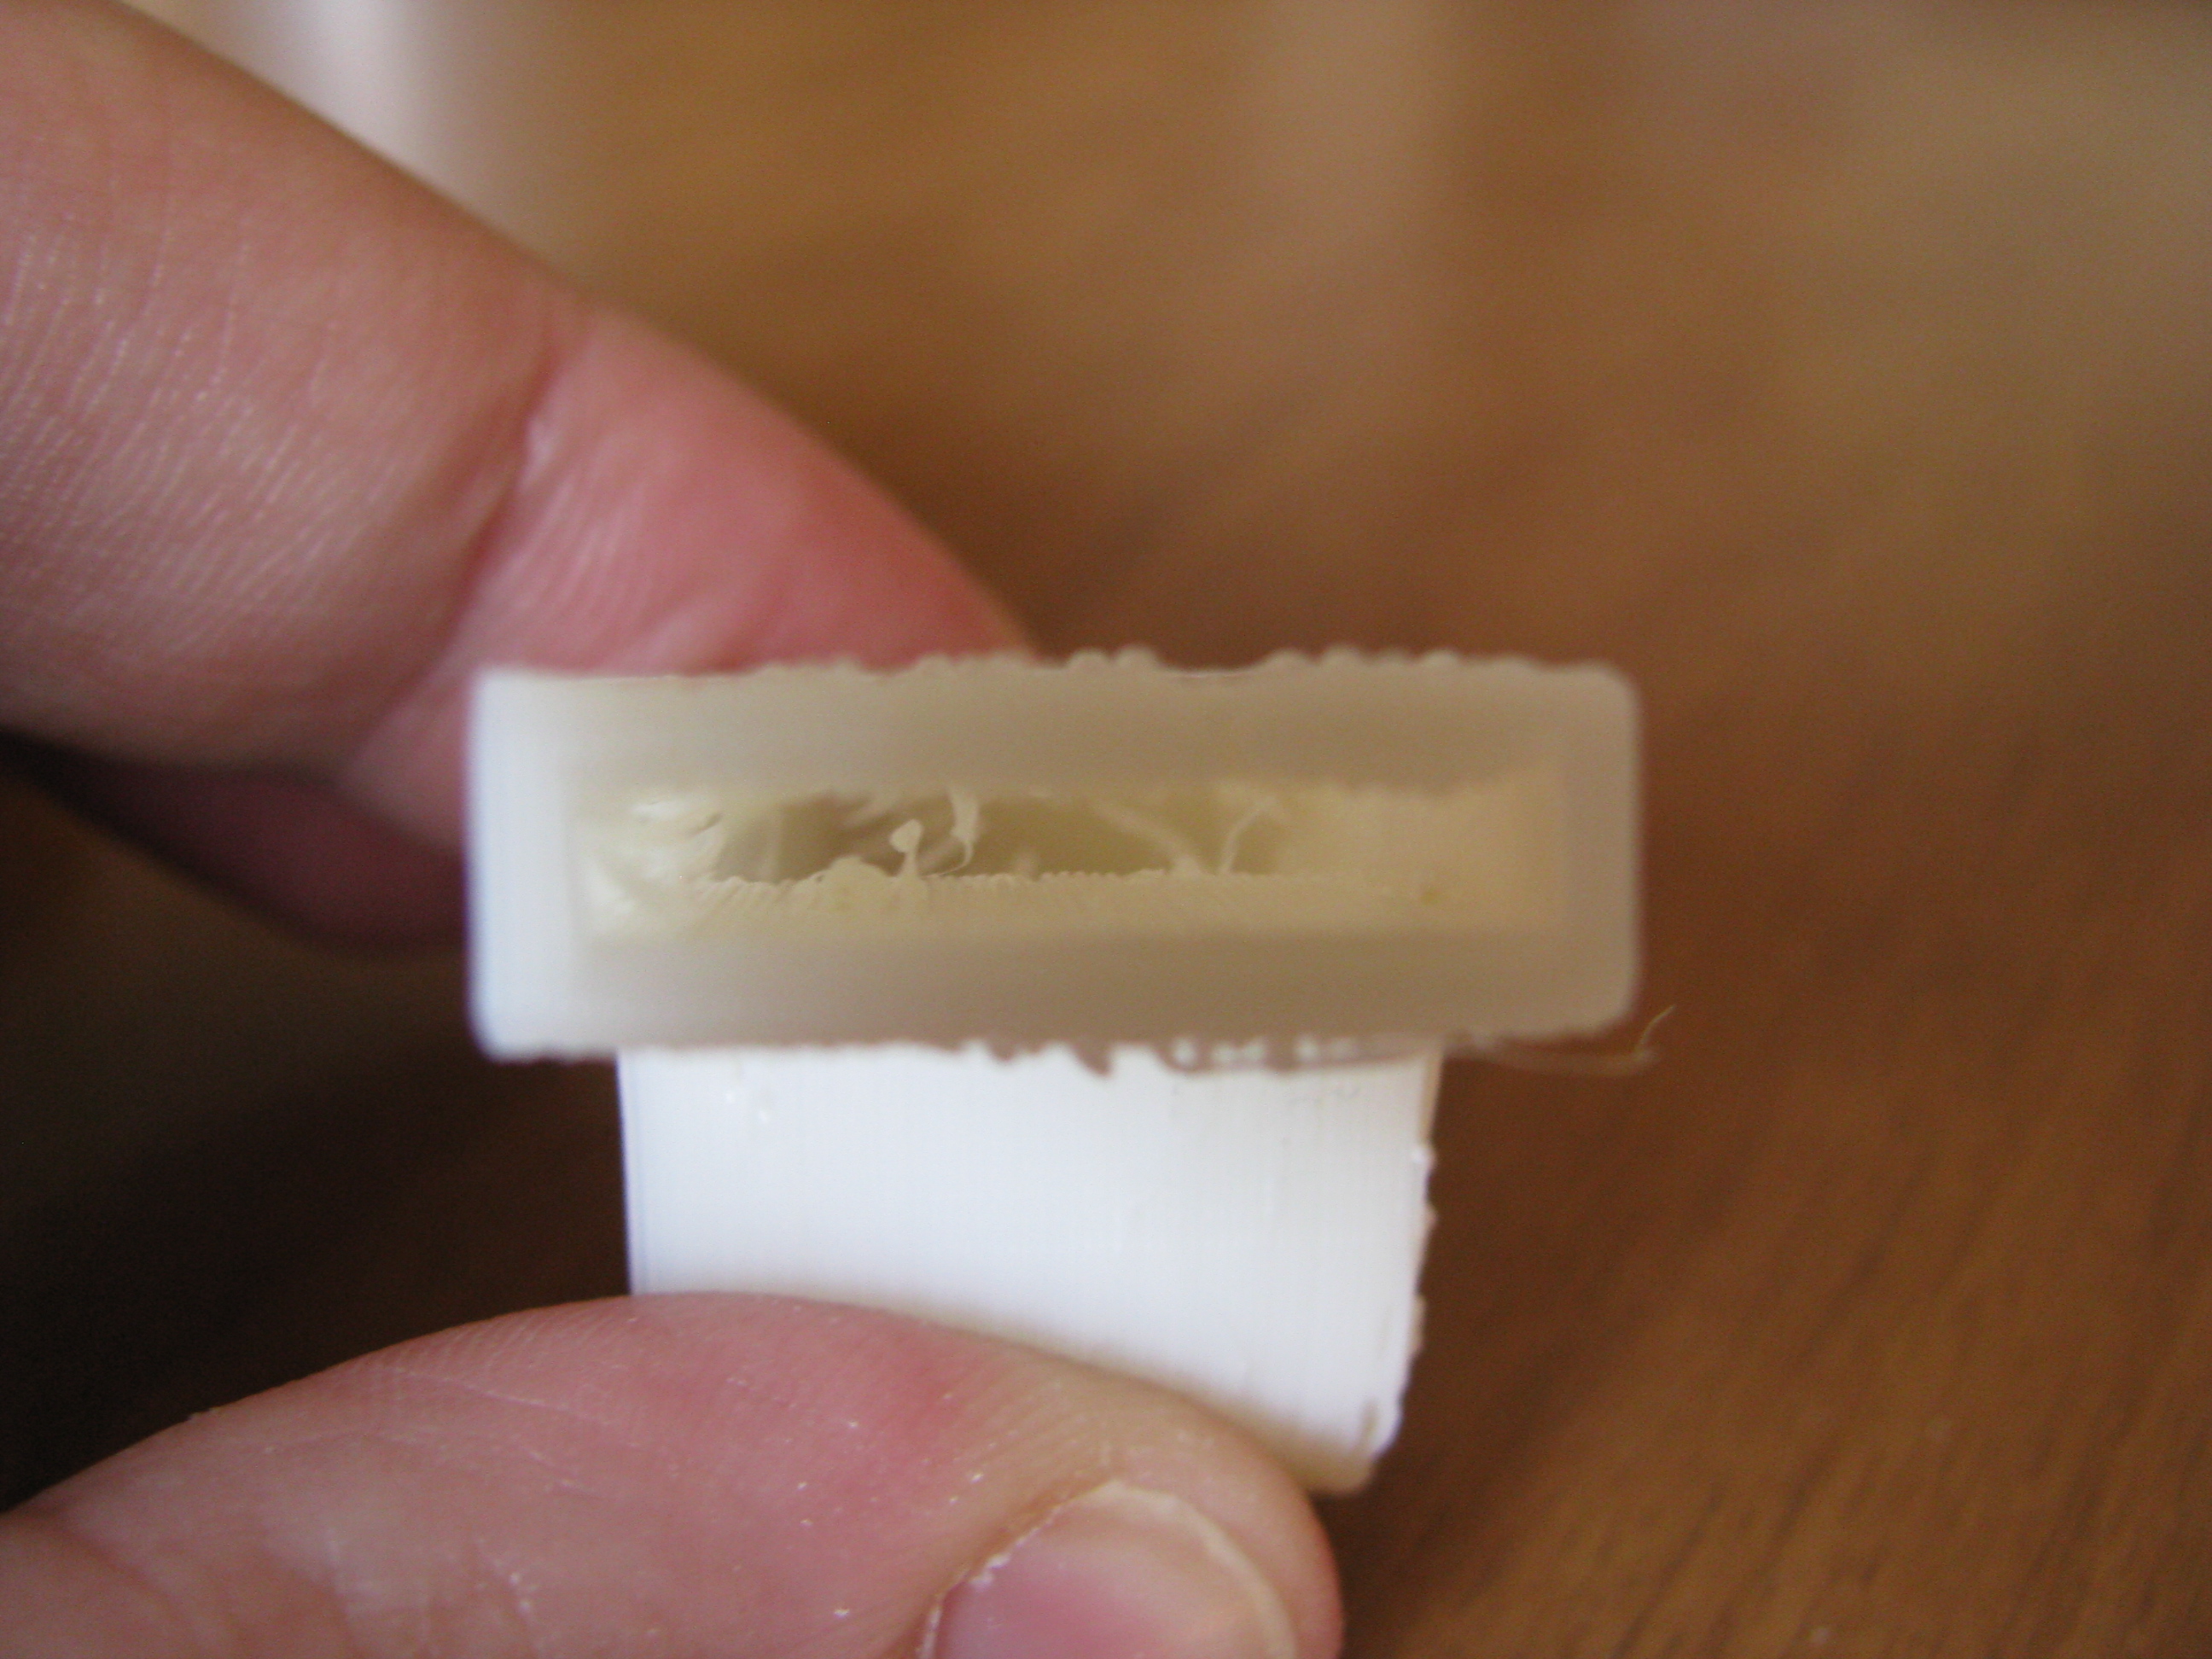
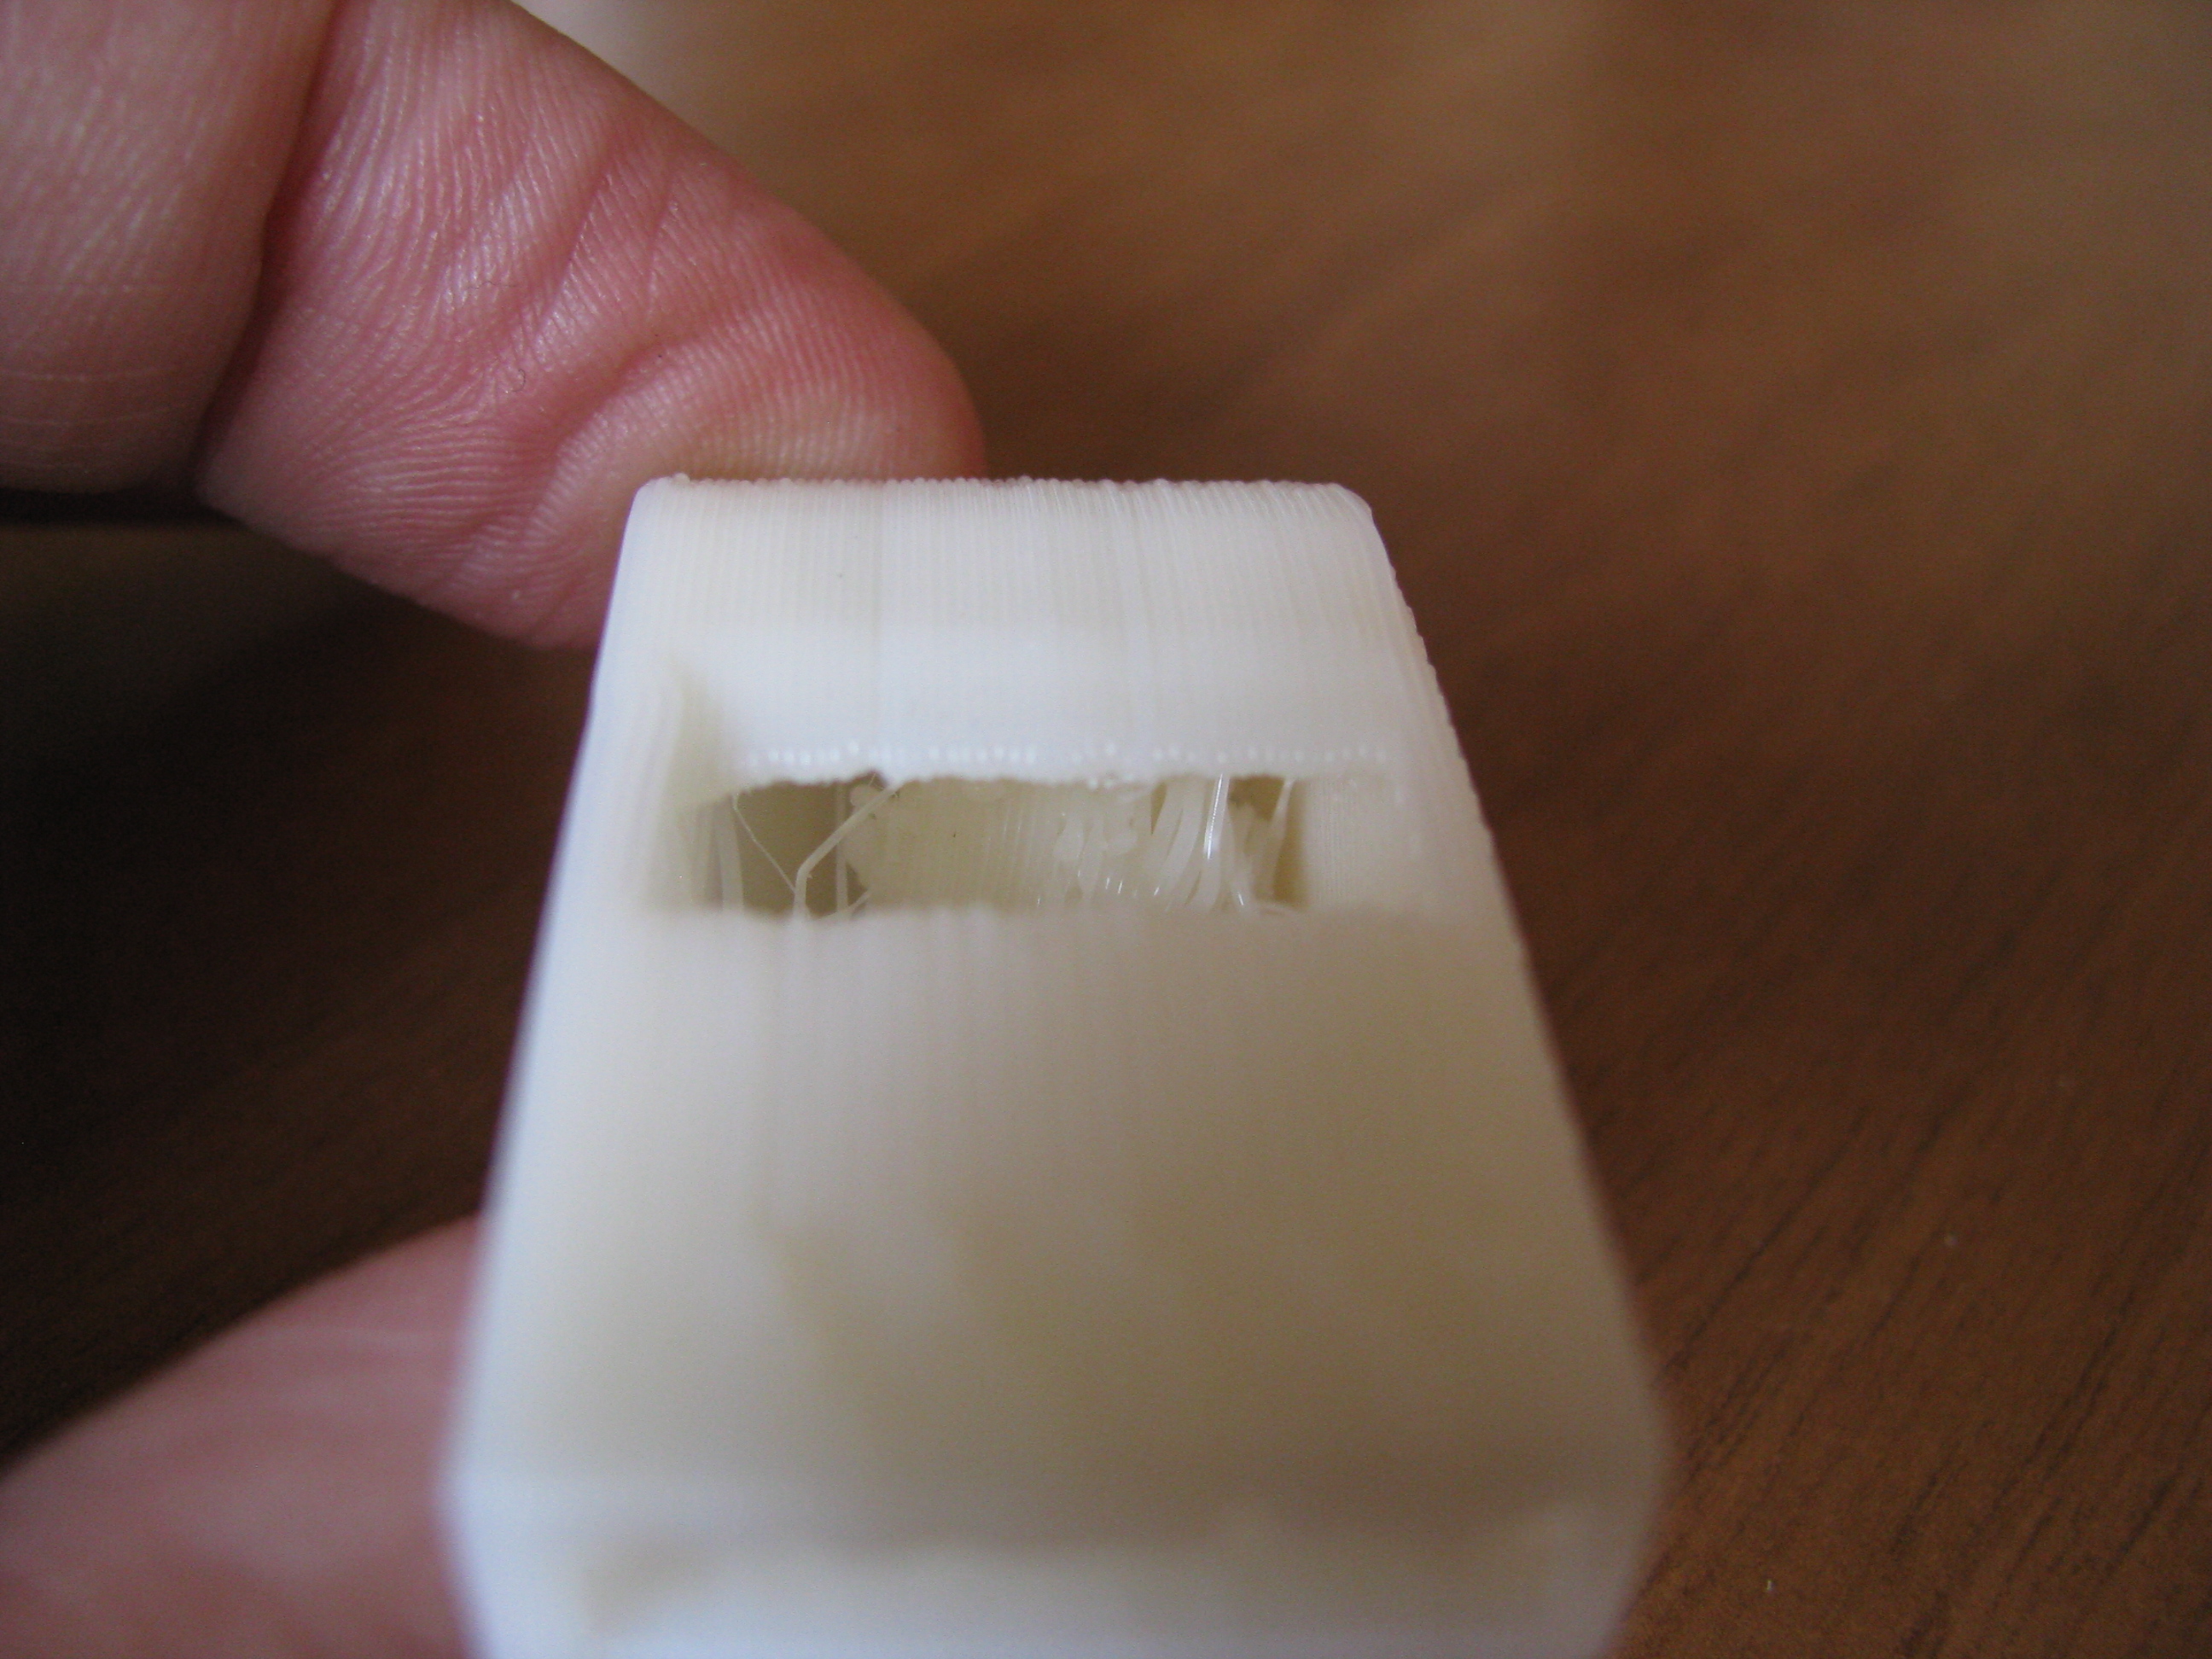
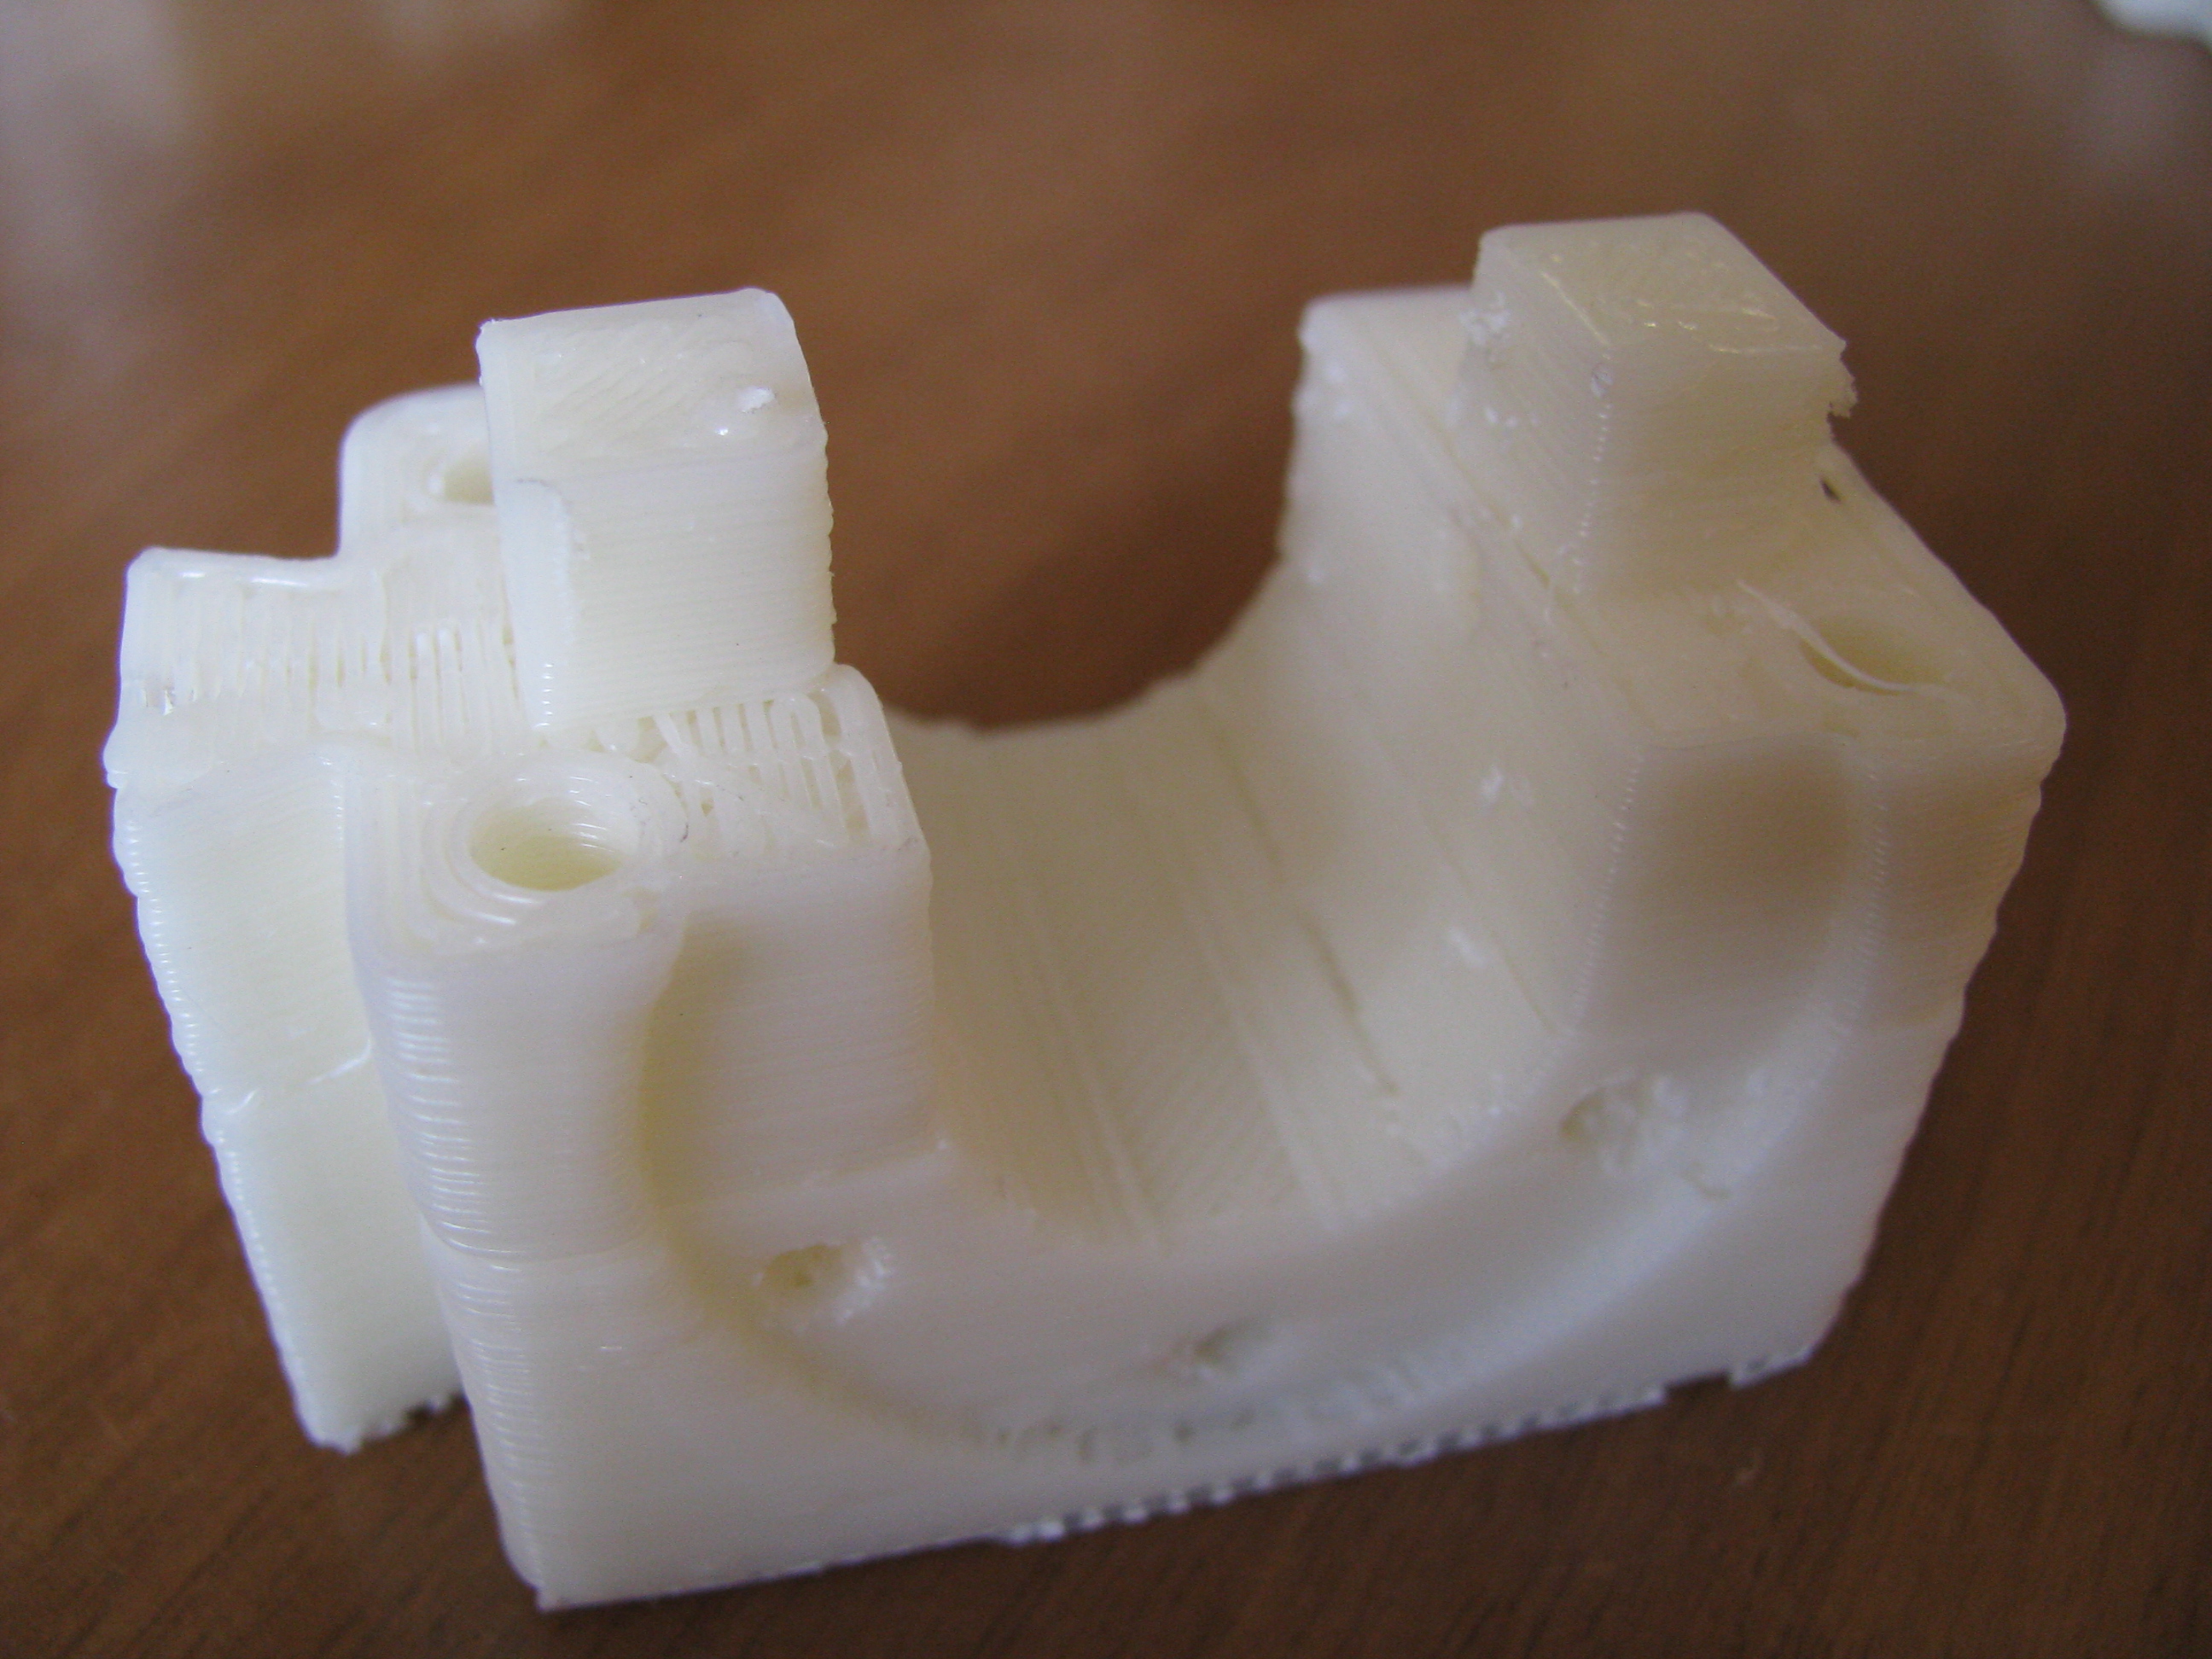
The "printruder"
Since the whistle came out well enough, I tried a "hard piece": the "printruder", which is the support part of the extruder, in a printable version.
I have to say that it feels like magic, seeing a printer producing its own replacement pieces!
How did it print? Surprisingly well! I noticed almost no distortion / warping, even with such large pieces.
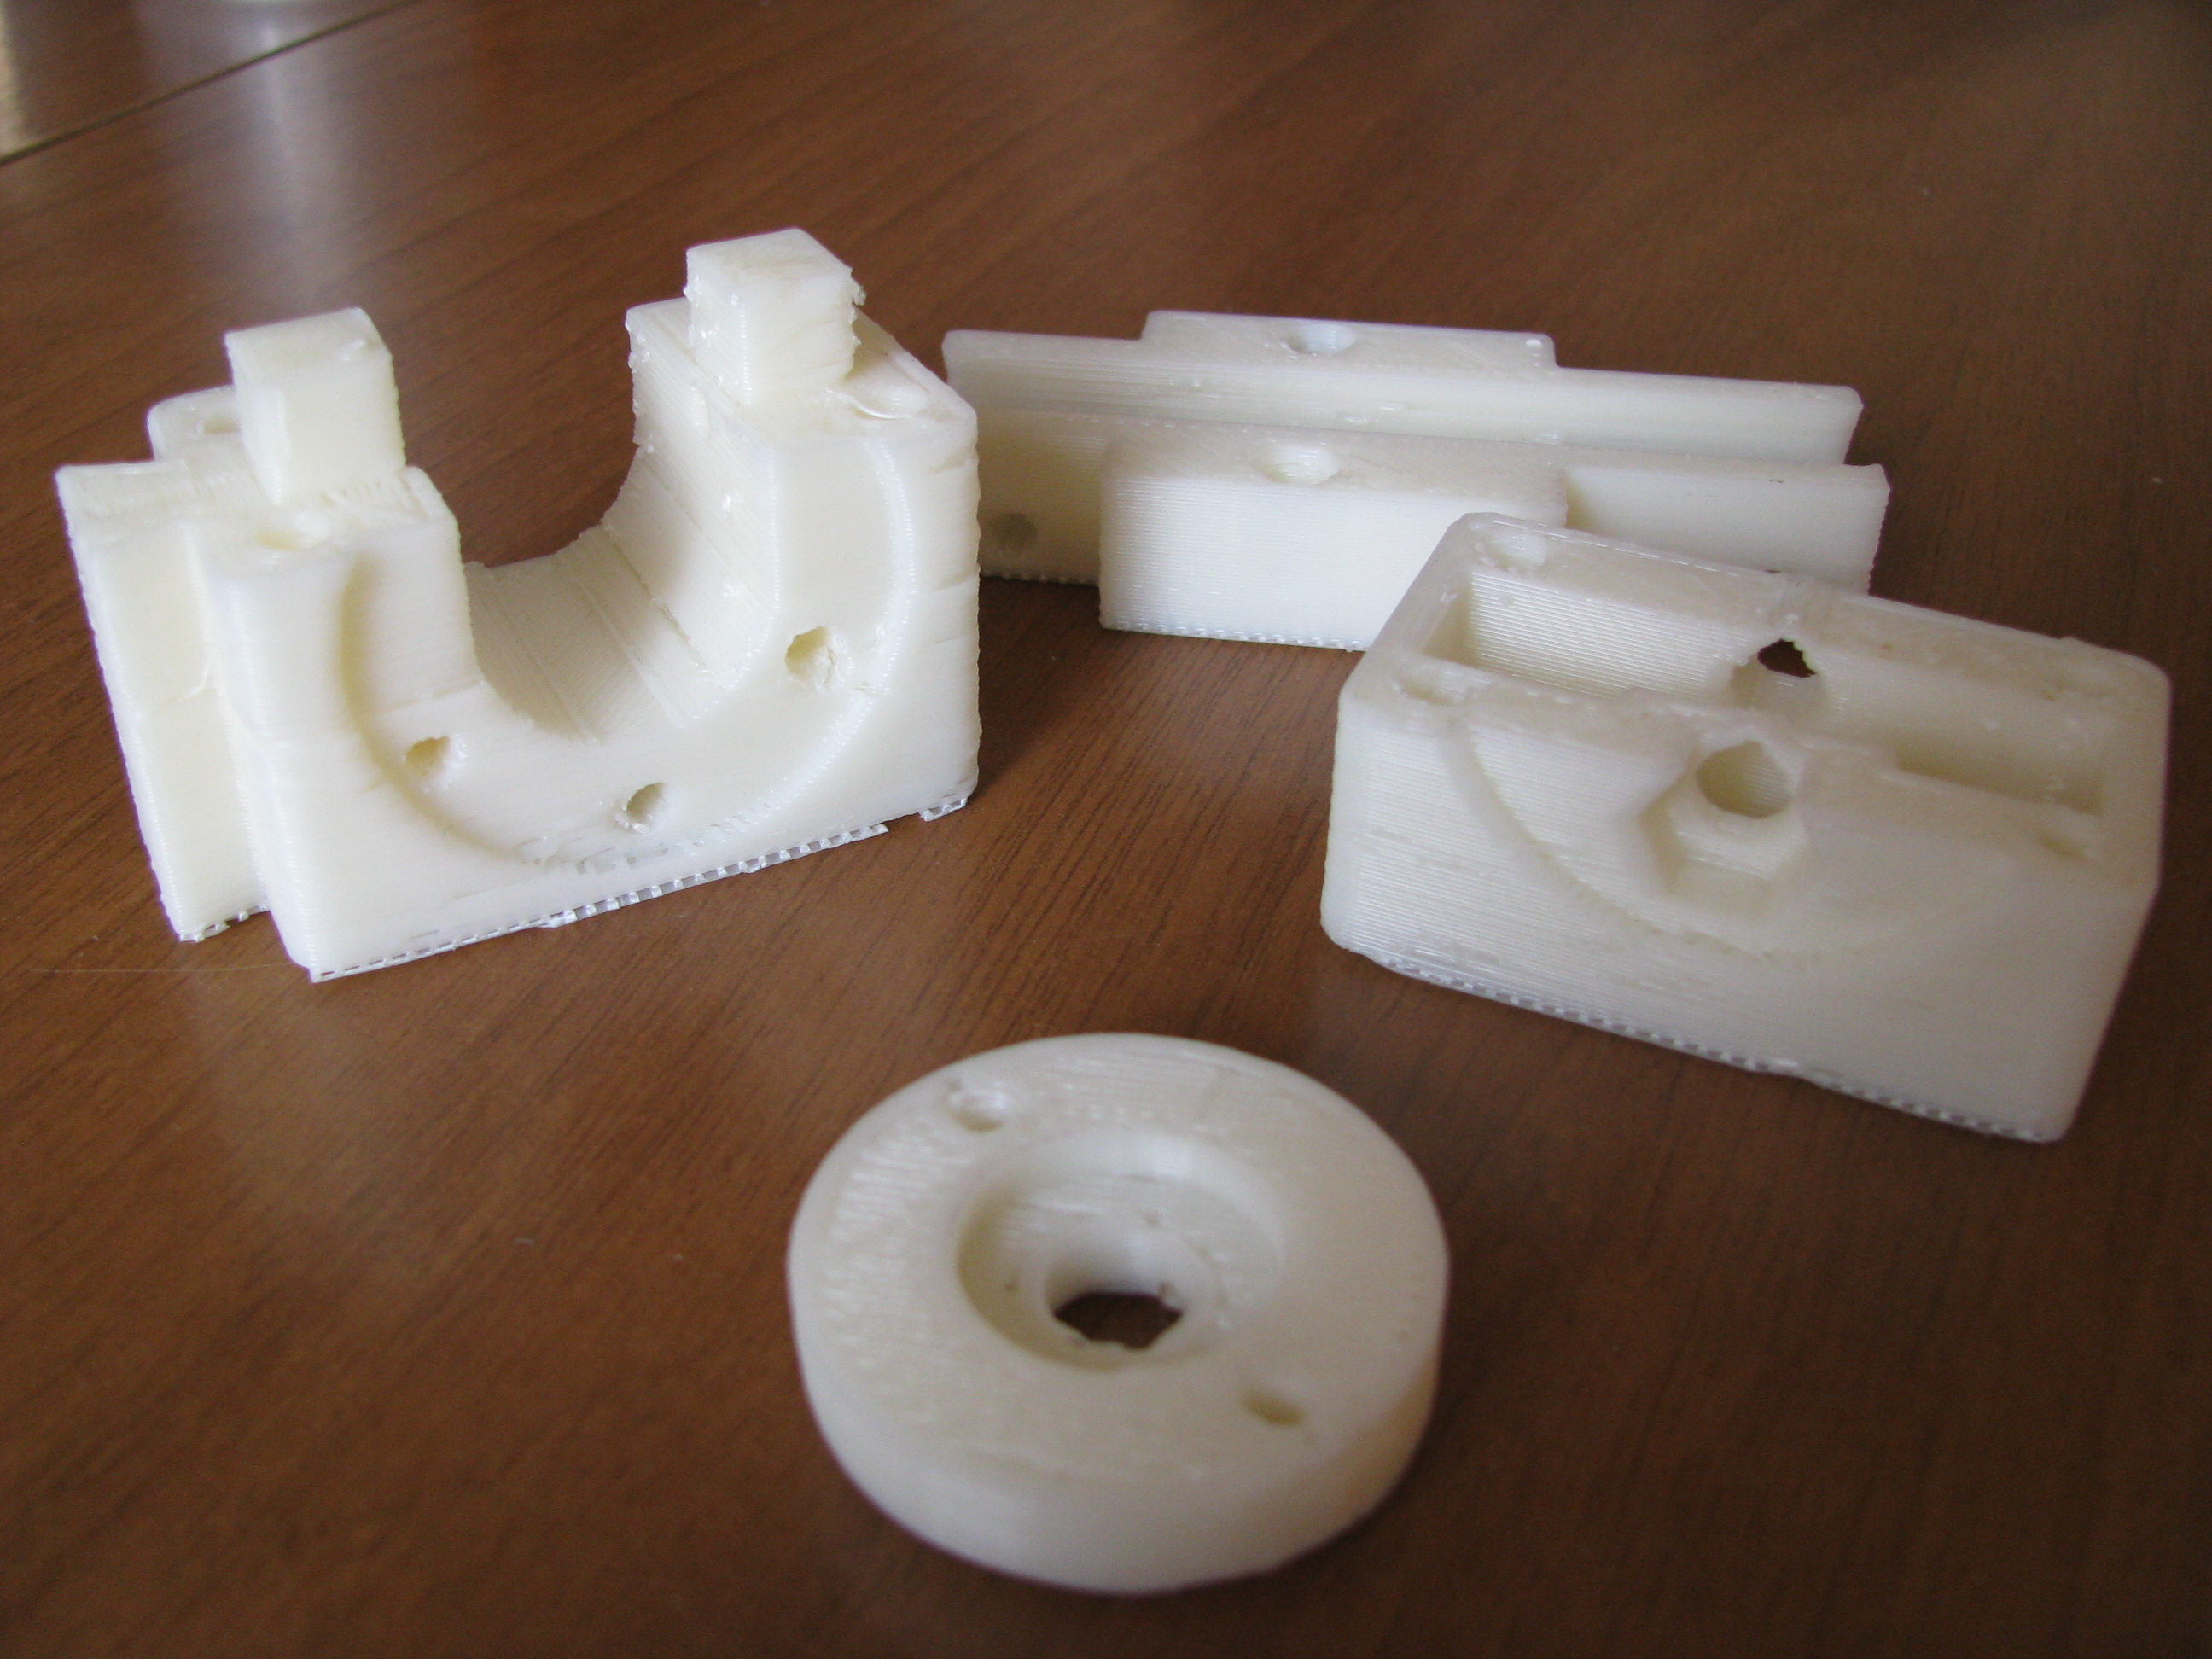
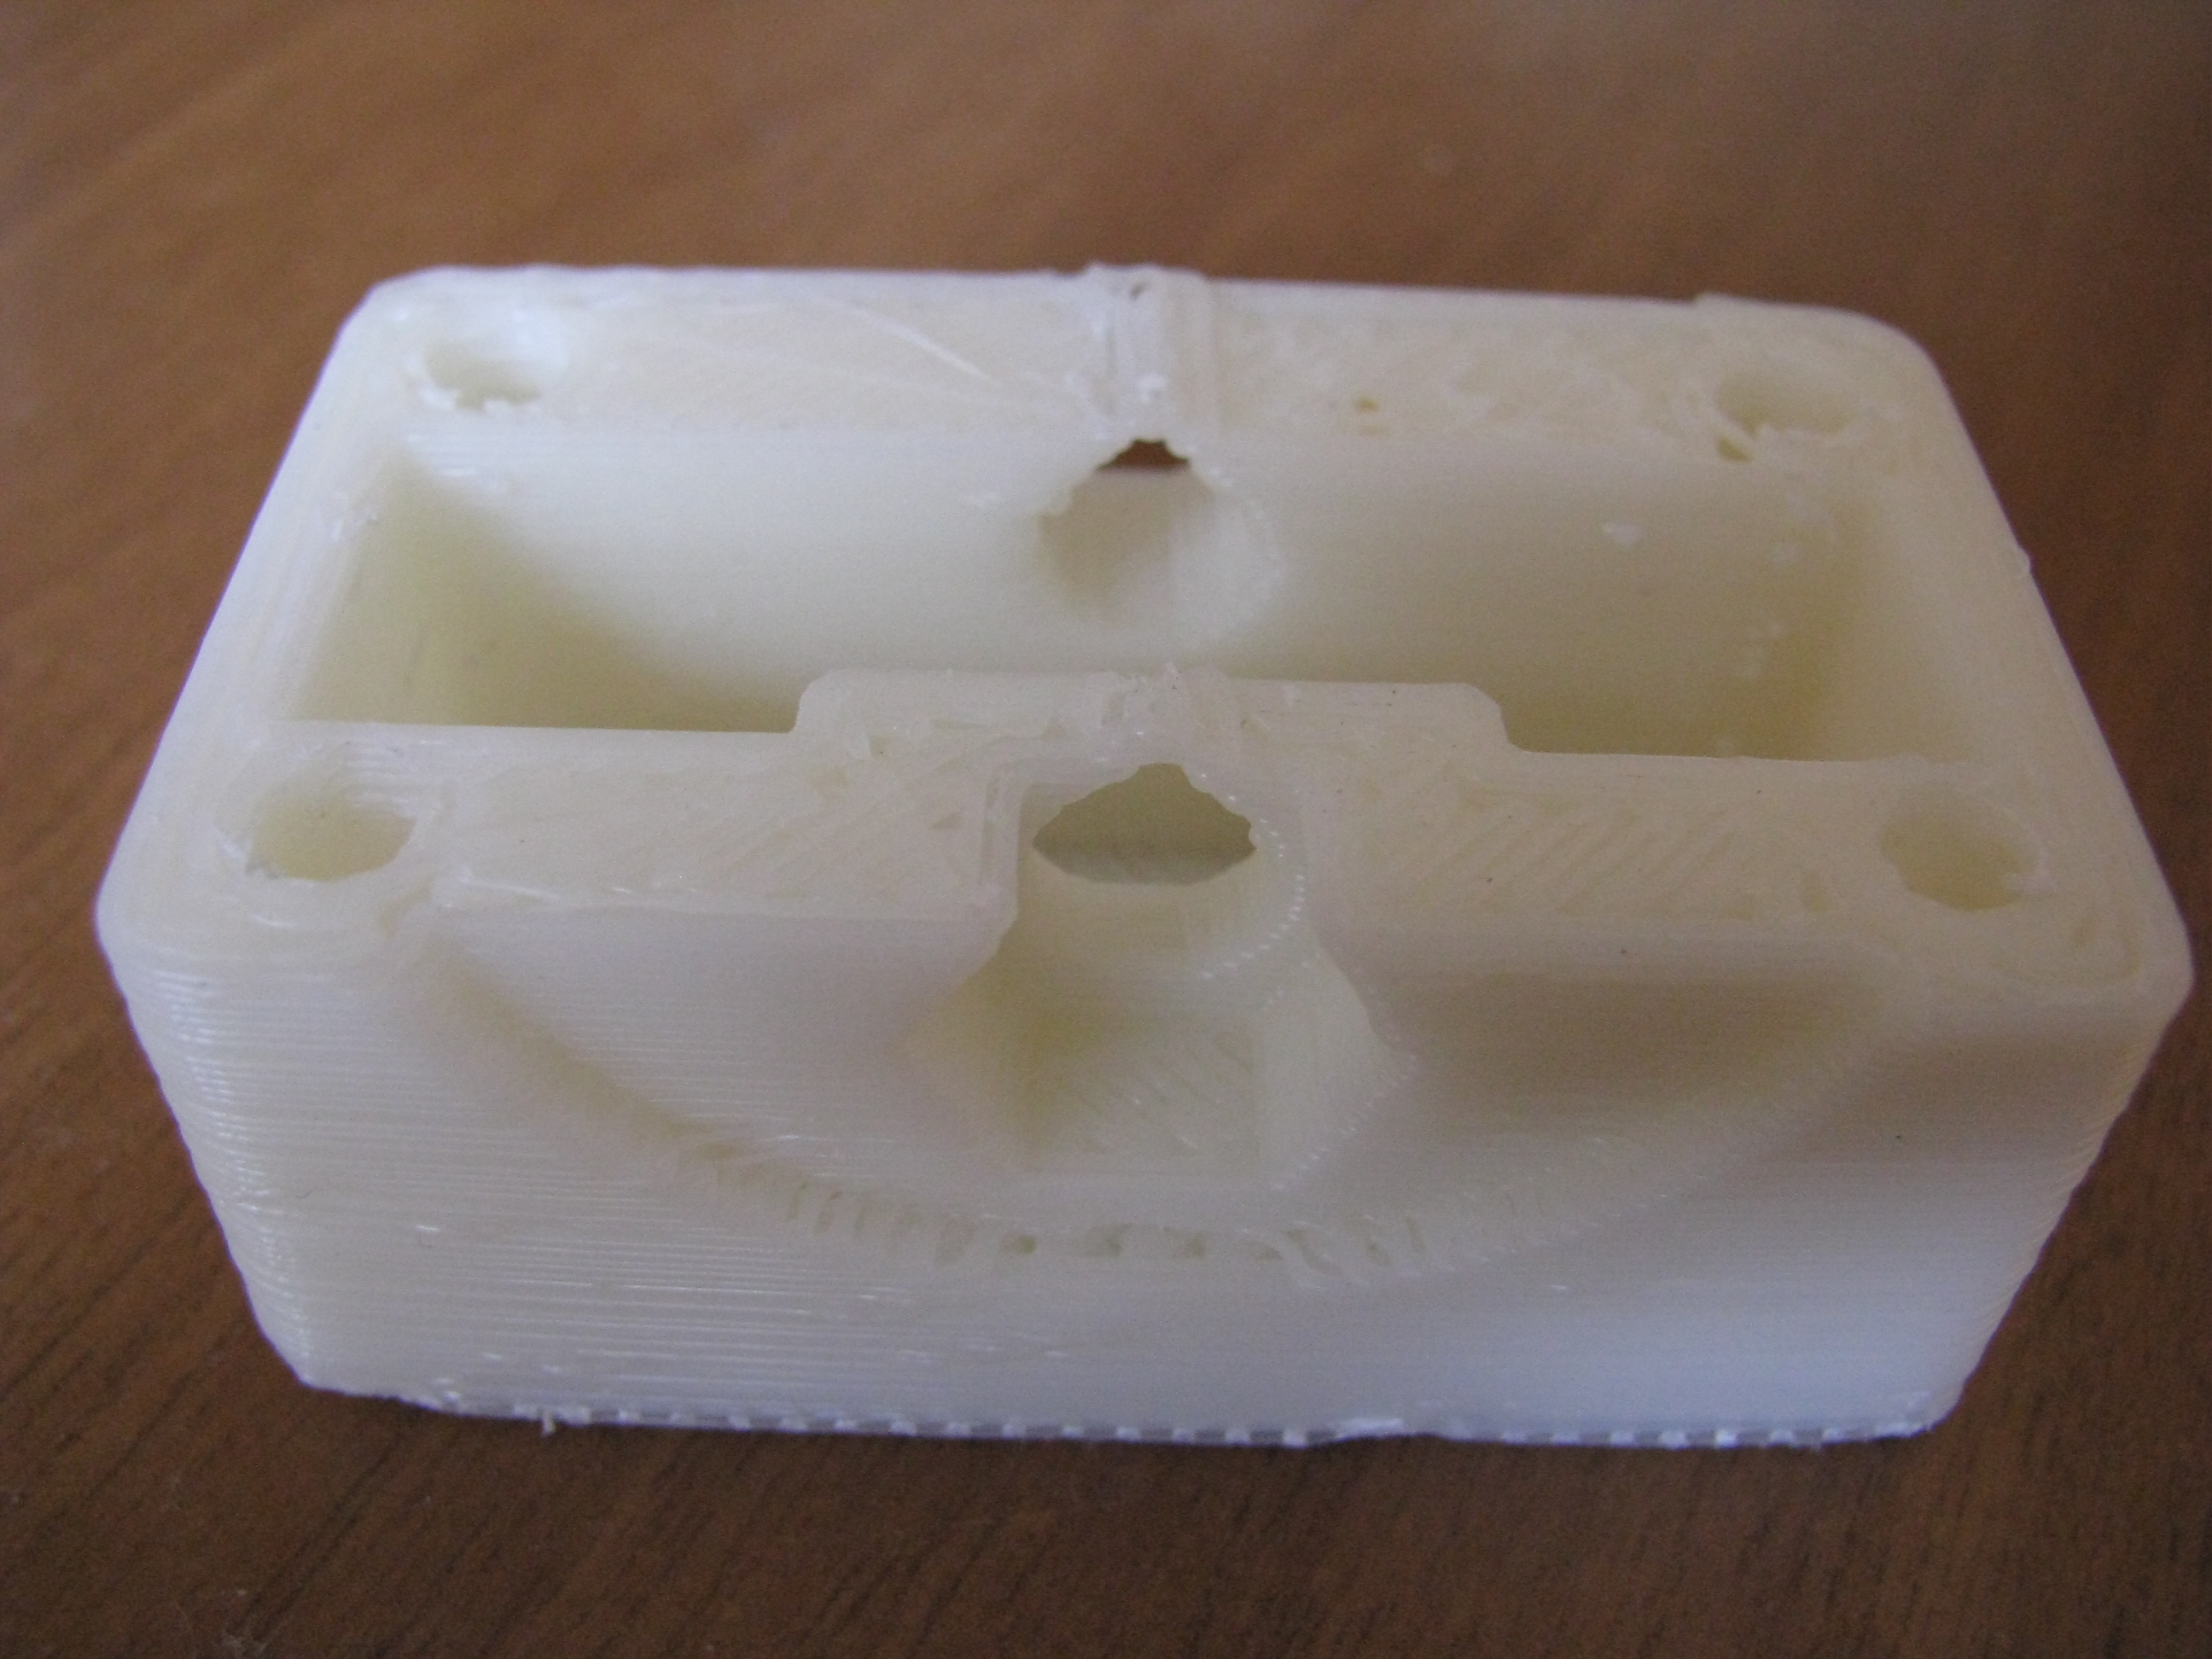
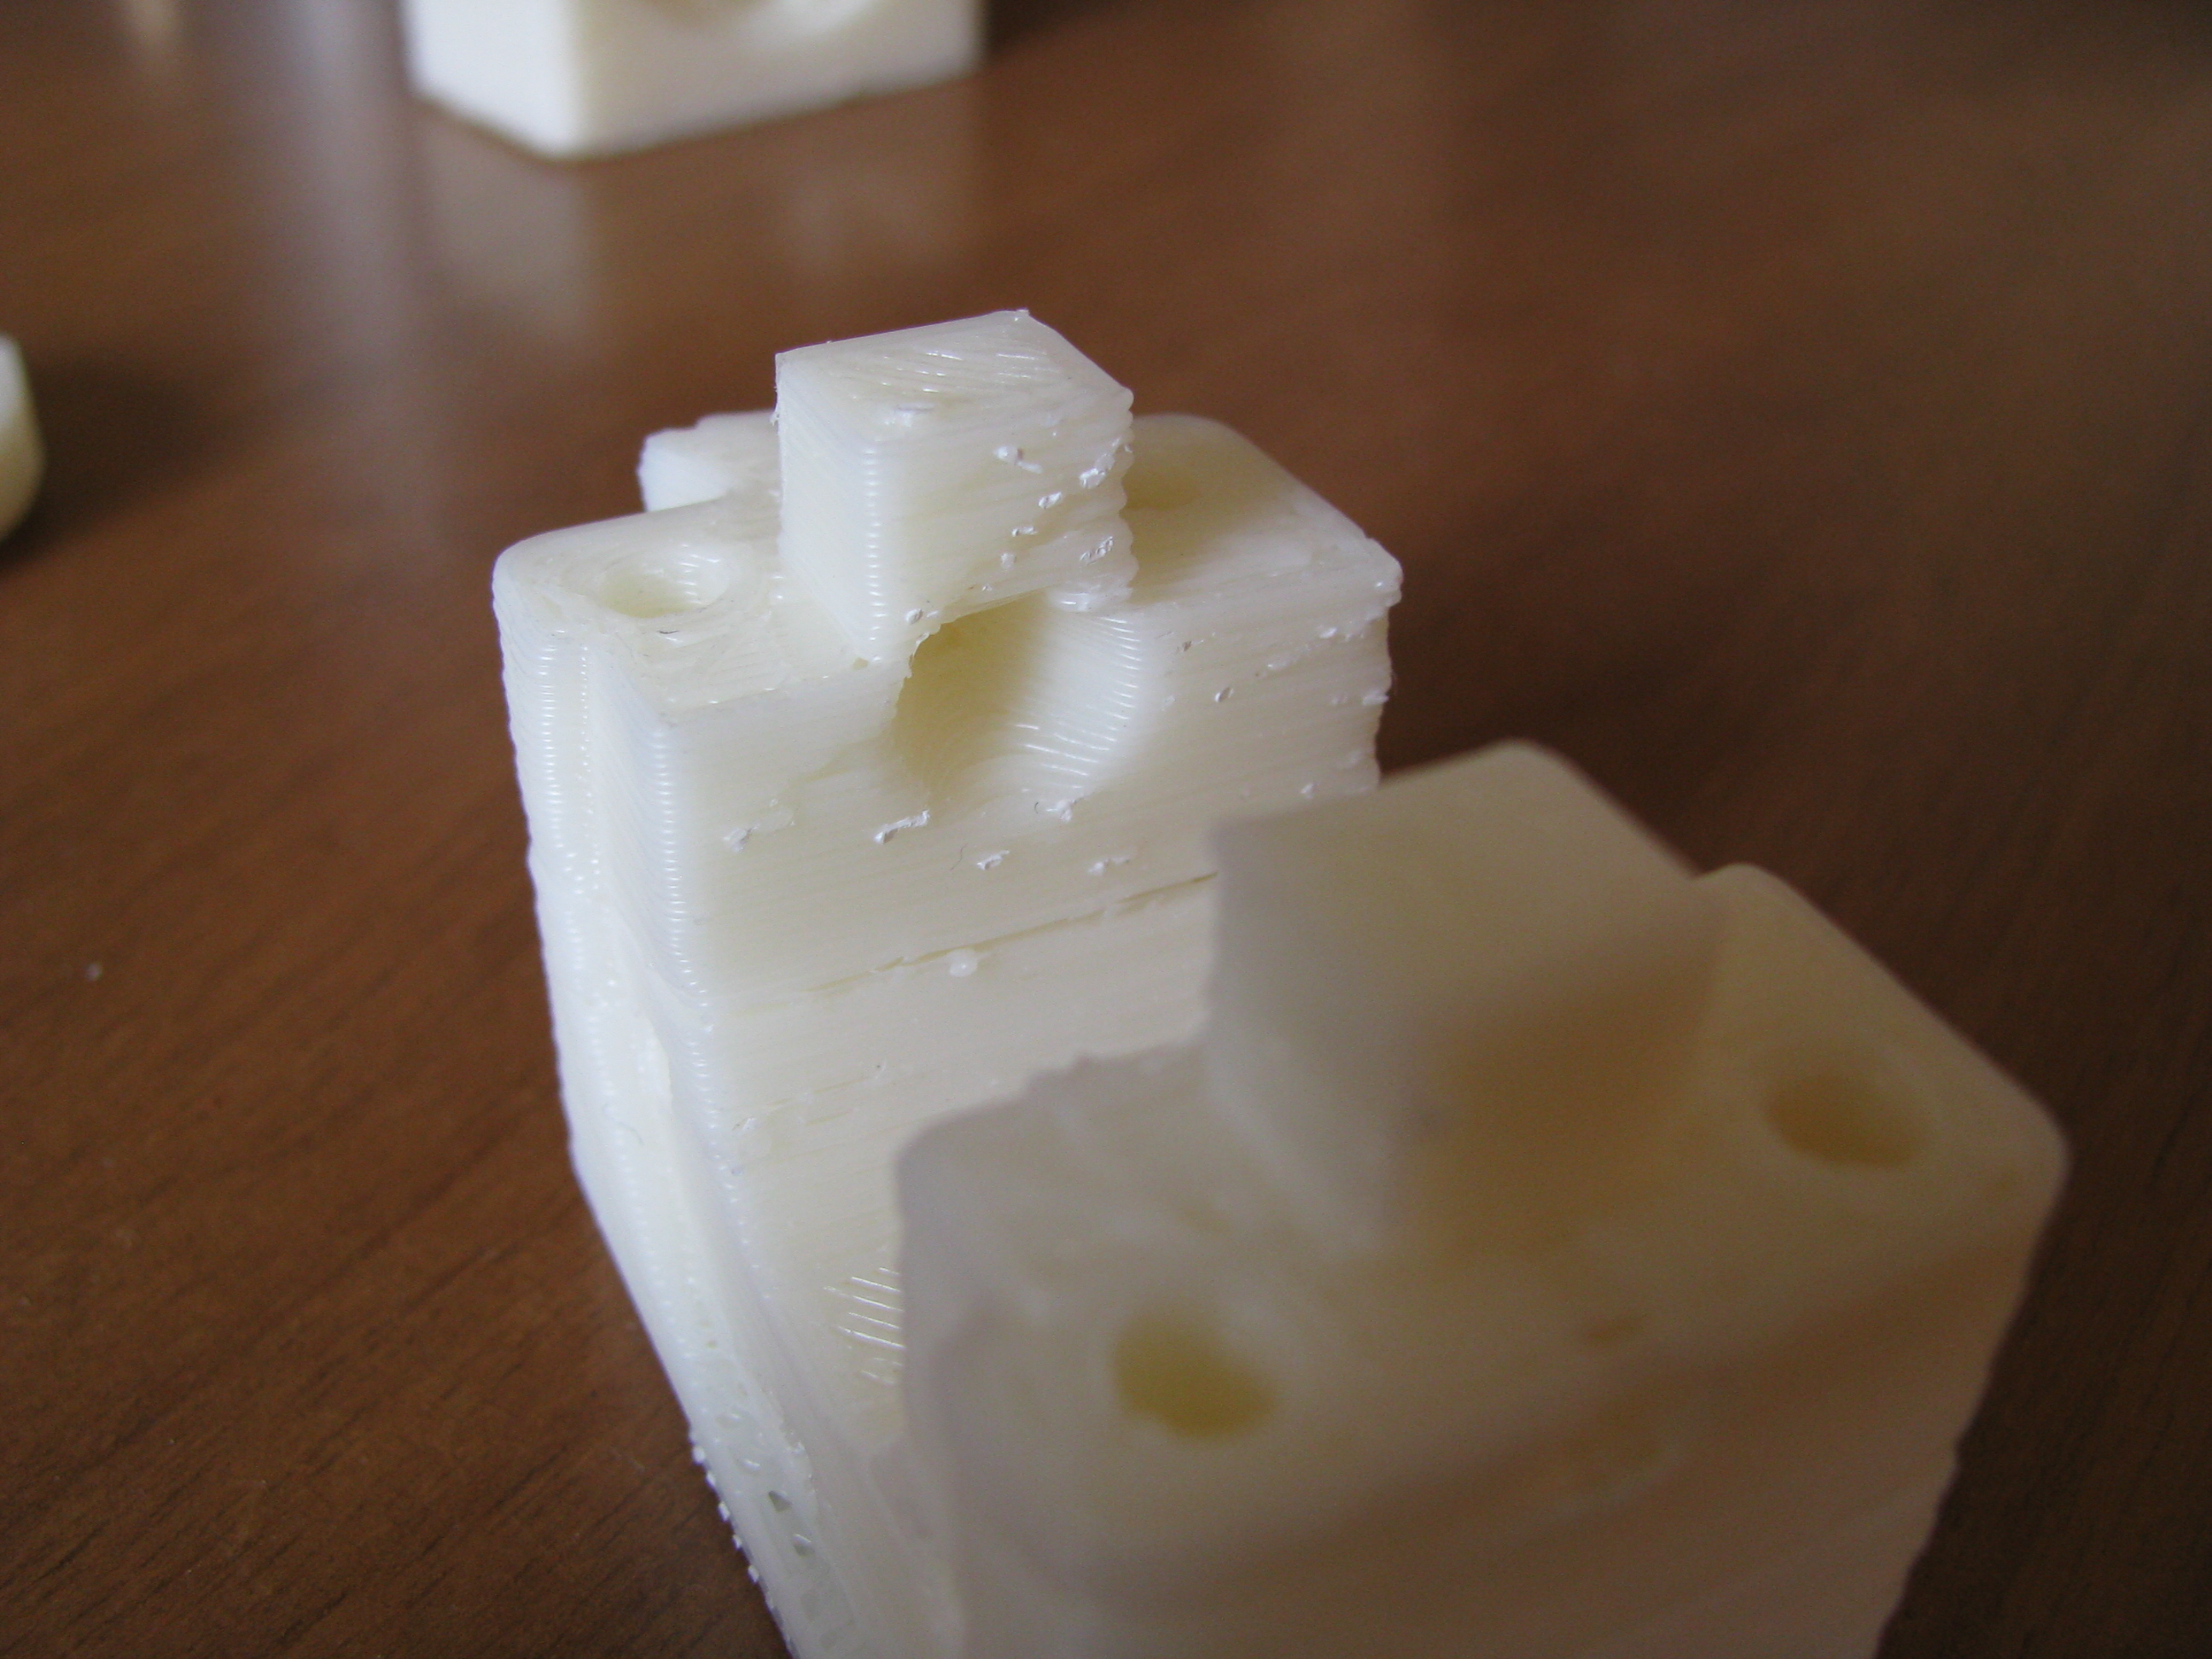
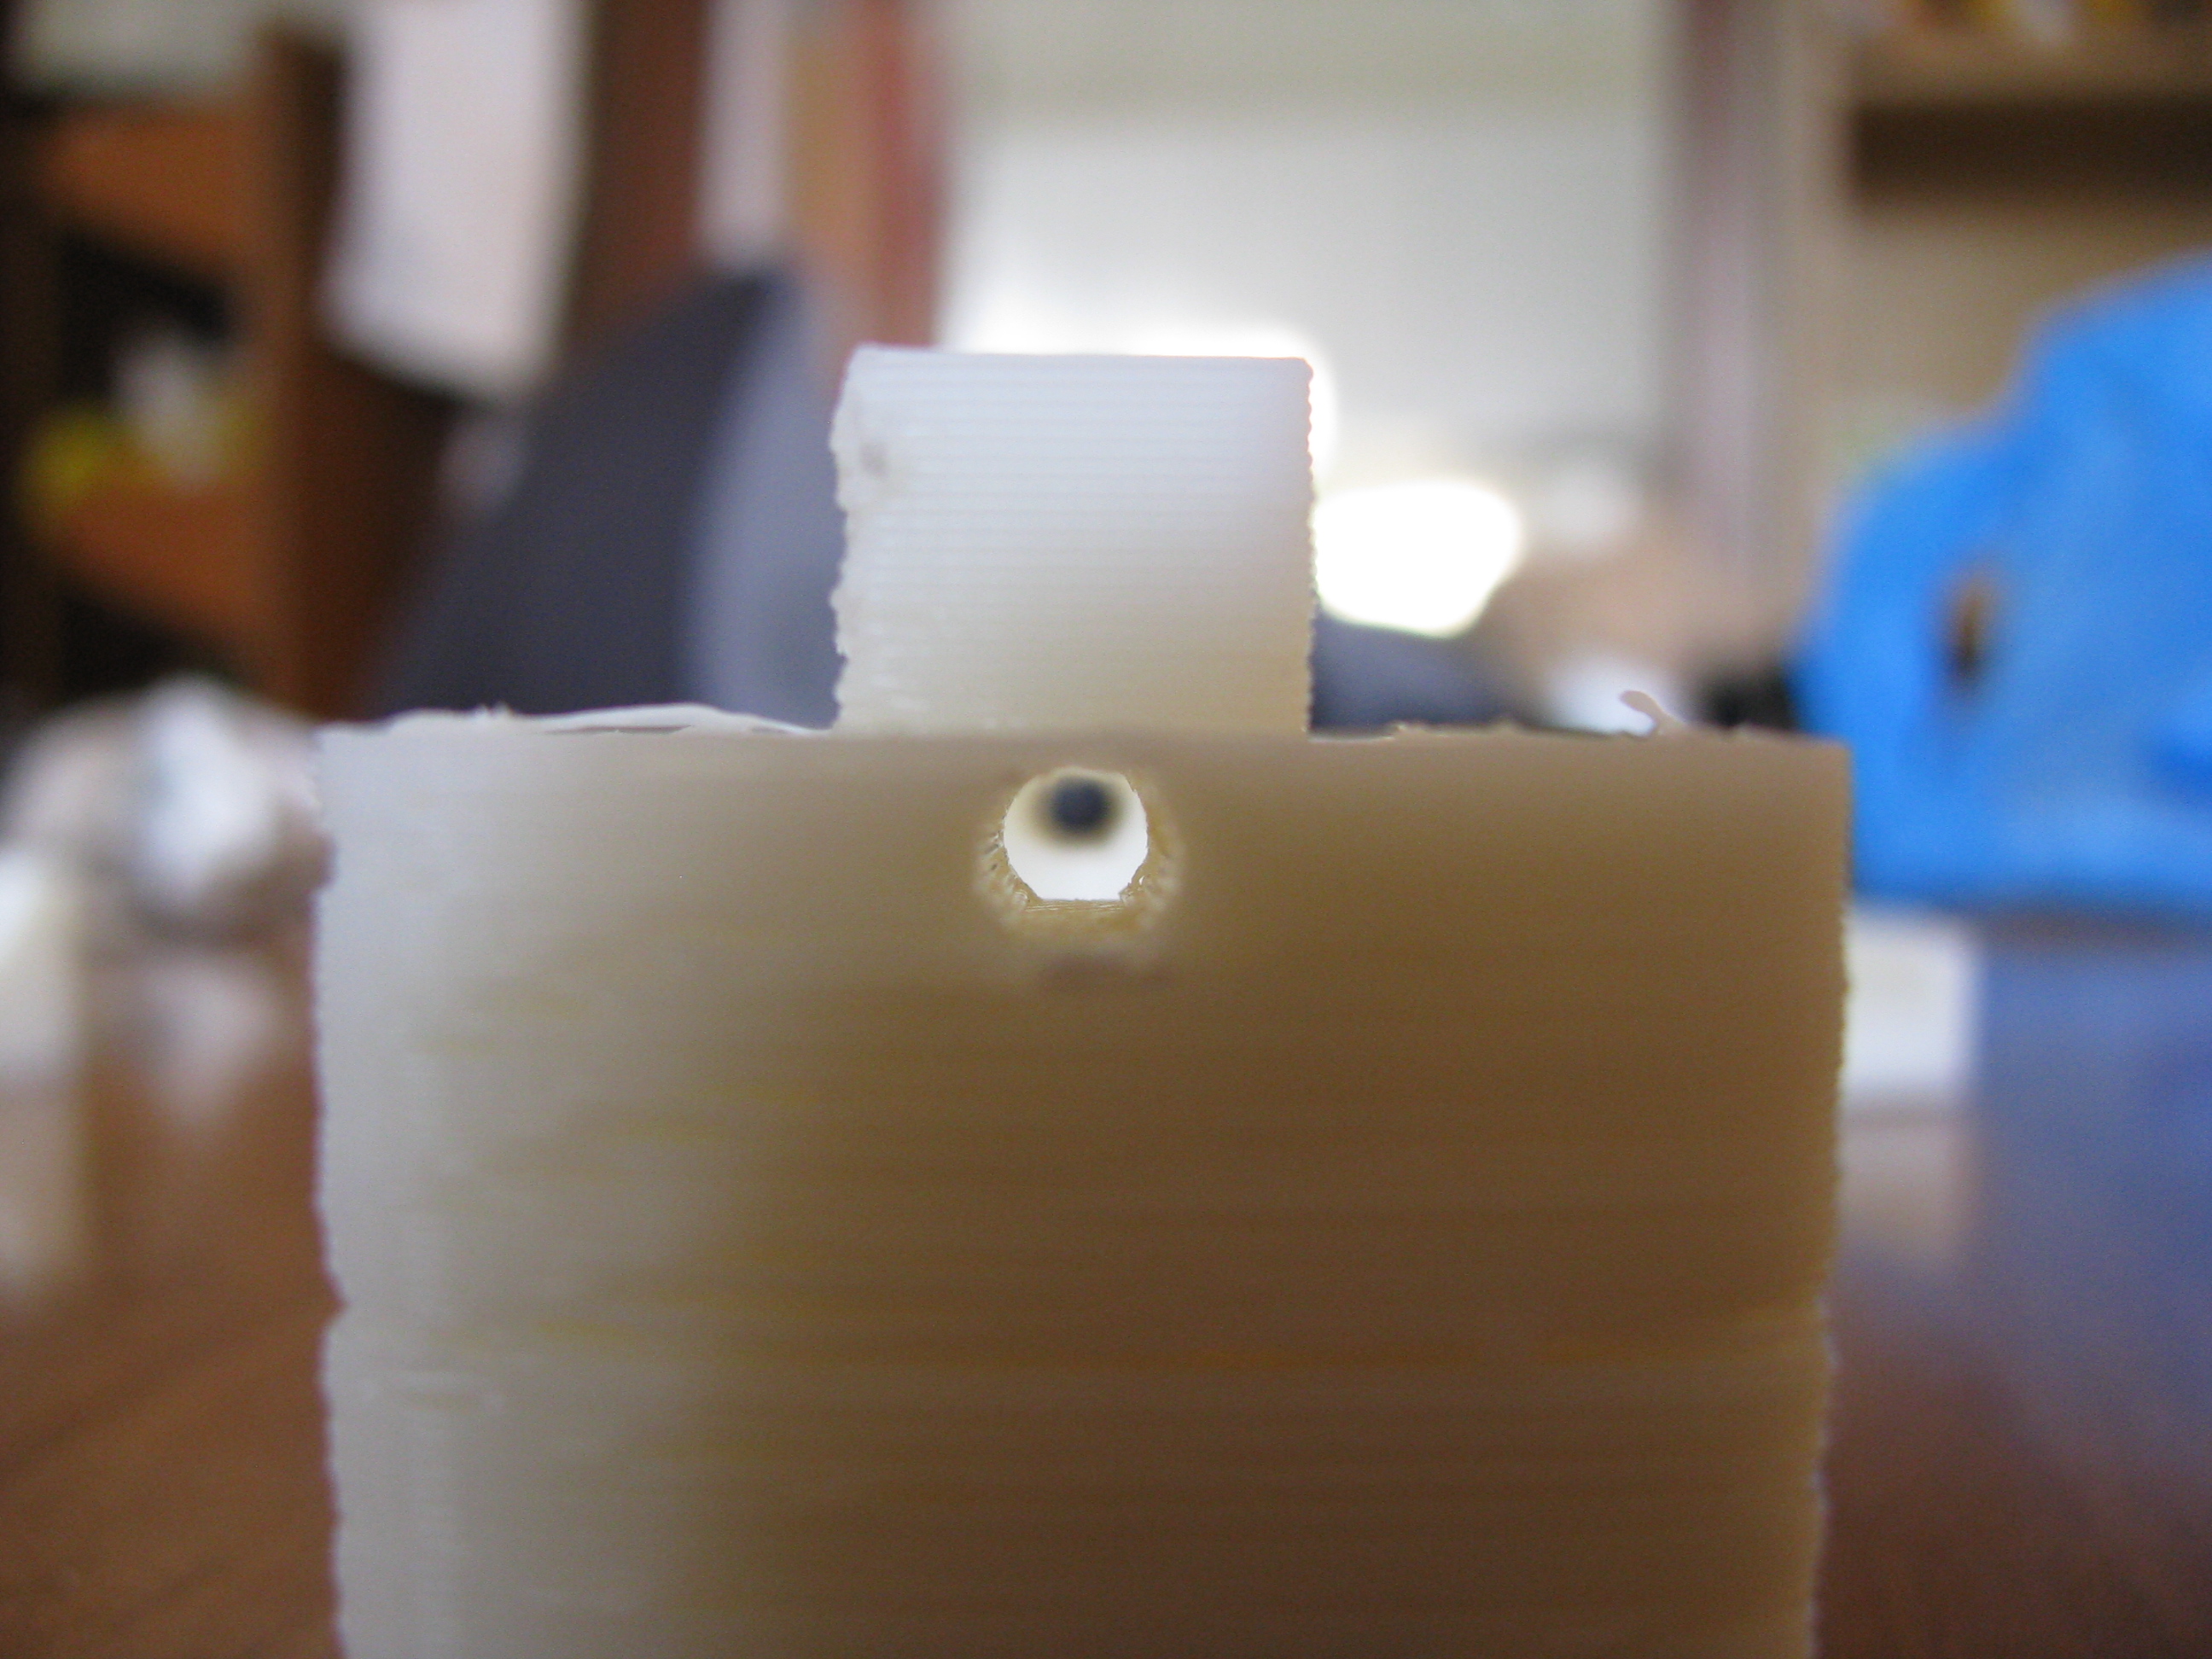
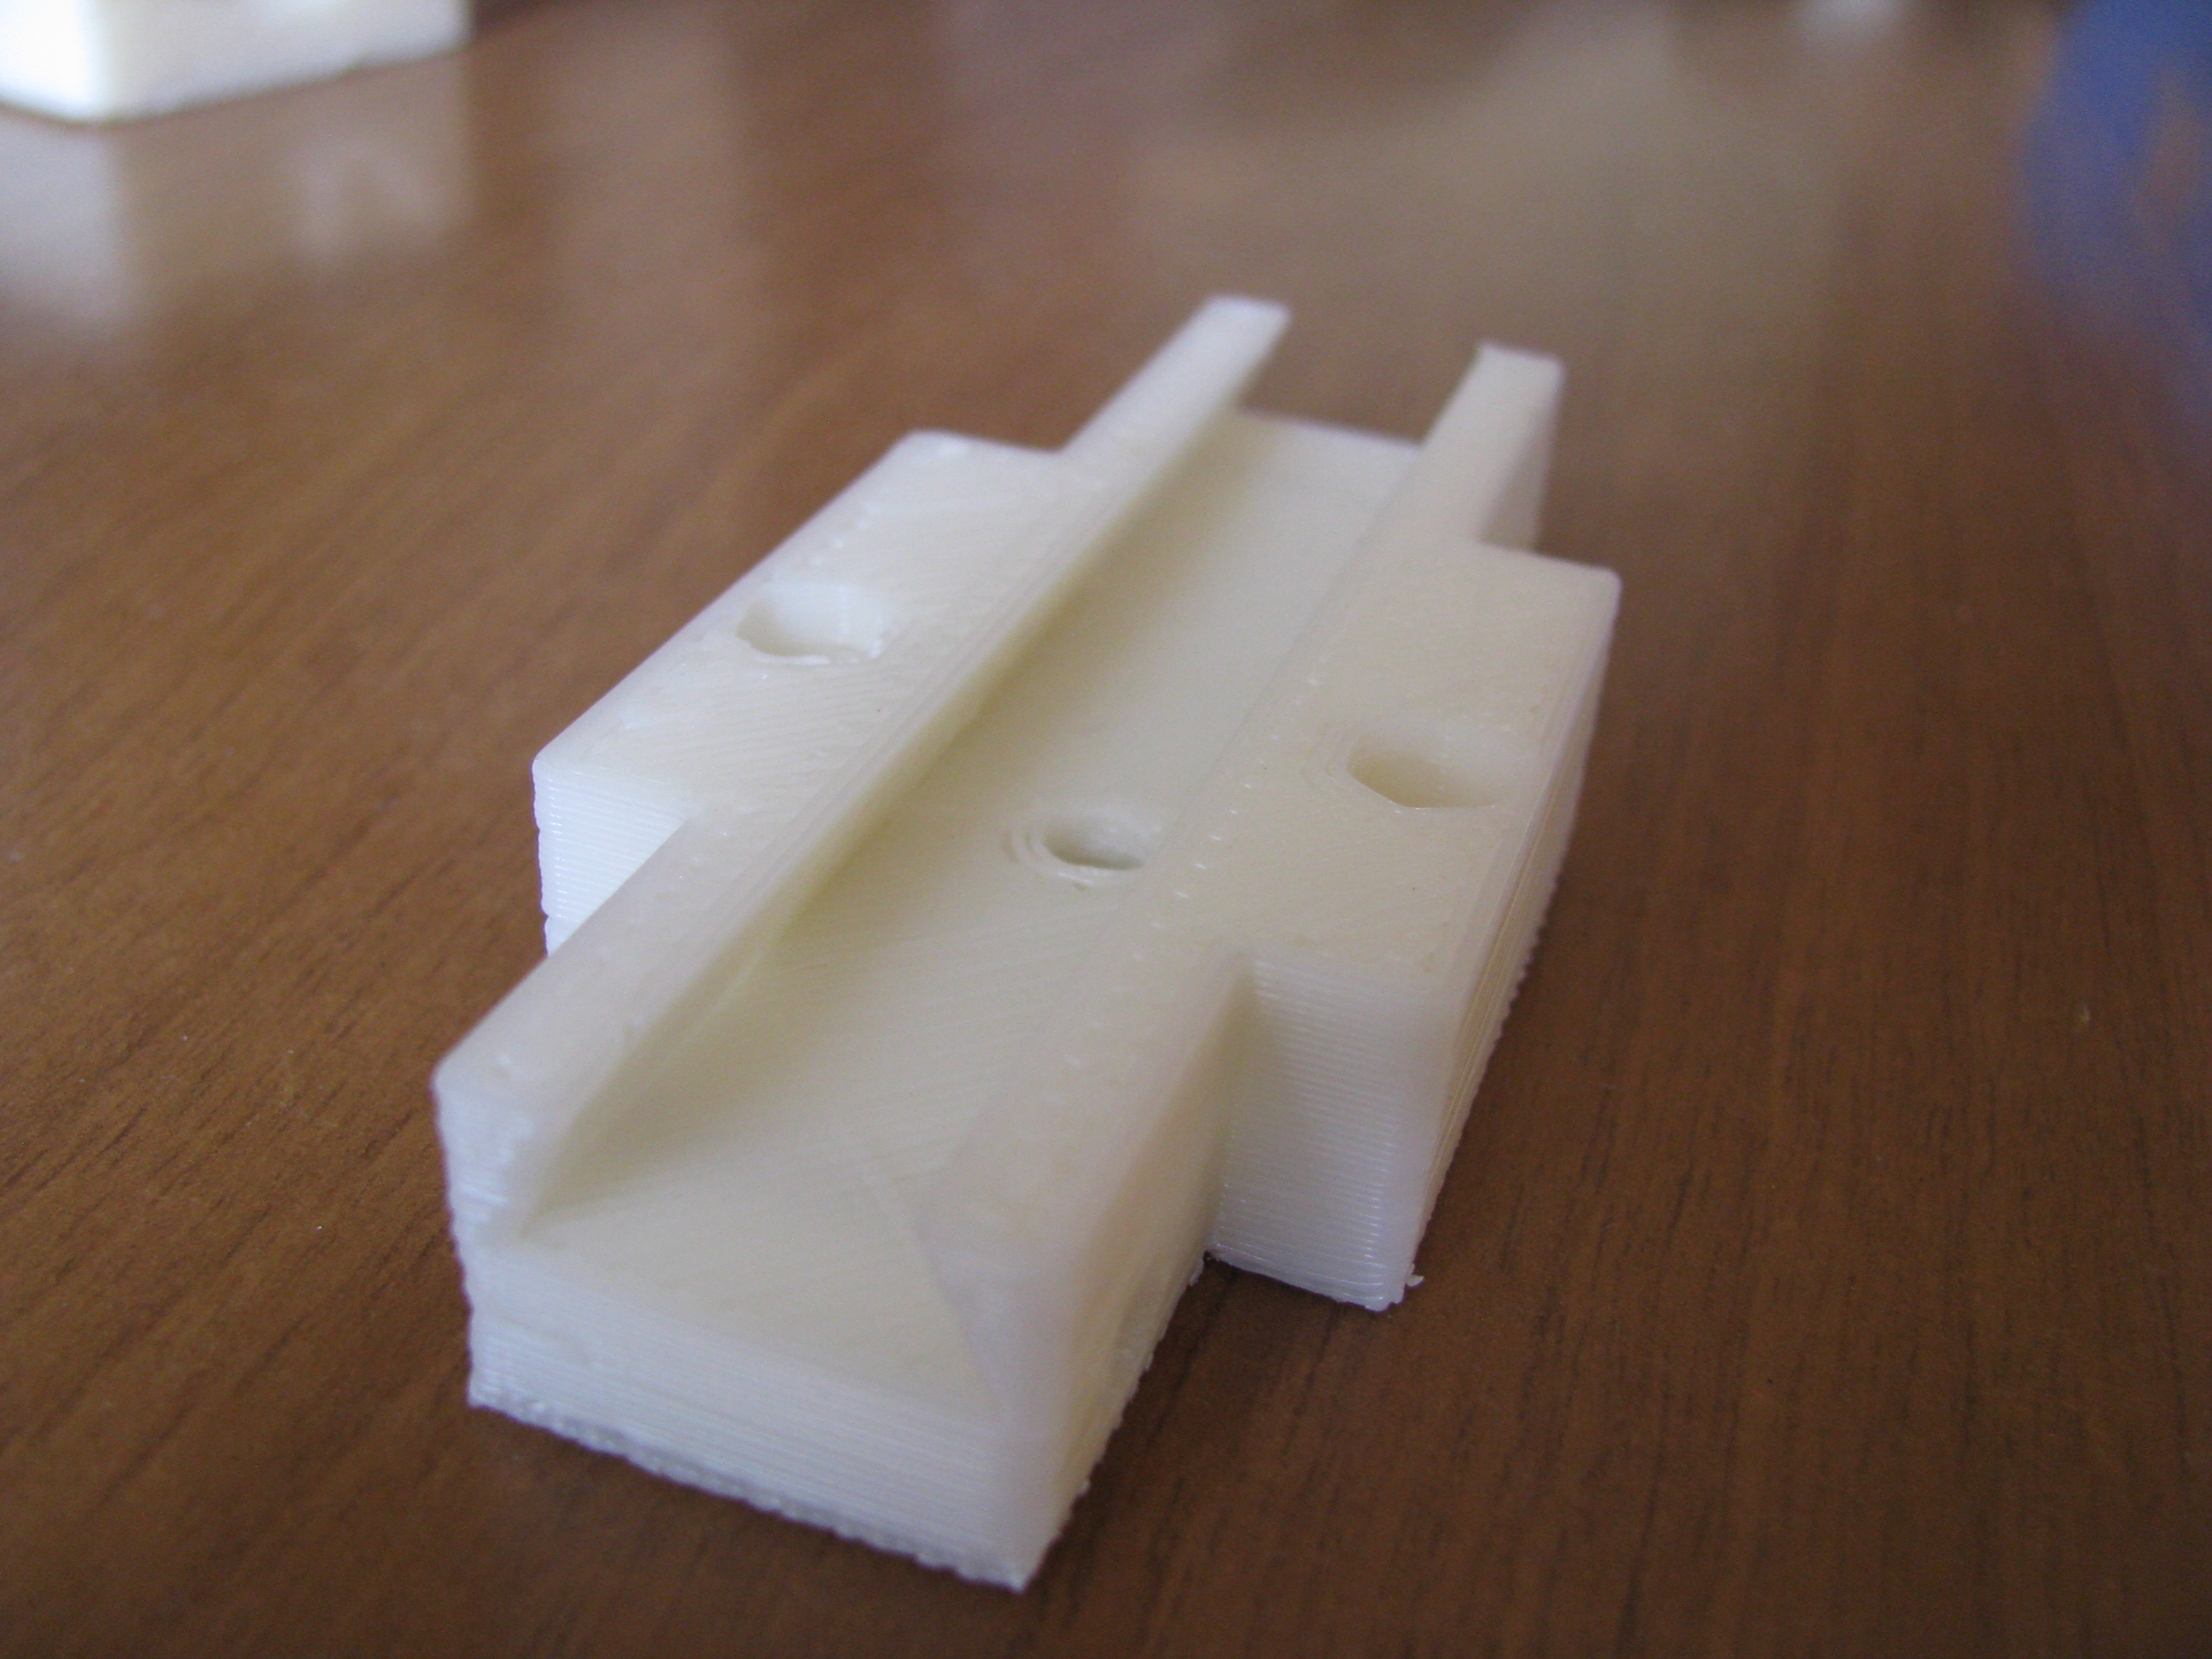
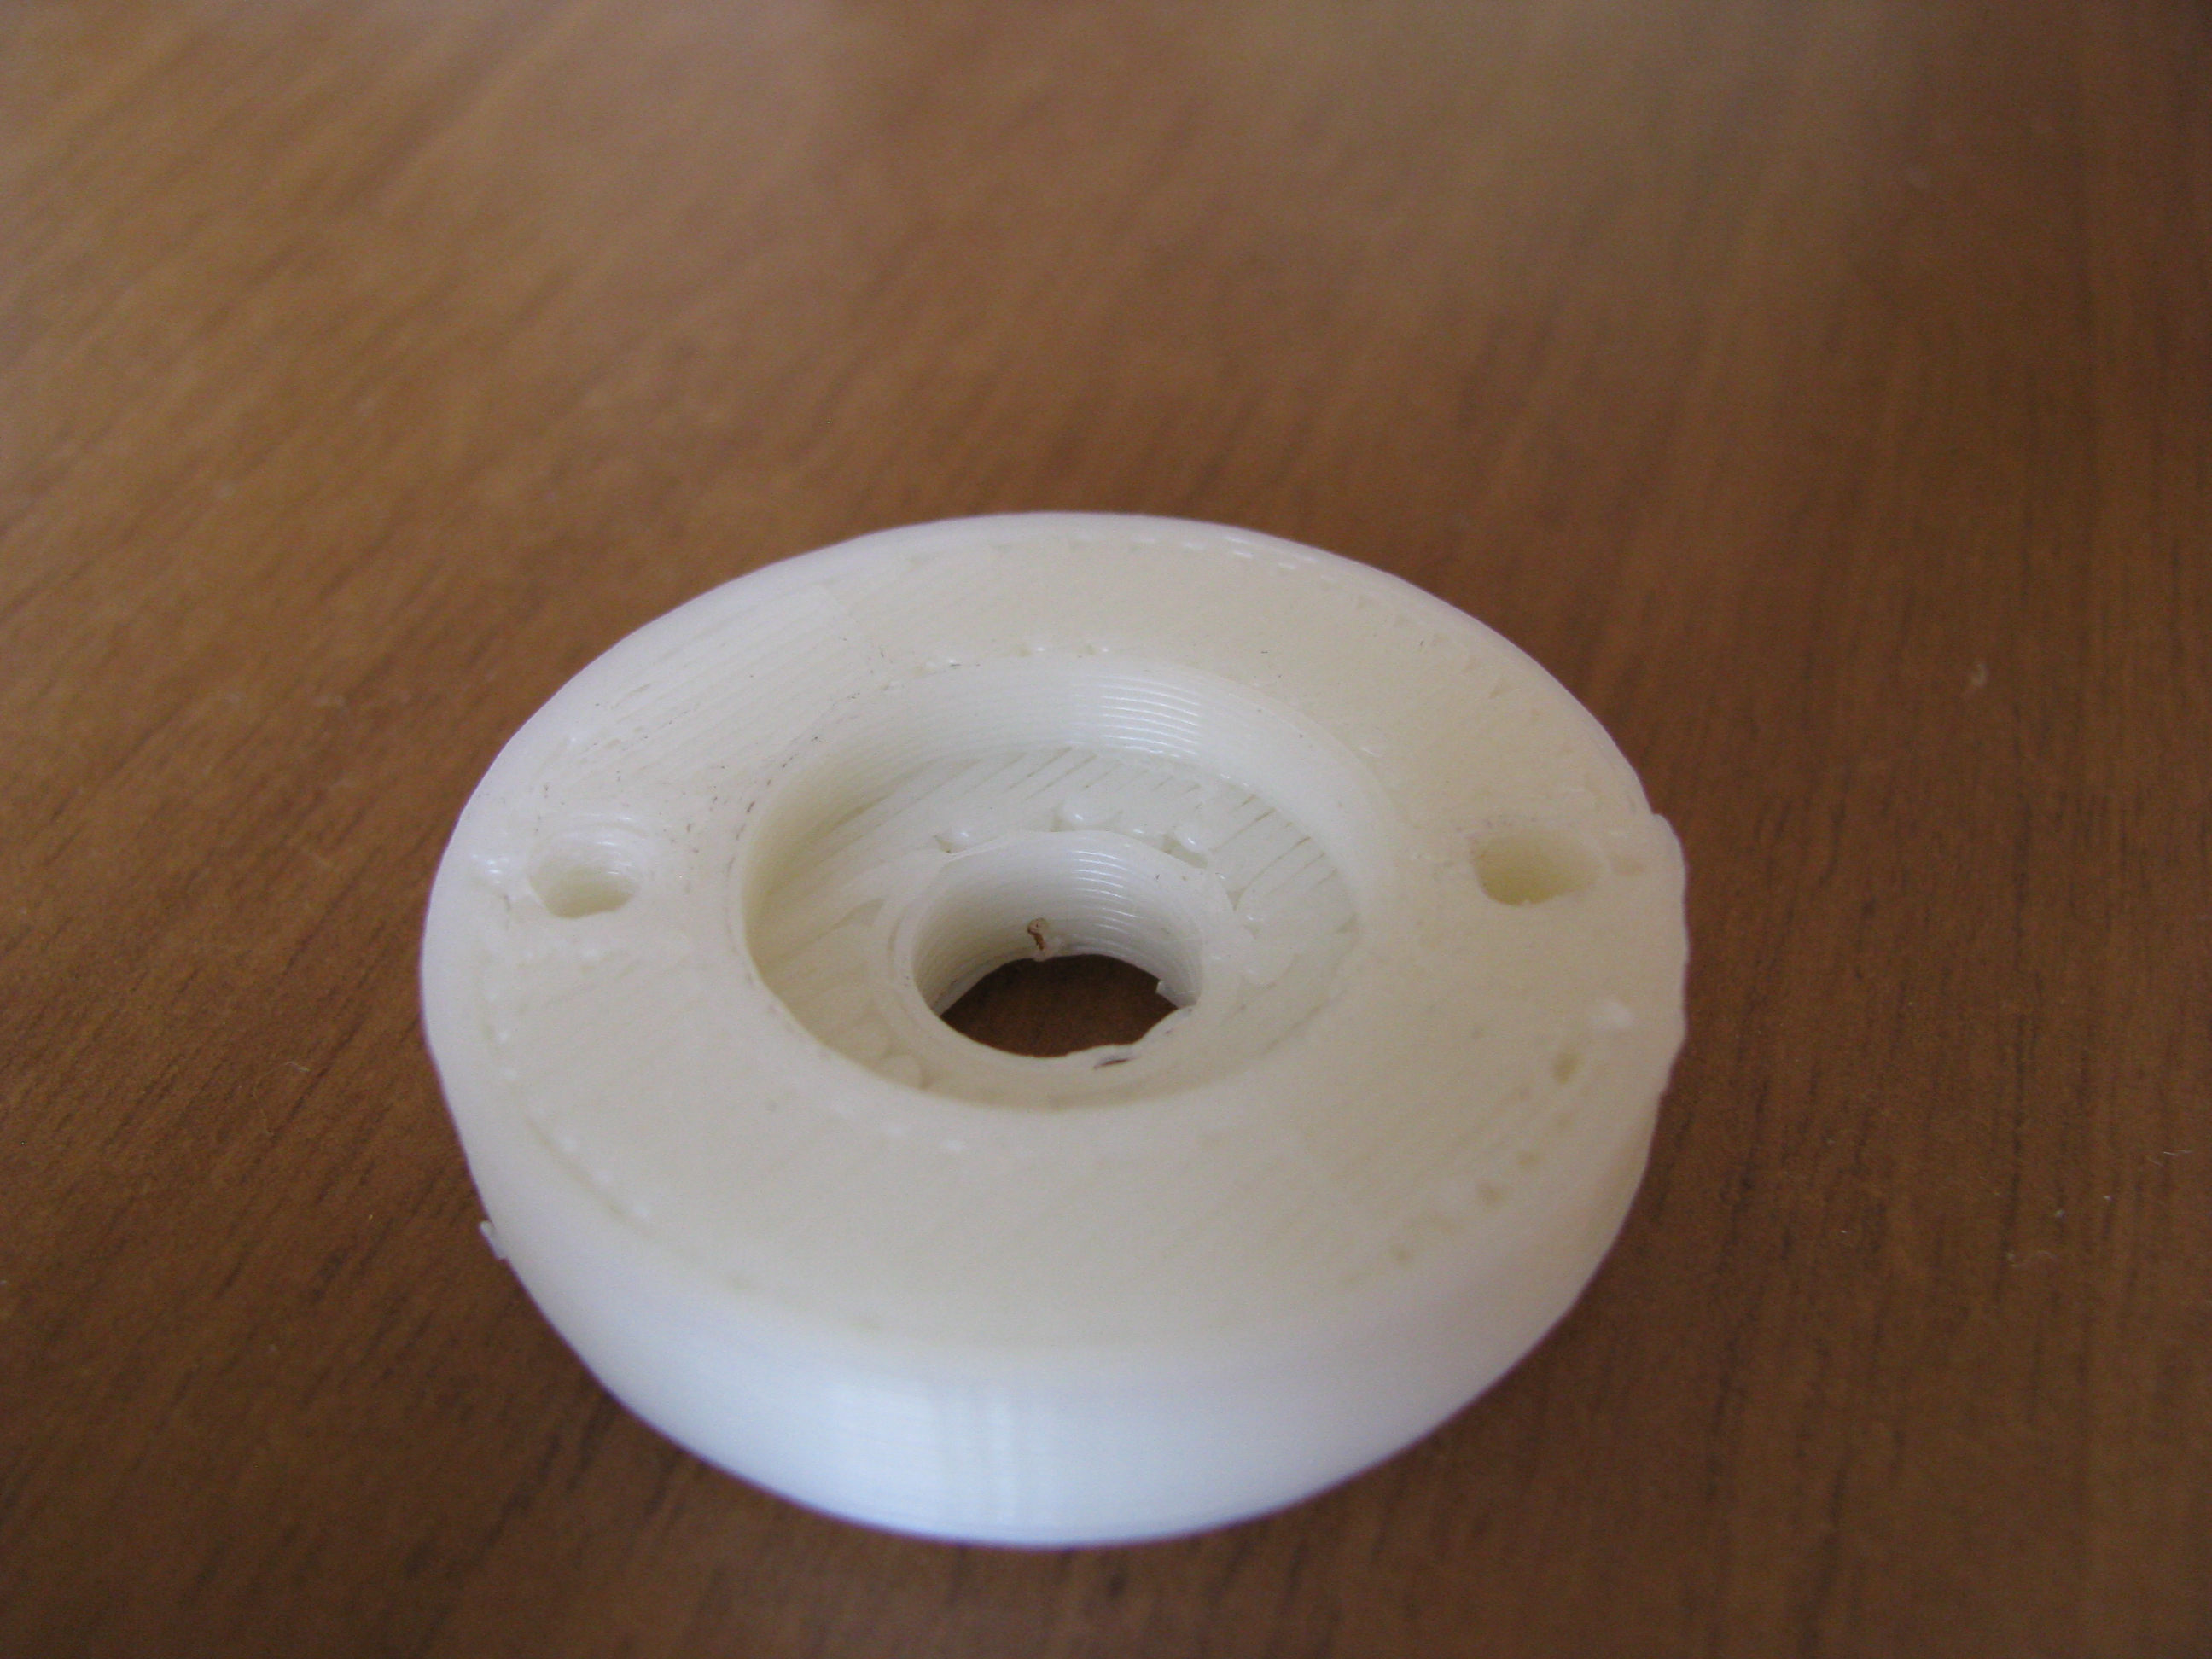
After printing, I cleaned the holes with a drill; I cleaned the filament hole by hand, with a drill bit, to avoid breaking the plastic around it.
Now I only have to buy the required bolts and bearing, and try to use it.


